
Brioche. Just the word conjures up images of rich, golden loaves with a feather-light texture and a subtly sweet flavor. It’s the king of bread, perfect for French toast, elegant sandwiches, or simply enjoyed with a pat of butter. But achieving that signature soft crumb can feel intimidating. Fear not, fellow bakers! This guide will demystify How To Make Homemade Brioche Bread With A Soft Crumb, turning you into a brioche master in no time. You’ll be surprised at how achievable this seemingly complex bread truly is.
Table Of Contents
After mastering the basic brioche, you might want to explore variations like keto brioche bread recipes for a low-carb option.
Understanding Brioche Dough
What makes brioche so special? The answer lies in its enriched dough. Unlike lean doughs (like your basic sourdough or baguette) which consist primarily of flour, water, yeast, and salt, brioche dough is loaded with butter and eggs. These additions create a tender crumb, a rich flavor, and a beautiful golden hue. Think of it as the difference between a regular pancake and a fluffy, buttery pancake. The added richness takes it to a whole new level.
Ingredients for the Perfect Brioche
Here’s what you’ll need for your homemade brioche bread with a soft crumb:
- Flour: Strong bread flour or all-purpose flour will work, although bread flour will give you a slightly chewier crumb.
- Yeast: Active dry yeast or instant yeast is recommended.
- Milk: Lukewarm milk helps activate the yeast and adds moisture.
- Eggs: Eggs contribute to the richness, color, and soft texture.
- Sugar: A touch of sugar feeds the yeast and adds a subtle sweetness.
- Salt: Salt enhances the flavors and controls the yeast activity.
- Butter: Lots and lots of softened butter – this is the key to brioche’s tenderness!
Step-by-Step Guide to Making Brioche
- Activate the Yeast: Combine the lukewarm milk, yeast, and a pinch of sugar in a bowl. Let it sit for 5-10 minutes until foamy. This shows that your yeast is alive and kicking.
- Mix the Dough: In a large bowl or the bowl of a stand mixer, combine the flour, sugar, and salt. Add the yeast mixture and eggs. Knead with the dough hook attachment (or by hand) for about 5 minutes until a shaggy dough forms.
- Incorporate the Butter: Now for the fun part! Gradually add the softened butter, a tablespoon at a time, ensuring each addition is fully incorporated before adding more. The dough will transform from sticky and shaggy to smooth and elastic. This process can take 10-15 minutes. Patience is key!
- First Rise: Place the dough in a lightly oiled bowl, cover it with plastic wrap, and let it rise in a warm place for 1-2 hours, or until doubled in size. I like to place mine in a slightly warmed oven (turned off, of course!).
- Shape the Dough: Gently punch down the dough to release the air. Divide it into the desired number of pieces and shape them into rolls or a loaf. For a traditional brioche à tête, shape a large ball with a smaller ball on top.
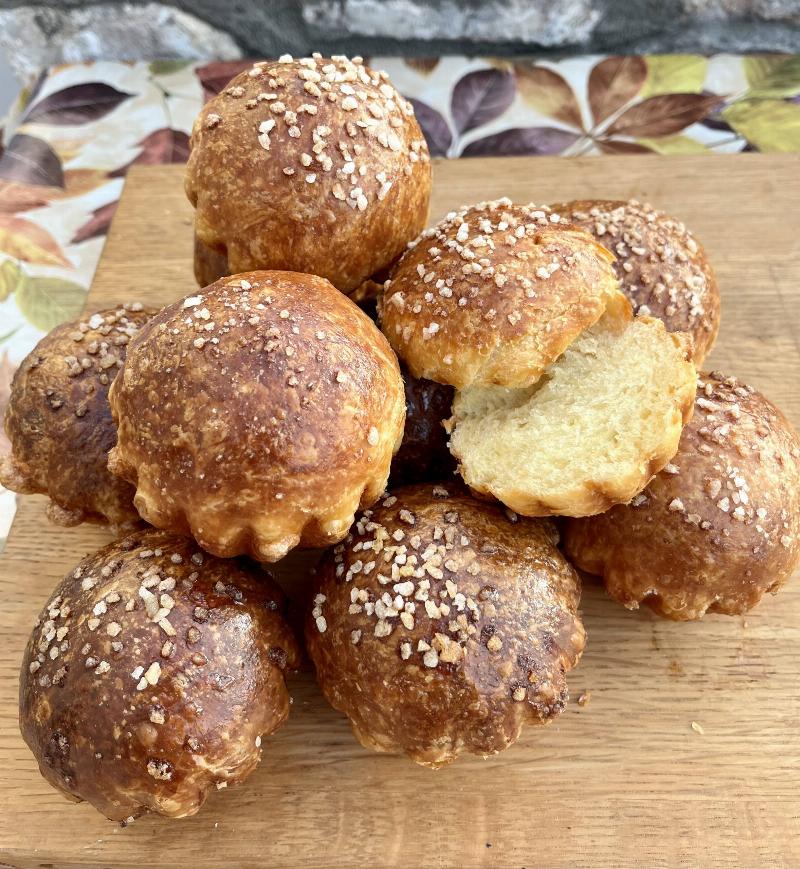 Shaping brioche dough for different bread types
- Second Rise (Proofing): Place the shaped dough in a greased baking pan, cover, and let it proof for another 45-60 minutes, or until almost doubled.
- Bake: Preheat the oven to 375°F (190°C). Brush the top of the brioche with an egg wash (beaten egg mixed with a splash of milk) for a beautiful golden crust. Bake for 25-35 minutes, or until golden brown and the internal temperature reaches 190°F (88°C).
- Cool: Let the brioche cool completely on a wire rack before slicing and serving. I know it’s tempting to dive in right away, but trust me, the wait is worth it!
Tips for a Soft Crumb
- Use high-quality butter: European-style butter with a higher fat content will yield the best results.
- Don’t overknead: Overkneading can develop the gluten too much, resulting in a tough crumb.
- Proper proofing is crucial: Ensure the dough rises sufficiently in both the first and second rise. Under-proofing will lead to a dense loaf, while over-proofing can cause the bread to collapse.
 Brioche Dough after Perfect Proofing Ready for Baking
Troubleshooting Brioche Dough
- Dough too sticky: Add a little more flour, a tablespoon at a time, until the dough becomes manageable.
- Dough too dry: Add a teaspoon of milk at a time until the dough becomes more pliable.
- Brioche not rising: Check the expiration date of your yeast. Make sure the milk is lukewarm, not too hot or too cold.
Serving Suggestions
Brioche is incredibly versatile. Enjoy it toasted with butter and jam, use it for French toast, or create elegant sandwiches. Its slightly sweet flavor also makes it a delicious accompaniment to savory dishes. Try it with a charcuterie board or alongside a creamy soup. You can even use brioche bread crumbs for breading chicken or fish.
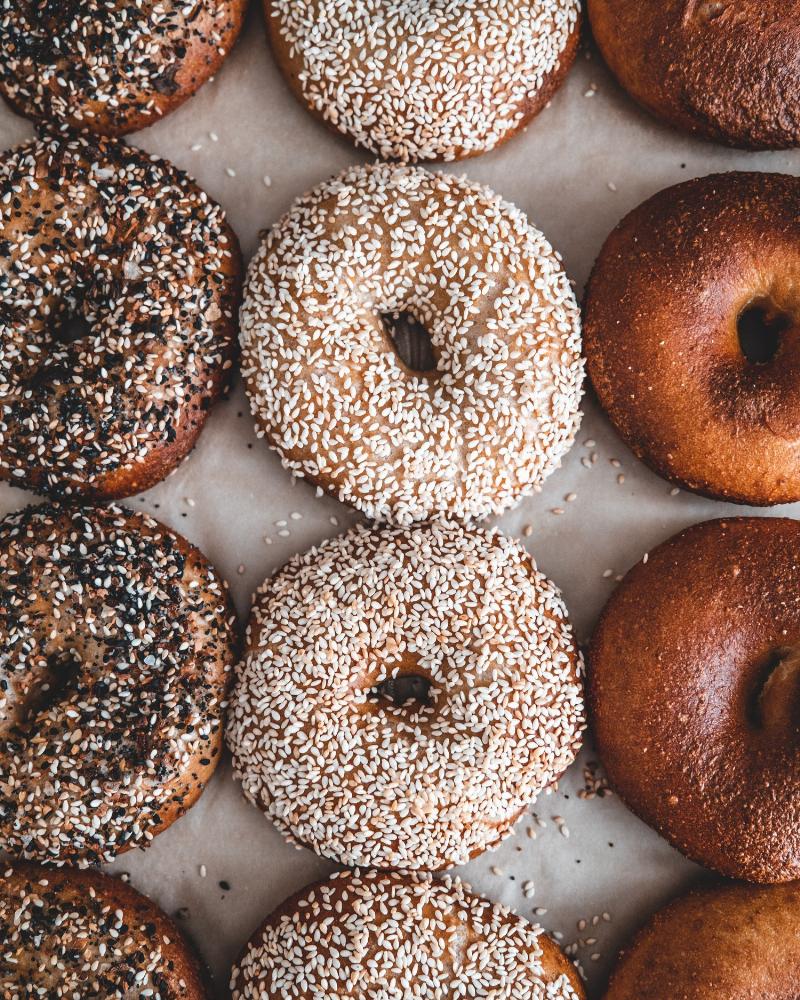
 Serving Brioche Bread with Different Toppings
Variations on the Classic Brioche
Once you’ve mastered the basic brioche recipe, feel free to experiment! You can add chocolate chips, dried fruit, or nuts to the dough. You can also create savory variations by incorporating herbs and cheese. The possibilities are endless! For those following a specific diet, check out variations like keto brioche bread recipes.
Conclusion
Making homemade brioche bread with a soft crumb might seem like a daunting task, but with this guide, you’ll be well on your way to baking beautiful, golden loaves that will impress your friends and family. Remember, the key is patience, attention to detail, and lots of butter! So gather your ingredients, roll up your sleeves, and experience the joy of creating this truly special bread. Happy baking!
Pingback: How to Make Brioche Bread: A Masterclass - Bestbaking Recipes
Pingback: Delicious Gluten-Free Brioche Bread Recipes - Bestbaking Recipes
Pingback: The Perfect French Baguette Bread Recipe - Bestbaking Recipes