
Baking bread in the real world can be a rewarding, albeit sometimes messy, experience. But what if you’re craving a virtual loaf in the blocky world of Minecraft? This comprehensive guide will teach you How To Make Bread On Minecraft Pc, satisfying your digital hunger and impressing your fellow Minecrafters with your culinary prowess. From gathering the necessary ingredients to the final bake, we’ll cover every step of the process.
Table Of Contents
- Gathering Wheat: Your First Step to Minecraft Bread
- Crafting a Crafting Table: Your Baking Station
- From Wheat to Bread: The Crafting Recipe
- Using Bread: Replenishing Your Hunger Bar
- Advanced Bread Making: Automated Farms
- Different Uses for Bread: Beyond Just Eating
- Tips and Tricks for Efficient Bread Making
- Troubleshooting Common Bread-Making Issues
- FAQs: Answering Your Burning Bread-Making Questions
The beauty of Minecraft lies in its simplicity, and bread making is no exception. Unlike complex crafting recipes, bread requires only one key ingredient: wheat. You might be thinking, “Wheat? That’s it?” Yes, indeed! While real-world bread requires yeast, flour, and water, Minecraft streamlines the process, making it accessible even to novice players.
Gathering Wheat: Your First Step to Minecraft Bread
Before you can even think about that warm, pixelated loaf, you need to get your hands on some wheat. Where do you find this golden grain? Look no further than the grassy plains and villages of your Minecraft world. Wheat grows in stages, starting as small green shoots and gradually maturing into tall stalks with harvestable seeds.
When you find a fully grown wheat crop, simply break it by left-clicking. You’ll receive both wheat and seeds. Remember to replant the seeds to ensure a continuous supply of this essential ingredient. Imagine running a virtual farm, supplying your entire Minecraft server with freshly baked bread!
Crafting a Crafting Table: Your Baking Station
Now that you have your wheat, you’ll need a crafting table. This essential block acts as your kitchen counter in Minecraft. If you haven’t crafted one yet, don’t worry; it’s a straightforward process. Simply combine four wooden planks in your 2×2 crafting grid, accessible from your inventory.
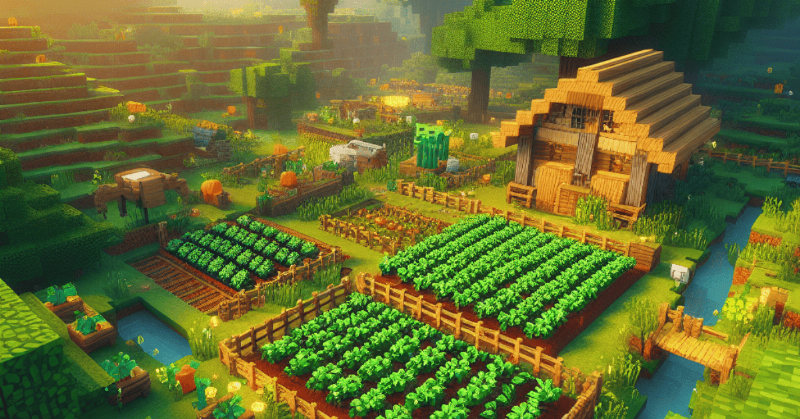 Minecraft Wheat Farming Guide
From Wheat to Bread: The Crafting Recipe
With your wheat and crafting table ready, it’s time for the main event: crafting the bread. Open your crafting table interface, which provides a 3×3 crafting grid. Place three wheat horizontally across any row of the grid. Just like magic, a loaf of bread will appear in the output slot. Transfer the bread to your inventory, and voila! You’ve successfully baked bread in Minecraft.
Using Bread: Replenishing Your Hunger Bar
What good is bread if you can’t eat it? In Minecraft, bread serves as a valuable food source, restoring five hunger points (2.5 hunger shanks). Simply select the bread in your hotbar and right-click to consume it. This quick and easy meal will keep your hunger bar full and your adventures going strong.
Advanced Bread Making: Automated Farms
Once you’ve mastered the basics, you can take your bread making to the next level by creating automated wheat farms. These farms use water and pistons to harvest wheat automatically, ensuring a constant supply of ingredients for your baking endeavors. While setting up an automated farm requires a bit more effort, the payoff is well worth it, especially if you plan on baking bread in bulk.
Different Uses for Bread: Beyond Just Eating
Did you know that bread has other uses in Minecraft besides just filling your stomach? While it’s primarily a food source, you can also use bread to breed villagers, encouraging population growth within your settlements. This feature adds another layer of depth to the game, allowing you to develop thriving communities.
Tips and Tricks for Efficient Bread Making
Here are a few tips to optimize your bread-making process in Minecraft:
- Plant wheat near water: Watered farmland grows crops faster, maximizing your wheat yield.
- Use bone meal: Bone meal acts as a fertilizer, instantly growing crops to their mature stage.
- Build a dedicated farming area: Creating a designated area for your wheat farm keeps everything organized and efficient.
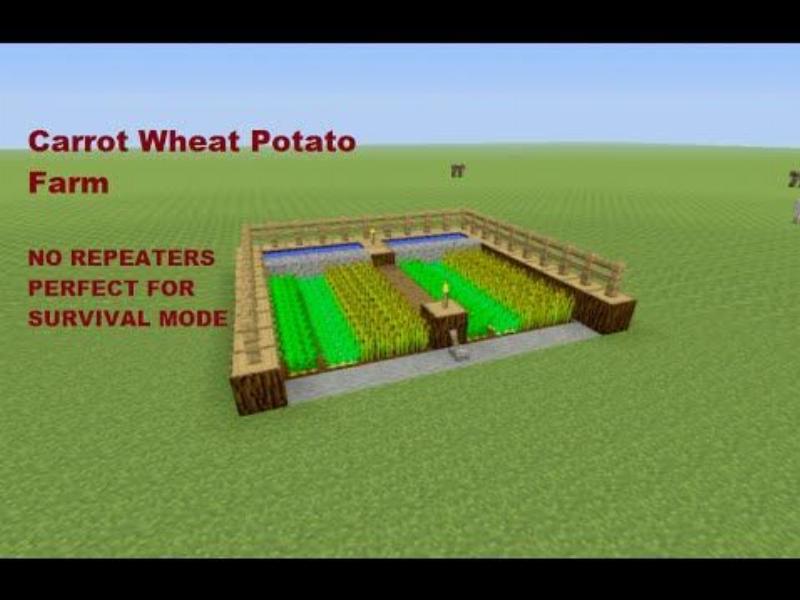 Minecraft Automated Wheat Farm Design
Troubleshooting Common Bread-Making Issues
Sometimes, even the most experienced Minecraft bakers encounter problems. Here are a few common issues and their solutions:
- Not enough wheat: Make sure you’ve harvested enough wheat before attempting to craft bread. Remember, each loaf requires three wheat.
- Missing crafting table: Double-check that you have a crafting table placed in your world. You can’t craft bread without one.
- Incorrect crafting recipe: Ensure that you’ve placed the wheat horizontally in a single row within the crafting grid.
FAQs: Answering Your Burning Bread-Making Questions
Q: Can I make bread in a furnace?
A: No, you cannot make bread in a furnace. Bread is crafted using a crafting table.
Q: How much hunger does bread restore?
A: Bread restores five hunger points (2.5 hunger shanks).
Q: Where can I find wheat seeds?
A: You can obtain wheat seeds by breaking tall grass or harvesting fully grown wheat crops.
Q: Can I trade bread with villagers?
A: While you can’t directly trade bread, you can use it to breed villagers, which indirectly contributes to village growth and trading opportunities.
Q: Is there a different recipe for bread in other versions of Minecraft?
A: No, the bread recipe remains the same across all editions of Minecraft.
 Minecraft Bread for Villagers
In conclusion, making bread in Minecraft is a simple yet rewarding process. By following these steps, you’ll have a readily available food source to fuel your adventures and impress your friends with your virtual baking skills. So gather your wheat, fire up your crafting table, and get baking! Happy crafting!