
Have you ever experienced the heartbreaking deflation of a perfectly risen loaf as it cools on the counter? It’s a common baking woe, and one that can leave even seasoned bakers scratching their heads. This comprehensive guide will delve into the reasons why your bread collapses after baking, providing actionable solutions and empowering you to bake beautiful, sturdy loaves every time.
Table Of Contents
- The Science Behind a Sturdy Loaf
- Common Culprits of Collapsing Bread
- Under-Proofed or Over-Proofed Dough
- Weak Gluten Development
- Incorrect Oven Temperature
- Too Much or Too Little Flour
- How to Fix a Collapsing Loaf: Troubleshooting Tips
- Mastering Proofing
- Kneading for Success
- Optimizing Oven Temperature
- Accurate Measurements
- The Importance of Recipe Testing
- FAQs: Common Questions about Collapsing Bread
- Baking with Confidence: Your Journey to Perfect Bread
Why does bread collapse? This frustrating phenomenon can stem from a variety of factors, from improper gluten development to incorrect oven temperatures. Understanding these culprits is the key to achieving baking success. So, let’s get to the bottom of this baking mystery and ensure your next loaf emerges from the oven tall and proud.
The Science Behind a Sturdy Loaf
Bread making is a delicate dance between science and art. The magic happens through the development of gluten, a protein complex formed when flour is mixed with water. Gluten provides structure and elasticity, allowing the dough to trap gases produced by yeast during fermentation. Think of gluten as the scaffolding that holds your bread up. If this scaffolding is weak, the bread will likely collapse.
Common Culprits of Collapsing Bread
Several factors can contribute to a collapsed loaf. Let’s examine some of the most frequent offenders:
Under-Proofed or Over-Proofed Dough
Proofing is the process where yeast consumes sugars and produces carbon dioxide, causing the dough to rise. Under-proofing means the yeast hasn’t had enough time to do its job, resulting in a dense loaf. Over-proofing, on the other hand, leads to a weakened gluten structure that can’t support the expanded dough, causing it to deflate during baking or cooling. Finding that sweet spot of perfectly proofed dough is crucial.
Weak Gluten Development
Insufficient kneading results in weak gluten development. Kneading helps to align and strengthen the gluten strands, creating a network capable of holding the expanding gases. Without proper kneading, your dough won’t have the strength to rise and maintain its shape.
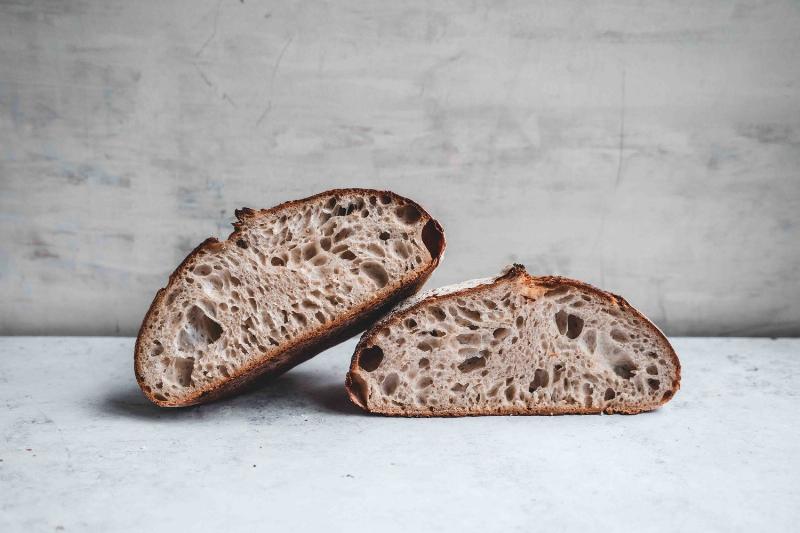 Under-Kneaded Dough Showing Weak Gluten Development
Incorrect Oven Temperature
Too low an oven temperature can prevent the bread from setting properly, causing it to collapse as it cools. Conversely, an excessively high temperature can lead to a thick crust forming too quickly, trapping the expanding gases inside and creating a hollow loaf prone to collapse.
Too Much or Too Little Flour
The ratio of flour to water is critical in bread making. Too much flour will result in a dry, dense dough that struggles to rise. Too little flour, on the other hand, creates a wet, sticky dough that lacks structure and is likely to collapse.
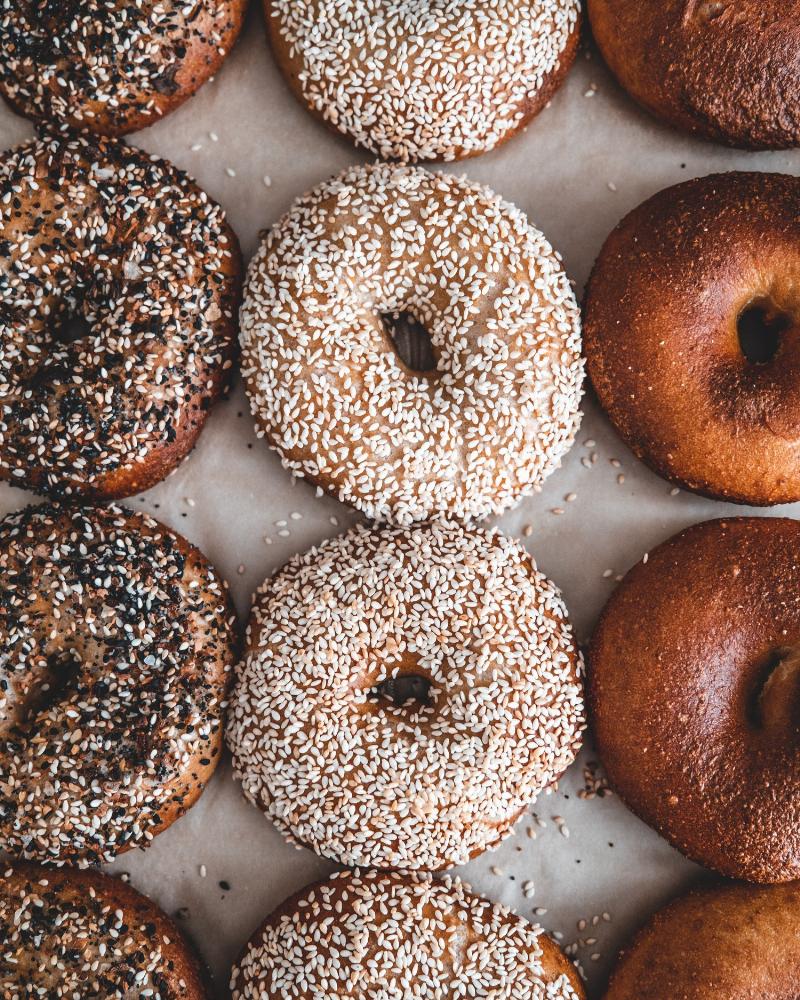
 Over-Proofed Dough Collapsed in a Baking Tin
How to Fix a Collapsing Loaf: Troubleshooting Tips
Now that we know the reasons behind bread collapse, let’s explore how to fix and prevent this baking mishap:
Mastering Proofing
Learn to recognize the signs of a perfectly proofed dough. It should be almost doubled in size, soft, and slightly springy to the touch. The poke test, where you gently press your finger into the dough, is a reliable method. If the indentation slowly springs back, your dough is ready. A quick rebound indicates under-proofing, while a remaining indentation suggests over-proofing.
Kneading for Success
Follow the recipe’s instructions for kneading time carefully. Look for a smooth, elastic dough that stretches without tearing easily. This indicates well-developed gluten.
 Perfectly Kneaded Dough Showing Strong Gluten Development
Optimizing Oven Temperature
Use an oven thermometer to ensure your oven is at the correct temperature. Preheating is crucial for achieving consistent results.
Accurate Measurements
Use a kitchen scale to measure your ingredients, especially flour. This guarantees accuracy and consistency in your bread making. Baking is a science, and precision matters.
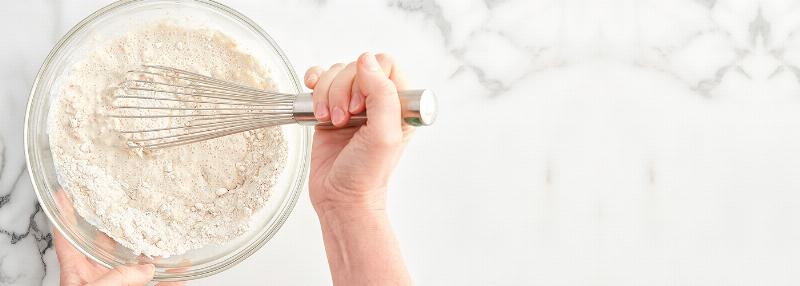 Accurate Measurement of Flour Using a Kitchen Scale
The Importance of Recipe Testing
Don’t be afraid to experiment and adjust recipes based on your environment and ingredients. Baking can be influenced by factors such as humidity and flour type. Keeping a baking journal can help you track your successes and identify areas for improvement.
FAQs: Common Questions about Collapsing Bread
Q: Why did the center of my bread collapse?
A: This could be due to under-baking, resulting in a doughy center that collapses as it cools, or over-proofing, which weakens the gluten structure.
Q: How can I tell if my dough is over-proofed?
A: Over-proofed dough will appear puffy and might have a slightly alcoholic smell. It will also deflate quickly when poked.
Q: Should I use bread flour or all-purpose flour?
A: Bread flour has a higher protein content, leading to better gluten development and a more structured loaf. All-purpose flour can be used, but the results may vary.
Q: How do I know if my bread is baked through?
A: The loaf should sound hollow when tapped on the bottom. You can also use a thermometer to check the internal temperature, aiming for around 200°F (93°C).
Q: Can I save a collapsed loaf?
A: While you can’t fully restore a collapsed loaf, you can repurpose it into bread crumbs, croutons, or French toast.
Baking with Confidence: Your Journey to Perfect Bread
Baking bread can be a rewarding experience, even with the occasional setback. By understanding the science behind bread making and following these troubleshooting tips, you’ll be well on your way to baking beautiful, sturdy loaves that will impress your family and friends. Remember, every baking experience is a learning opportunity. Embrace the process, experiment, and enjoy the delicious fruits of your labor. So, go forth and bake with confidence!
Pingback: How to Prevent Bread from Collapsing: Mastering the Rise and Fall - Bestbaking Recipes