
A flaky tart crust is the holy grail of baking. It’s the delicate balance of buttery richness and crisp, shattering layers that elevates a simple tart from good to unforgettable. Mastering this technique can seem daunting, but with a few key tips and a touch of patience, you too can create a tart crust worthy of applause. This guide will walk you through everything you need to know, from choosing the right ingredients to achieving that perfect golden-brown finish.
Table Of Contents
- Choosing the Right Flour for Your Tart Crust
- The Importance of Cold Ingredients
- Mixing the Dough: A Gentle Touch
- Chilling Out: Resting the Dough
- Rolling Out the Dough: Patience is Key
- Blind Baking: The Secret to a Crisp Crust
- Achieving that Golden-Brown Finish
- Troubleshooting Common Tart Crust Problems
- How to Make a Flaky Tart Crust: A Quick Checklist
Similar to how you achieve a crispy pie crust, temperature control is key for a flaky outcome. Butter is the star ingredient when it comes to flakiness. Cold, cubed butter is essential. Why? Because as the butter melts in the oven, it creates pockets of steam, which separate the layers of dough, resulting in that coveted flaky texture. Imagine it like tiny air pockets puffing up the pastry.
Choosing the Right Flour for Your Tart Crust
The type of flour you use plays a vital role in the final texture of your tart crust. All-purpose flour is a reliable choice, but for extra flakiness, consider using pastry flour, which has a lower protein content. This lower protein content means less gluten development, leading to a more tender and delicate crust.
The Importance of Cold Ingredients
Remember those cold butter cubes? Well, the coldness extends to your other ingredients as well. Ice water is your friend here. Keeping everything chilled prevents the gluten from developing too much, which would result in a tough crust. Nobody wants a tough tart!
Mixing the Dough: A Gentle Touch
When it comes to mixing your tart crust dough, less is definitely more. Overmixing will activate the gluten, resulting in a tough, rather than flaky, crust. You want to combine the ingredients just until they come together. A few streaks of butter are perfectly fine, in fact, they’re desirable! They’re a sign of flaky layers to come.
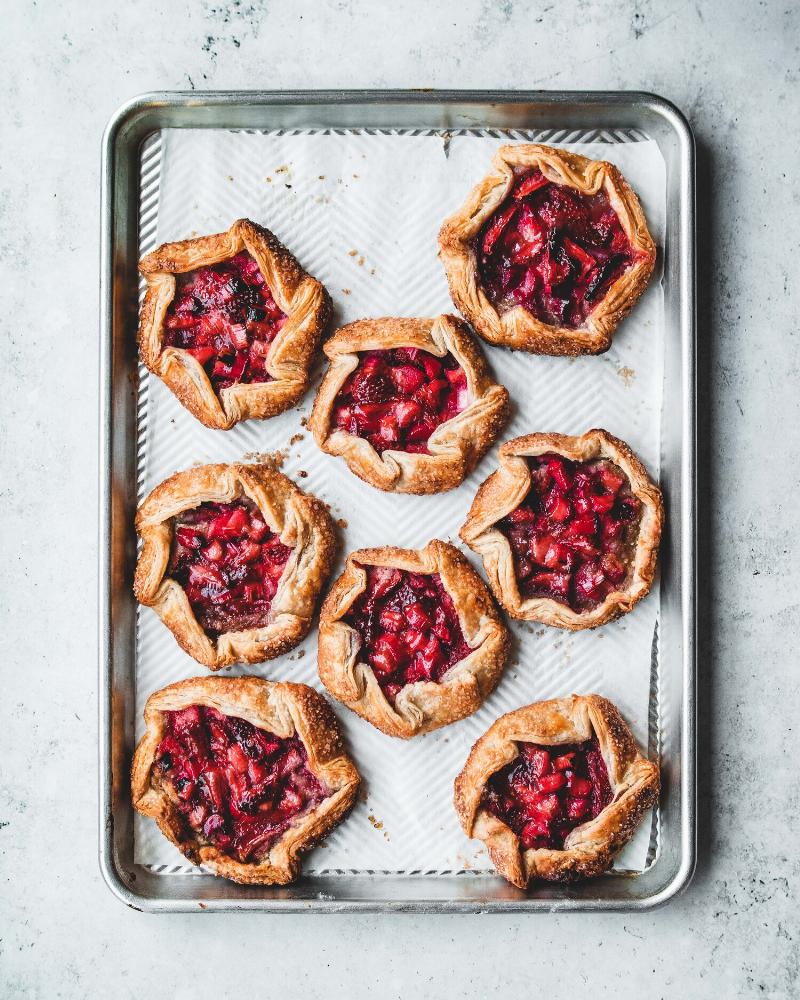 Mixing tart dough with cold ingredients for flakiness
Chilling Out: Resting the Dough
Once your dough is mixed, it needs a rest. Wrapping it tightly in plastic wrap and chilling it in the refrigerator for at least an hour, or even overnight, allows the gluten to relax and the butter to firm up. This crucial step ensures a more manageable and less likely-to-shrink dough when you roll it out. Think of it as a spa day for your dough.
Rolling Out the Dough: Patience is Key
Rolling out tart dough can be tricky. Start with a lightly floured surface and roll from the center outwards, rotating the dough frequently. If the dough starts to stick, add a little more flour. If it starts to feel too warm and soft, pop it back in the fridge for a few minutes. Patience is your friend here. Aim for a circle slightly larger than your tart pan.
For those interested in vegan baking, you can adapt this technique using a vegan butter substitute. Check out our guide on how to make vegan-friendly baked goods for more tips and tricks.
Blind Baking: The Secret to a Crisp Crust
Blind baking, or pre-baking the crust, is essential for tarts with wet fillings. This prevents the crust from becoming soggy. To blind bake, prick the bottom of the tart crust with a fork, line it with parchment paper, and fill it with pie weights or dried beans. Bake for about 15-20 minutes, then remove the weights and parchment and bake for a few more minutes to golden. For a detailed guide, see our post on how to blind bake a pie crust.
Achieving that Golden-Brown Finish
A beautifully browned tart crust is the mark of a baking triumph. Brushing the crust with an egg wash before baking adds a rich sheen and enhances the color. You can also sprinkle the crust with a little sugar for extra sparkle and sweetness.
Troubleshooting Common Tart Crust Problems
Problem: My tart crust shrunk in the oven!
Solution: Make sure you chill the dough adequately before rolling and baking. Also, avoid stretching the dough when transferring it to the tart pan.
Problem: My tart crust is tough.
Solution: Avoid overmixing the dough and ensure all your ingredients are cold.
If you’re having trouble with a tough crust, our article on how to fix tough pie crust offers helpful advice that can be applied to tart crusts as well.
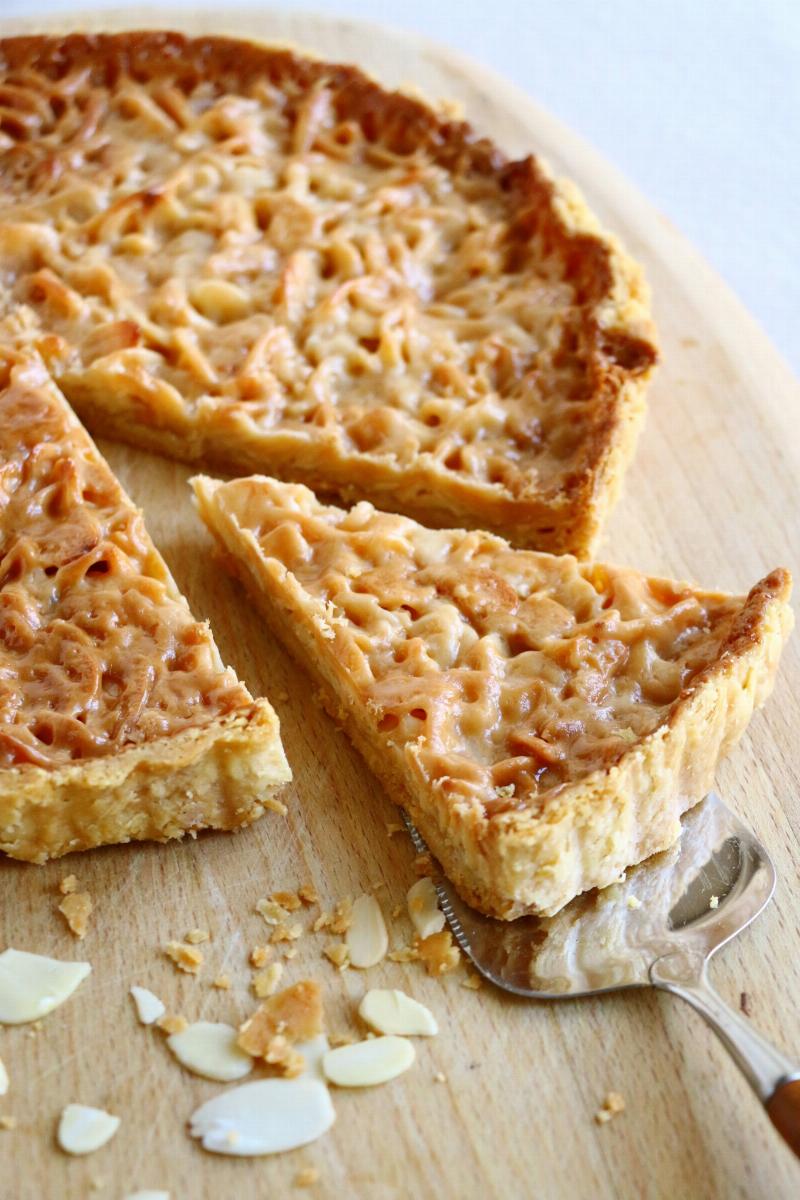 Baked flaky tart crust with a golden-brown finish
How to Make a Flaky Tart Crust: A Quick Checklist
- Use cold butter, cut into cubes.
- Use ice water.
- Don’t overmix the dough.
- Chill the dough for at least an hour.
- Roll out the dough gently.
- Blind bake for tarts with wet fillings.
Making a flaky tart crust is a rewarding experience. With these tips and a little practice, you’ll be creating beautiful, delicious tarts that will impress your friends and family. So grab your rolling pin and get baking! What are your favorite tart fillings? Share your tips and creations in the comments below!
Just as creating crunchy crusts on pies relies on controlling moisture, so does achieving flakiness in tart shells. Check out our article on How to create crunchy crusts on pies for more insights. For tips on making a reliably crispy pie crust, our guide on how to make a crispy pie crust will prove helpful.
Pingback: Tips for Perfect Pie Crust - Bestbaking Recipes