
Making your own yeast might sound like something out of a pioneer’s handbook, but trust me, it’s easier than you think! Fresh, homemade yeast adds a unique depth of flavor and a satisfying texture to your bread that store-bought yeast just can’t replicate. Plus, it’s a fantastic skill to have up your sleeve, especially when you’re in a pinch. In this guide, I’ll walk you through the simple steps of How To Make Homemade Yeast, share some troubleshooting tips, and answer some of your most frequently asked questions.
Table Of Contents
Ready to embark on this exciting baking adventure? Let’s dive in!
Similar to the principles of how to make a light bread texture, cultivating your own yeast involves understanding the life cycle of these tiny organisms.
What You’ll Need to Make Your Own Yeast Starter
Gathering your ingredients is the first step. Luckily, you probably already have everything you need right in your kitchen!
- Potatoes: These are our yeast’s first meal. The starch provides the sugars necessary for fermentation. A medium-sized potato will do the trick.
- Sugar: A teaspoon of sugar gives our yeast an extra boost of energy. Think of it as a welcome treat!
- Water: Water is essential for creating the right environment for yeast growth. We’ll use both boiling and cool water.
- Time: Patience is key! Creating a yeast starter takes a few days, but the delicious results are worth the wait.
Step-by-Step Guide to Making Homemade Yeast
Now that we have our ingredients, let’s get started!
-
Prepare the Potato Water: Peel and chop a medium-sized potato. Boil it in one cup of water until soft. Drain the potato, reserving the starchy water. This potato water is the foundation of our yeast starter.
-
Cool and Combine: Let the potato water cool to lukewarm – about the temperature of baby’s bathwater. Too hot, and you’ll kill the wild yeast; too cold, and they won’t wake up! Add a teaspoon of sugar and stir until dissolved.
-
Wait for the Magic: Cover the mixture loosely and let it sit at room temperature for a few days. You should start to see bubbles forming on the surface, indicating that the wild yeast is active and fermenting. This is a good sign!
-
Feed Your Yeast: After a few days, the mixture might become a bit cloudy and develop a slightly yeasty aroma. Now it’s time to feed your yeast! Add another teaspoon of sugar and a tablespoon of flour. Stir gently and let it sit for another day.
-
Test Your Yeast: To check if your yeast is ready to use, drop a small amount into a cup of warm water with a pinch of sugar. If it foams after a few minutes, congratulations! Your homemade yeast is alive and kicking. If not, don’t worry. Just give it another day or two and try again.
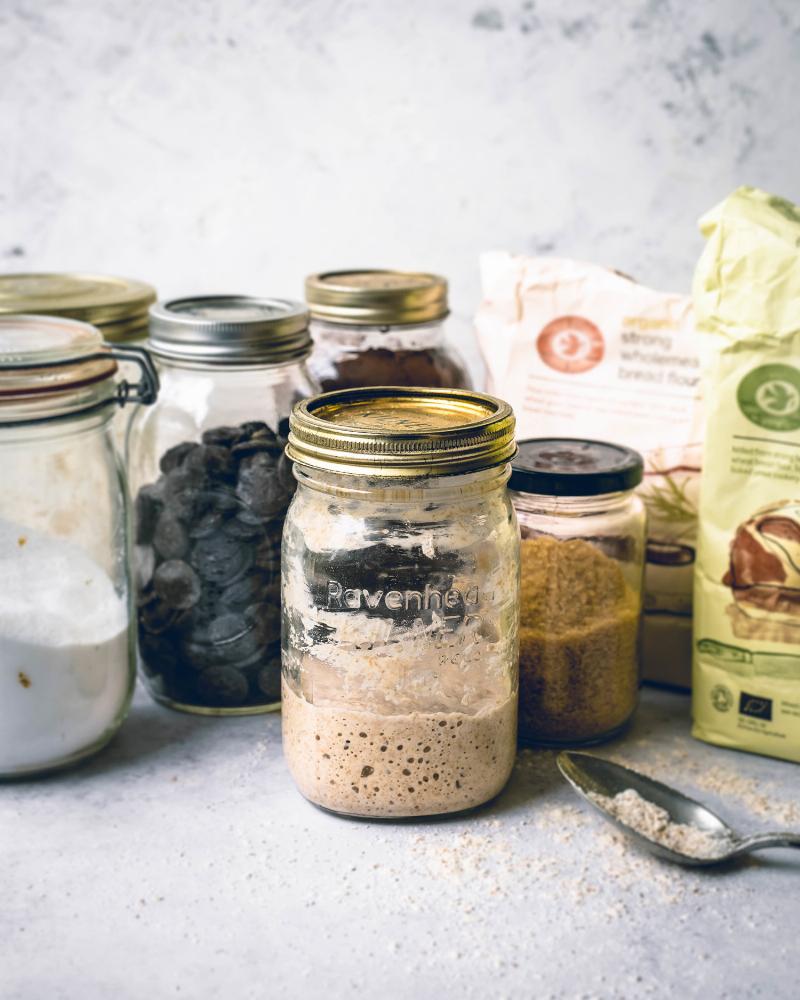 Homemade yeast starter bubbling showing active fermentation
Troubleshooting Your Homemade Yeast
Sometimes, even with the best intentions, things don’t always go according to plan. Here are a few common issues and how to fix them:
- No Bubbles: If you don’t see any bubbles after a few days, it could be that the wild yeast in your environment wasn’t strong enough. Try again with a different potato or a different location in your kitchen. Sometimes even the air near a window can have different yeast populations.
- Mold Growth: A little bit of white foam on the surface is normal, but if you see any other colors, like green or black, it’s a sign of mold. Discard the mixture and start over with clean equipment.
- Sour Smell: While a slightly yeasty aroma is expected, a strong, sour smell indicates that the mixture has gone bad. Discard it and start fresh.
Understanding Why does my homemade bread have a dense texture? can be as important as mastering yeast creation. Both rely on a good understanding of gluten development and fermentation.
Storing Your Homemade Yeast
Once your yeast is active, you can store it in the refrigerator for up to two weeks. Just be sure to feed it a teaspoon of sugar and a tablespoon of flour every week to keep it happy and healthy.
Using Your Homemade Yeast in Recipes
Now comes the fun part! You can use your homemade yeast in any bread recipe that calls for fresh yeast. Just remember that homemade yeast might be a bit less potent than store-bought, so you might need to use a bit more or give your dough a little extra proofing time. Remember, baking is a science but it’s also an art, so don’t be afraid to experiment!
FAQs About Homemade Yeast
Here are some common questions about making and using homemade yeast:
- How long does it take to make homemade yeast? It typically takes 3-5 days to create an active yeast starter.
- Can I use other vegetables besides potatoes? Yes, you can use other starchy vegetables like sweet potatoes or even grapes!
- What if my homemade yeast doesn’t foam when I test it? Give it another day or two and try again. It sometimes takes a little patience.
 Freshly baked bread using homemade yeast demonstrating successful yeast activity
Getting a light bread texture is all about understanding the science, much like The science behind baking bread. It’s a fascinating process that leads to delicious results!
The Joys of Baking with Homemade Yeast
Making your own yeast is incredibly rewarding. It connects you to a long tradition of bread baking and allows you to experience the magic of fermentation firsthand. There’s something truly special about knowing that you created the very ingredient that gives your bread its life and flavor. So, gather your ingredients, follow these simple steps, and experience the joy of baking with homemade yeast!
You might find it helpful to consider What is the best oven for home baking? when pursuing your baking adventures.
What are your experiences with making homemade yeast? Share your tips and tricks in the comments below!
 Storing homemade yeast in the refrigerator for future use
Knowing how to fix a chewy bread texture can sometimes be necessary, even with perfectly crafted homemade yeast, showcasing the intricate balance of baking.
Pingback: How to Bake with a Water Bath: Secrets to Perfectly Cooked Desserts - Bestbaking Recipes