
Rye bread, with its distinctive tang and hearty texture, might seem intimidating to bake at home. But fear not, fellow bakers! This guide is packed with Simple Rye Bread Recipes, perfect for both beginners dipping their toes into the world of rye and experienced bakers looking to expand their repertoire. We’ll demystify the process, offering tips and tricks to achieve that perfect balance of flavor and crumb. Get ready to fill your kitchen with the warm, inviting aroma of freshly baked rye.
Table Of Contents
Just like mastering easy sourdough bread recipes, baking rye bread is a journey of discovery, and we’re here to guide you every step of the way.
Understanding Rye Flour: The Heart of the Matter
Rye flour, unlike its wheat counterpart, contains less gluten. This gives rye bread its characteristic dense crumb. It’s this lower gluten content that often leads to questions and concerns about achieving a good rise. But with the right techniques, you can create a beautifully textured loaf, even with a higher percentage of rye.
There are different types of rye flour available: light, medium, and dark. Light rye flour is closest to wheat flour in terms of texture and is often used in combination with wheat flour for a milder rye flavor. Medium rye flour offers a more pronounced rye flavor, while dark rye flour, milled from the whole grain, has the most intense flavor and darkest color. Choosing the right flour will greatly influence the final taste and texture of your bread.
Simple Rye Bread Recipe for Beginners
This recipe uses a blend of rye and bread flour to make it easier for beginners. It doesn’t require any special equipment and is perfect for your first foray into rye baking.
Ingredients:
- 1 cup warm water (105-115°F)
- 2 ¼ tsp active dry yeast
- 1 tbsp honey or molasses
- 1 ½ cups bread flour
- 1 cup light rye flour
- 1 ½ tsp salt
- 1 tbsp caraway seeds (optional)
Instructions:
- In a large bowl, dissolve the yeast and honey in warm water. Let stand for 5-10 minutes until foamy.
- Add the bread flour, rye flour, salt, and caraway seeds (if using) to the yeast mixture.
- Knead the dough for 5-7 minutes until smooth and elastic. If using a stand mixer, knead with the dough hook for about 5 minutes.
- Place the dough in a greased bowl, turning to coat. Cover and let rise in a warm place for 1-1 ½ hours, or until doubled in size.
- Punch down the dough and shape it into a round loaf.
- Place the loaf in a greased 9×5 inch loaf pan. Cover and let rise for another 30-45 minutes.
- Preheat oven to 375°F.
- Bake for 35-40 minutes, or until golden brown and the internal temperature reaches 200°F.
- Let the bread cool completely on a wire rack before slicing and serving.
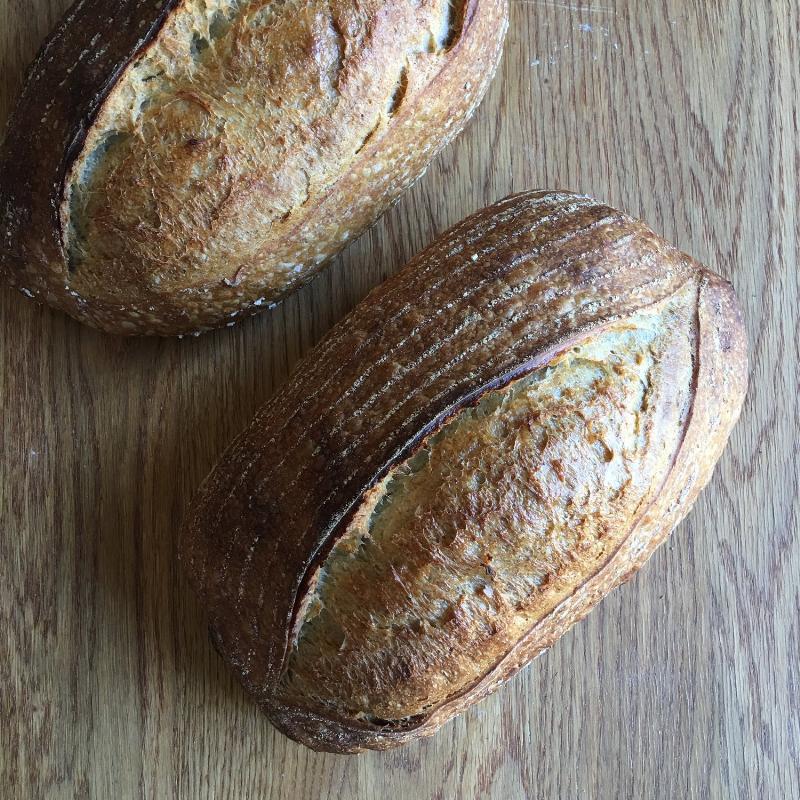 Simple rye loaf from beginner recipe
A Step Up: Exploring Medium Rye Bread
Once you’ve mastered the basic rye bread, why not try something a bit more adventurous? This recipe incorporates a higher percentage of rye flour for a more pronounced rye flavor and a denser crumb.
Ingredients:
- 1 cup warm water
- 2 ¼ tsp active dry yeast
- 1 tbsp molasses
- 1 cup bread flour
- 1 ½ cups medium rye flour
- 1 ½ tsp salt
- 2 tbsp caraway seeds (optional)
Instructions:
- Follow steps 1-3 from the beginner recipe.
- This dough will be stickier due to the higher rye content. Don’t be tempted to add more flour. Instead, use a wet hand or a dough scraper to manage the dough.
- Follow steps 4-9 from the beginner recipe, adjusting baking time as needed. This loaf may take a bit longer to bake due to its denser texture.
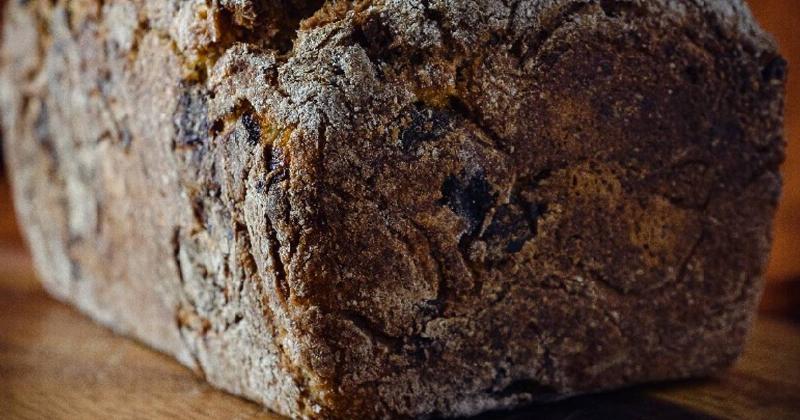 Medium rye bread loaf with caraway seeds
Tips for Baking Perfect Rye Bread
Baking with rye can be a bit different than baking with wheat flour, so here are some helpful tips:
- Don’t overknead: Rye dough doesn’t develop gluten in the same way as wheat dough, so overkneading can lead to a tough loaf.
- Use a Dutch oven: Baking in a Dutch oven creates a steamy environment that helps the rye bread rise and develop a crisp crust. Similar to techniques used in how to bake artisan bread, a dutch oven can significantly improve the crust and crumb.
- Check for doneness: Rye bread can sometimes appear done on the outside before it’s fully baked on the inside. Use a thermometer to ensure the internal temperature reaches 200°F.
- Be patient: Rye bread takes time to develop its flavor. Allow it to cool completely before slicing and enjoying.
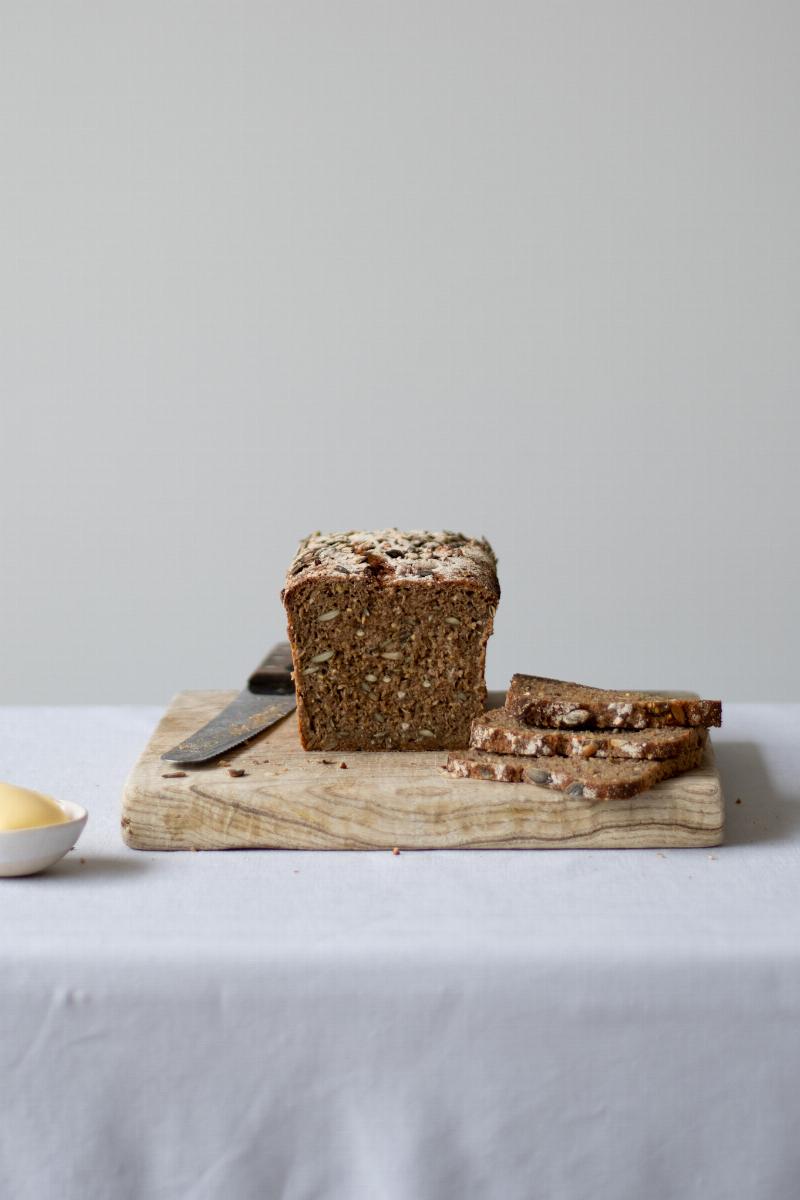 Rye bread baking tips with dutch oven
FAQs about Baking Rye Bread
Q: Why is my rye bread so dense?
A: Rye flour has less gluten than wheat flour, which naturally leads to a denser crumb. This is part of what makes rye bread so unique!
Q: Can I substitute all of the bread flour with rye flour?
A: While you can use 100% rye flour, it will result in a very dense and potentially gummy loaf. It’s best to start with a blend of rye and wheat flour, gradually increasing the rye percentage as you become more comfortable with rye baking.
Q: Can I use instant yeast instead of active dry yeast?
A: Yes, you can use instant yeast. Simply add it directly to the dry ingredients and skip the step of dissolving it in warm water.
Q: How should I store my rye bread?
A: Store your rye bread in an airtight container at room temperature for up to 3 days, or in the freezer for up to 3 months.
Baking Rye: A Journey of Flavor and Texture
Baking rye bread is a rewarding experience. From the earthy aroma that fills your kitchen to the satisfying crunch of the crust and the rich, complex flavor of the crumb, every bite tells a story. Whether you’re a seasoned baker or just starting out, these simple rye bread recipes are your passport to a world of delicious possibilities. So, gather your ingredients, roll up your sleeves, and embark on this baking adventure. We encourage you to share your baking experiences and creations with us. Happy baking!
Pingback: How to Make Artisan Bread at Home Step by Step - Bestbaking Recipes
Pingback: Simple Artisan Bread Recipes: Baking Delicious Bread at Home - Bestbaking Recipes