
Fondant. That smooth, elegant, and sometimes intimidating sugar paste that transforms ordinary cakes into edible works of art. While store-bought fondant is readily available, nothing beats the taste and satisfaction of making your own. This guide will show you exactly How To Make Homemade Fondant For Cake Decorating, breaking down the process step-by-step so even beginners can achieve fondant-fantasy success. Ready to roll up your sleeves and get kneading? Let’s begin!
Table Of Contents
- Understanding the Magic of Homemade Fondant
- Essential Ingredients for Perfect Fondant
- Step-by-Step Guide to Making Homemade Fondant
- Tips for Fondant Success
- Troubleshooting Common Fondant Problems
- Creative Ways to Use Your Homemade Fondant
- Why Homemade Fondant Triumphs over Store-Bought
- FAQ: Your Fondant Questions Answered
Understanding the Magic of Homemade Fondant
Why go through the effort of making your own fondant? Well, the flavor is a major plus! Homemade fondant tastes significantly better than most store-bought options, often described as overly sweet and artificial. You control the ingredients, sweetness, and even the color. Plus, making fondant yourself is incredibly cost-effective, especially if you decorate cakes frequently. Think of it as a secret weapon in your baking arsenal!
Essential Ingredients for Perfect Fondant
Before we dive into the how-to, let’s gather our ingredients. Fortunately, you probably have most of them in your pantry already!
- Marshmallows: Mini marshmallows are the base of our fondant. They provide the structure and that signature marshmallowy flavor.
- Powdered Sugar: This is our magic ingredient for creating a smooth, pliable paste.
- Water: Just a touch of water helps to melt the marshmallows and get things going.
- Shortening or Flavorless Oil: This prevents sticking and helps create a workable consistency.
- Vanilla Extract (optional): For a touch of extra flavor.
- Gel Food Coloring (optional): To achieve vibrant colors without altering the fondant’s consistency.
Step-by-Step Guide to Making Homemade Fondant
Now, let’s get to the heart of the matter – the actual process!
-
Melting the Marshmallows: Grease a microwave-safe bowl with shortening or oil. Add your mini marshmallows and a tablespoon of water. Microwave in 30-second intervals, stirring each time, until the marshmallows are completely melted and smooth. Ever tried making s’mores? It’s a similar principle!
-
Adding the Sugar Power: Gradually add your powdered sugar, one cup at a time, to the melted marshmallows. Stir with a sturdy spoon until the mixture becomes too thick to stir.
-
Kneading the Dough: Now, grease your hands and a clean work surface with shortening or oil. Turn the fondant dough out onto the surface and begin kneading it like bread dough. Add more powdered sugar, a little at a time, until the fondant becomes smooth, pliable, and no longer sticky. Remember, patience is key here. It might take a bit of elbow grease to get the perfect consistency!
-
Coloring (optional): If you want to add color, now’s the time! Knead in a small amount of gel food coloring until the color is evenly distributed. Start with a little and add more as needed. Remember, a little goes a long way!
-
Storing and Using: Wrap your finished fondant tightly in plastic wrap and store it in an airtight container at room temperature. It will keep for several weeks. When you’re ready to use it, simply knead it again until soft and pliable.
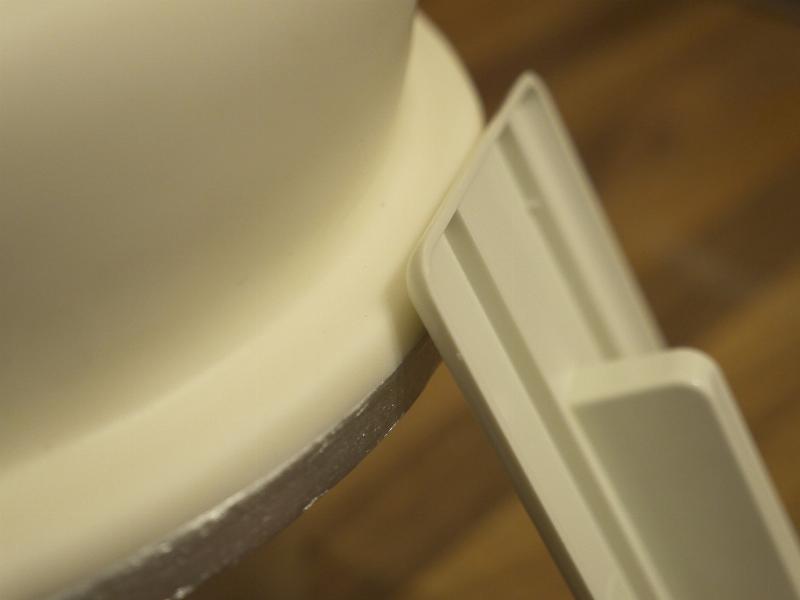 Step-by-step guide on making homemade fondant for cake decorating
Tips for Fondant Success
Here are a few expert tips to help you achieve fondant perfection:
- Use quality ingredients: Just like any baking project, the quality of your ingredients makes a difference!
- Don’t overheat the marshmallows: Overheating can result in a dry, crumbly fondant.
- Grease, grease, grease: Keep your hands, work surface, and tools well-greased to prevent sticking.
- Knead until smooth: Don’t be afraid to put in the kneading work. A well-kneaded fondant is easier to work with and produces a beautiful, smooth finish.
- Practice makes perfect: Like any new skill, working with fondant takes practice. Don’t be discouraged if your first attempt isn’t perfect. Just keep practicing and you’ll become a fondant pro in no time!
Troubleshooting Common Fondant Problems
Sometimes, things don’t go quite as planned. Here are some common fondant issues and how to fix them:
- Fondant is too sticky: Add more powdered sugar, a little at a time, until the fondant reaches the desired consistency.
- Fondant is too dry and crumbly: Knead in a small amount of water, a teaspoon at a time, until the fondant becomes pliable.
- Fondant is cracking: This usually happens when the fondant is rolled out too thin. Try rolling it out thicker, or patching the cracks with a little water and smoothing them over.
Creative Ways to Use Your Homemade Fondant
Now that you’ve mastered making homemade fondant, the possibilities are endless! You can use it to cover cakes, create intricate decorations, or even sculpt edible figurines. Here are a few ideas to get you started:
- Covering a cake: Roll out the fondant into a large circle and drape it over your cake, smoothing it down the sides for a professional finish.
- Creating cutouts: Use cookie cutters to make shapes and designs to decorate your cake.
- Sculpting figurines: With a little practice, you can mold fondant into almost any shape, from simple flowers to intricate characters.
Why Homemade Fondant Triumphs over Store-Bought
While store-bought fondant offers convenience, making your own gives you complete control. You can tailor the sweetness, experiment with flavors, and achieve vibrant colors without compromising the texture. Plus, the fresh, homemade taste is simply unbeatable. It’s a difference your taste buds will thank you for!
FAQ: Your Fondant Questions Answered
Q: Can I use regular marshmallows instead of mini marshmallows?
A: Yes, you can, but mini marshmallows melt more evenly and are generally preferred.
Q: How long does homemade fondant last?
A: Stored properly, homemade fondant can last for several weeks at room temperature.
Q: Can I freeze homemade fondant?
A: Yes, you can freeze fondant. Wrap it tightly in plastic wrap and then place it in an airtight container or freezer bag.
Q: My fondant is too soft, what should I do?
A: Knead in more powdered sugar until it reaches the desired consistency.
Q: Can I add flavors to my fondant?
A: Absolutely! Extracts, flavored oils, and even cocoa powder can be added to your fondant for a unique flavor twist.
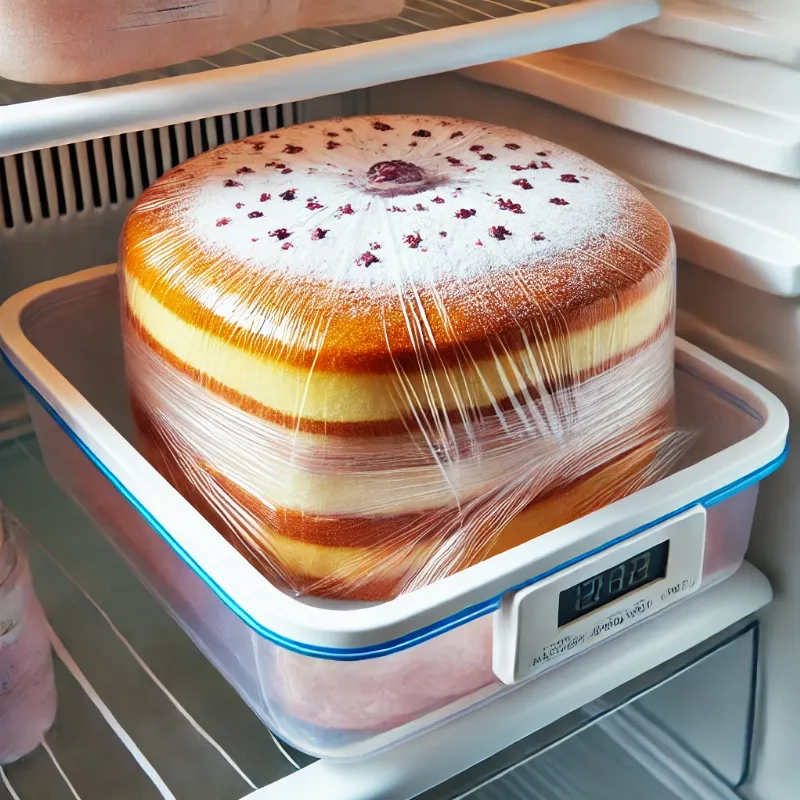 Properly storing homemade fondant to maintain its quality and extend its shelf life.
So there you have it – your comprehensive guide to making homemade fondant for cake decorating! From gathering your ingredients to troubleshooting common problems, you now have everything you need to transform your cakes into edible masterpieces. Remember, practice makes perfect, so don’t be afraid to experiment and have fun! Happy baking!
Pingback: Easy Cake Baking Recipes: Delicious Treats Made Simple - Bestbaking Recipes