
Indulging in a slice of Black Forest cake is a truly decadent experience. The layers of moist chocolate cake, whipped cream, cherries, and Kirsch create a symphony of flavors and textures that’s hard to resist. But what if you could recreate this iconic dessert at home? In this comprehensive guide, I’ll show you How To Make A Classic Black Forest Cake from scratch, sharing all my tips and tricks along the way so you can achieve bakery-worthy results.
Table Of Contents
Making a Black Forest cake may seem daunting, but it’s surprisingly achievable with a little patience and the right guidance. This recipe breaks down each step, from baking the perfect chocolate cake layers to creating the signature cherry filling and whipped cream frosting. Get ready to impress your friends and family with your newfound baking prowess! Following these steps will not only teach you how to make a classic Black Forest cake, but it will also give you a deeper understanding of the techniques involved, empowering you to tackle other complex baking projects.
Baking the Perfect Chocolate Cake Layers
The foundation of any great Black Forest cake is a moist, flavorful chocolate cake. Forget those dry, crumbly store-bought cakes – we’re going for the real deal. This recipe uses a combination of cocoa powder and melted chocolate for a deep, rich chocolate flavor that will have you hooked. Remember that time I tried substituting the cocoa powder with carob? Let’s just say it wasn’t my finest baking moment. Stick to the recipe, and you’ll be golden.
-
Start by whisking together your dry ingredients: flour, cocoa powder, sugar, baking powder, baking soda, and salt. This ensures everything is evenly distributed, leading to a consistent texture.
-
In a separate bowl, combine the wet ingredients: buttermilk, oil, eggs, and vanilla extract. The buttermilk adds a subtle tang that complements the richness of the chocolate.
-
Gradually add the wet ingredients to the dry ingredients, mixing until just combined. Be careful not to overmix, as this can develop the gluten and result in a tough cake.
-
Finally, fold in the melted chocolate. This is where the magic happens, giving the cake its signature intense chocolate flavor.
-
Divide the batter evenly between two prepared cake pans. I prefer using 9-inch round pans for a classic Black Forest cake.
-
Bake in a preheated oven until a toothpick inserted into the center comes out clean.
After the cakes have cooled completely, it’s time to move on to the next step: preparing the cherry filling.
Similar to a chocolate cherry cupcake recipe, this cake uses fresh cherries for an authentic taste.
Making the Cherry Filling
The cherry filling is what truly sets the Black Forest cake apart. It’s a delightful combination of sweet cherries, Kirsch (cherry brandy), and a touch of sugar.
-
Pit and chop fresh sweet cherries. You can use canned cherries in a pinch, but fresh cherries offer a superior flavor and texture. Remember to drain them well if using canned.
-
Combine the chopped cherries with sugar and Kirsch in a saucepan. The Kirsch adds a unique, boozy kick that is characteristic of a traditional Black Forest cake. If you prefer a non-alcoholic version, you can substitute cherry juice or even a little almond extract.
-
Cook the cherry mixture over medium heat until it thickens slightly. This creates a luscious, syrupy filling that will soak into the cake layers beautifully.
This filling is a crucial element. It’s what provides that distinct Black Forest flavor. Don’t skip the Kirsch if you can help it! It truly elevates the cake to another level.
 Preparing Cherry Filling with Fresh Cherries and Kirsch
Whipping Up the Cream Frosting
The light and airy whipped cream frosting provides a beautiful contrast to the rich chocolate cake and cherry filling.
-
Chill your mixing bowl and whisk in the freezer for about 15 minutes before starting. This helps the cream whip up faster and hold its shape better.
-
Beat heavy cream, powdered sugar, and vanilla extract until stiff peaks form. Don’t overwhip, or the cream will become grainy. I once made this mistake during a timed baking competition. Not a good memory!
-
Gently fold in some of the cherry filling into the whipped cream. This creates a beautiful ripple effect and adds another layer of cherry flavor.
This frosting is the perfect complement to the rich cake and tart cherries. It adds a lightness and airiness that balances the overall flavor profile.
Assembling the Black Forest Cake
Now comes the fun part: putting it all together!
-
Place one cake layer on a serving plate and brush it with some of the Kirsch syrup from the cherry filling. This adds extra moisture and flavor.
-
Spread a layer of the cherry filling over the cake layer.
-
Top with a generous dollop of whipped cream frosting.
-
Repeat with the second cake layer.
-
Frost the entire cake with the remaining whipped cream frosting.
-
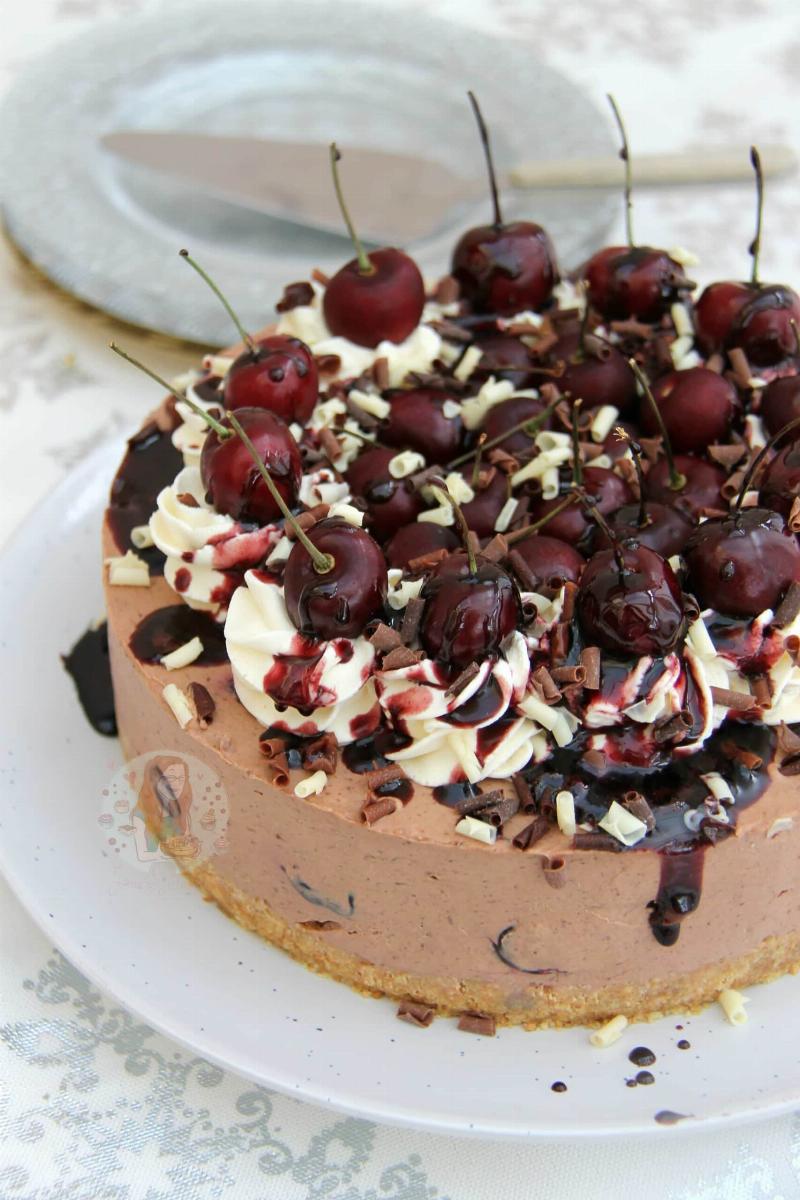
Decorate with chocolate shavings, fresh cherries, and chocolate curls.
Getting the right balance of Kirsch is crucial for the authentic Black Forest flavor. For more tips on working with Kirsch, you might find this article helpful: Baking with Liqueurs.
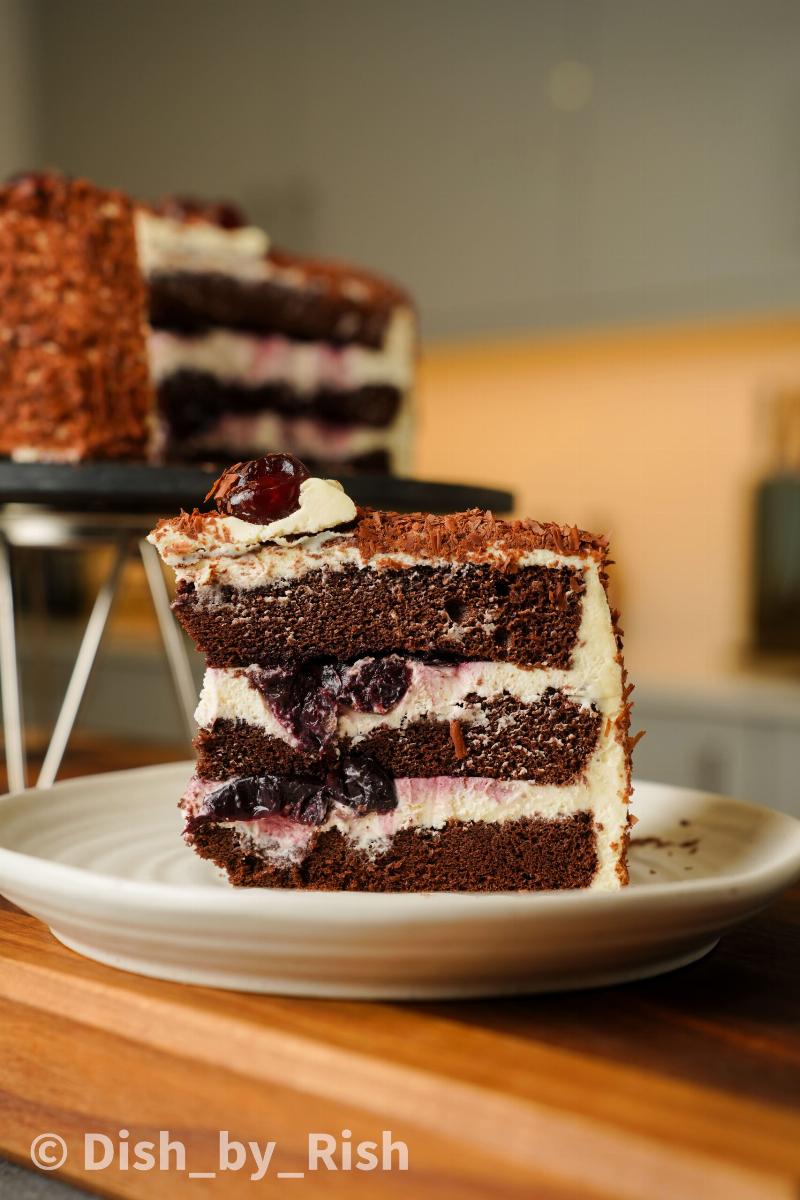 Assembling Black Forest Cake with Whipped Cream and Cherries
Final Touches and Serving
Once your Black Forest cake is assembled, chill it in the refrigerator for at least 30 minutes before serving. This allows the flavors to meld together and the cake to firm up. When you’re ready to serve, slice and enjoy! This cake is best enjoyed fresh, but it can be stored in the refrigerator for up to 3 days.
Frequently Asked Questions
-
Can I use frozen cherries? While fresh cherries are ideal, you can use frozen cherries if necessary. Just make sure to thaw them completely and drain off any excess liquid before using.
-
What can I substitute for Kirsch? If you don’t have Kirsch, you can use cherry juice or a little almond extract.
-
Can I make this cake ahead of time? Yes, you can assemble the cake a day ahead of time and store it in the refrigerator.
This cake is sure to be a showstopper at any gathering. So, gather your ingredients, put on your apron, and get ready to bake a masterpiece!