
Baking cookies is a beloved pastime, but achieving that perfect texture – crisp edges and a chewy center – can sometimes feel elusive. Enter the baking stone. This unassuming slab of stone can elevate your cookie game to new heights. In this guide, we’ll explore How To Bake Cookies With A Baking Stone, unlocking the secrets to consistently delicious results every time. Get ready to impress your friends and family with bakery-worthy treats!
Table Of Contents
The baking stone’s magic lies in its ability to distribute heat evenly and absorb excess moisture. Think of it like a super-powered baking sheet that prevents soggy bottoms and promotes even browning. Whether you’re a seasoned baker or just starting out, this guide will walk you through everything you need to know about using a baking stone for perfect cookies.
Why Use a Baking Stone for Cookies?
Using a baking stone offers several advantages when it comes to baking cookies. First and foremost, it provides even heat distribution. Unlike traditional baking sheets which can have hot spots, a baking stone absorbs and radiates heat consistently, ensuring your cookies bake evenly. This leads to a uniform texture and color across the entire batch. Ever noticed some cookies on a sheet are darker than others? A baking stone can help eliminate this issue.
Secondly, the porous nature of a baking stone helps to absorb excess moisture from the cookie dough. This results in crispier edges and a chewier center – the holy grail of cookie texture! No more sad, soggy cookies!
Finally, a baking stone retains heat effectively. This means it can withstand temperature fluctuations, leading to more consistent results even if your oven isn’t perfectly calibrated. Think of it as a steady, reliable partner in your baking endeavors.
 Baking stone cookies with even browning
Preparing Your Baking Stone
Before you start baking, it’s essential to prepare your baking stone properly. Never place a cold baking stone into a hot oven, as this can cause thermal shock and potentially crack the stone. Instead, place the stone in the oven while it preheats. This allows the stone to gradually heat up with the oven, preventing damage.
Think of it like letting a cast iron pan warm up – it’s all about gradual temperature changes. Aim for a preheating time of at least 30 minutes to ensure the stone is thoroughly heated. For thicker stones, you may need to preheat for longer.
 Preheating baking stone in oven
Baking Cookies on a Baking Stone
Once your oven and baking stone are preheated, it’s time to bake those cookies! Carefully slide your prepared cookie dough onto the hot baking stone using a parchment paper sling or a peel. Be careful not to overcrowd the stone, as this can impede airflow and lead to uneven baking.
Remember, a baking stone retains heat effectively, so you may need to adjust your baking time slightly. Start by checking your cookies a minute or two earlier than the recipe suggests. Look for golden-brown edges and a set center.
Tips for Baking the Best Cookies with a Baking Stone
Want to take your baking stone cookies to the next level? Here are a few expert tips:
-
Don’t grease the stone: The beauty of a baking stone is its non-stick surface. Greasing it is unnecessary and can actually create a greasy film that affects the cookie texture.
-
Use parchment paper: For easy cleanup and to prevent sticking, consider using parchment paper. Simply place a sheet of parchment paper on top of the hot baking stone before adding your cookie dough.
-
Cool the stone completely before cleaning: After baking, allow the baking stone to cool completely in the oven before cleaning it. This prevents rapid temperature changes that can cause damage. Avoid using soap, as the porous stone can absorb it. A simple wipe with a damp cloth is usually sufficient.
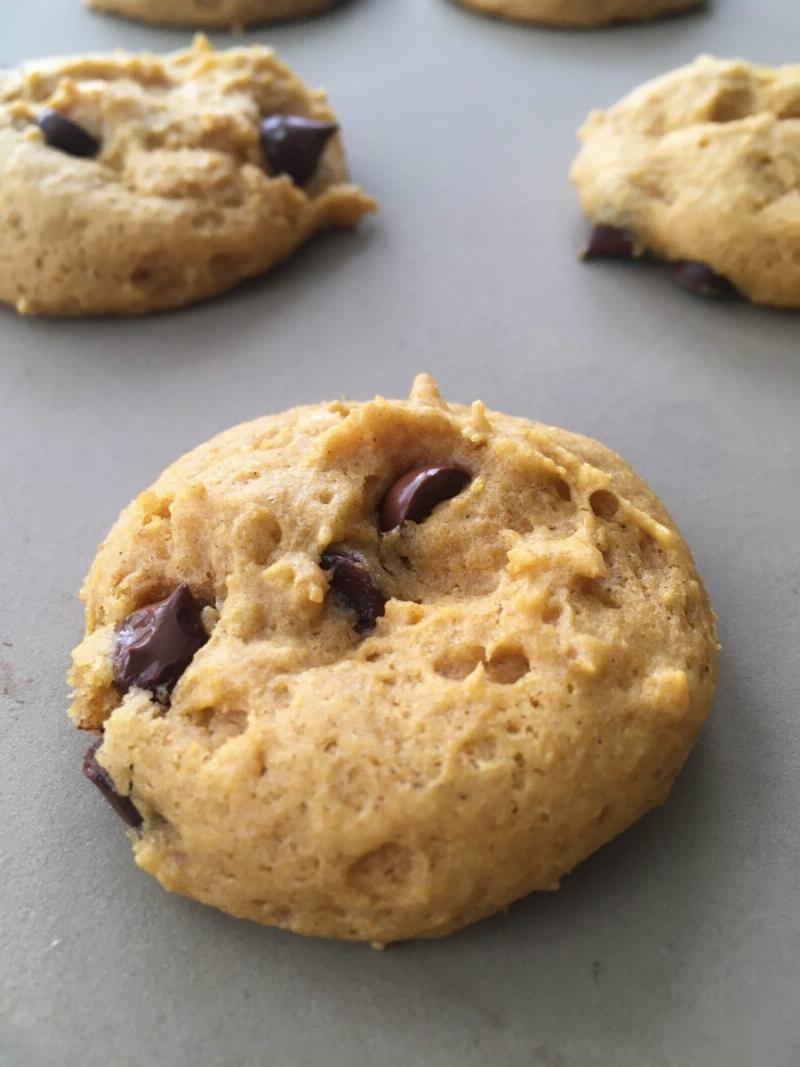 Chocolate chip cookies on baking stone
Troubleshooting Common Baking Stone Issues
-
Cookies are burning: If your cookies are burning on the bottom, your oven temperature might be too high. Try lowering the temperature by 25 degrees Fahrenheit and see if that helps.
-
Cookies are too pale: If your cookies are too pale, your oven temperature might be too low, or you might not be preheating the stone long enough. Ensure the stone is fully preheated and adjust the oven temperature as needed.
-
Cookies are spreading too much: If your cookies are spreading excessively, your dough might be too warm or too soft. Try chilling the dough for a longer period before baking.
Baking Stone Cookie Recipes
Now that you know how to bake cookies with a baking stone, it’s time to put your knowledge into practice. Try these delicious recipes:
-
Classic Chocolate Chip Cookies: A timeless favorite, baking these on a stone will enhance their chewy texture and crisp edges.
-
Oatmeal Raisin Cookies: The baking stone will help these cookies develop a wonderfully crisp exterior while keeping the inside soft and chewy.
-
Peanut Butter Cookies: Achieve perfectly browned and slightly crisp peanut butter cookies with the help of a baking stone.
 Variety of cookies baked on a baking stone
Frequently Asked Questions (FAQ)
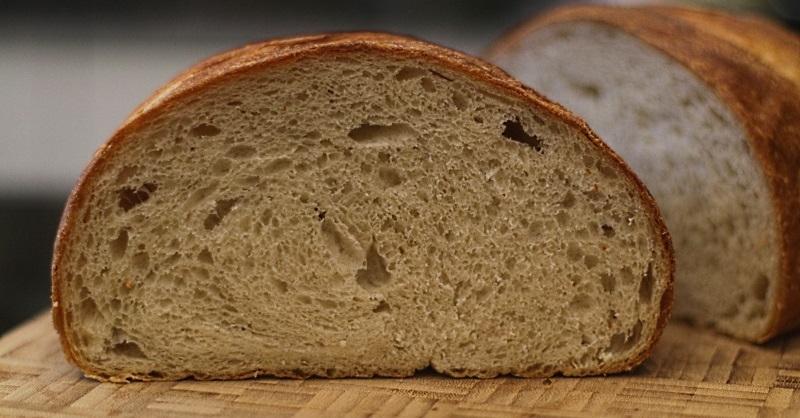
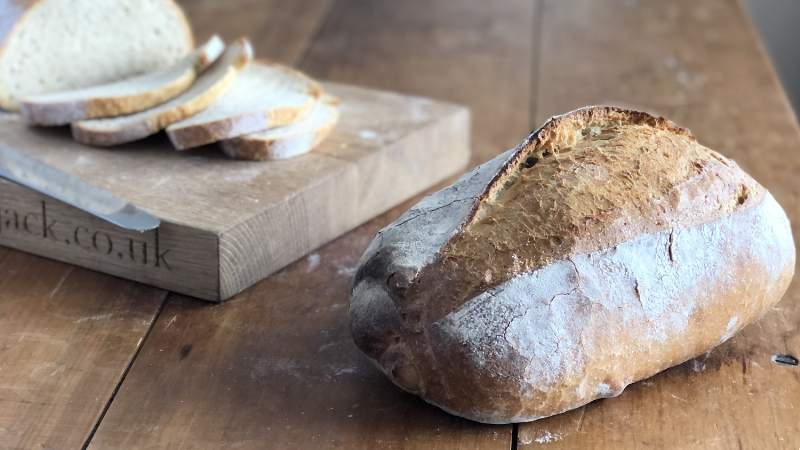
Q: Can I use a baking stone for other baked goods besides cookies?
A: Yes, a baking stone is incredibly versatile! You can use it for baking bread, pizza, pastries, and even roasted vegetables.
Q: How do I clean my baking stone?
A: Let the stone cool completely before cleaning. Wipe it down with a damp cloth. Avoid using soap, as the stone can absorb it.
Q: How long does a baking stone last?
A: With proper care, a baking stone can last for many years.
Conclusion
Baking cookies with a baking stone is a simple yet effective way to elevate your baking game. By following the tips and techniques outlined in this guide, you’ll be well on your way to creating consistently delicious, bakery-worthy cookies that will impress everyone. So, grab your baking stone, preheat your oven, and get ready to experience the difference! Share your baking triumphs with us – we’d love to hear about your baking adventures!