
Ever had that frustrating moment when your perfectly shaped dough decides to stage a disappearing act in the oven? You envisioned a golden, flaky crust, but instead, you get a shrunken, distorted mess. Don’t worry, you’re not alone. Dough shrinkage is a common baking woe, but thankfully, one that can be easily conquered. This guide will delve into the science behind why dough shrinks and equip you with the knowledge and techniques to prevent it, ensuring your baked goods rise to the occasion every time.
Table Of Contents
- Understanding the Enemy: Why Dough Shrinks
- The Power of Rest: Relaxing Your Dough
- Gentle Handling: Treating Your Dough with Care
- Proper Proofing: The Goldilocks Zone
- Temperature Control: The Baking Sweet Spot
- Dough Hydration: Finding the Right Balance
- Flour Power: Choosing the Right Flour
- Troubleshooting Shrinkage: A Baker’s Guide
- Conclusion: Conquering the Shrinkage Challenge
Similar to how a pie crust can shrink during baking, understanding the gluten development and resting time is crucial for preventing dough shrinkage. how to prevent pie crust from shrinking
Understanding the Enemy: Why Dough Shrinks
Before we dive into solutions, let’s understand the science behind shrinking dough. The main culprit? Gluten. This protein network gives dough its structure and elasticity. When gluten is overworked, it becomes tight and tense, like a stretched rubber band ready to snap back. During baking, the heat causes the gluten to contract, leading to shrinkage. Other factors contributing to shrinkage include not enough resting time, excessive proofing, and high oven temperatures.
The Power of Rest: Relaxing Your Dough
One of the most effective ways to prevent dough from shrinking is to give it ample resting time. Think of it as a spa day for your dough. Resting allows the gluten to relax, reducing its tendency to contract during baking. Aim for at least 30 minutes of rest after kneading and before shaping. For enriched doughs containing butter or eggs, chilling the dough for a few hours or even overnight can work wonders.
 Dough Resting to Prevent Shrinking
Gentle Handling: Treating Your Dough with Care
Overworking your dough is like overwinding a clock; it’s bound to spring back with unwanted consequences. Be gentle when kneading and shaping. Avoid aggressive handling, which can tighten the gluten. Instead, use a light touch and focus on developing the gluten just enough to give the dough structure without making it overly tense.
Proper Proofing: The Goldilocks Zone
Proofing, the process where yeast ferments and produces gas, is crucial for a light and airy final product. However, over-proofing can weaken the gluten structure, making it more prone to shrinkage. Aim for a “Goldilocks” proofing – not too little, not too much, but just right. The ideal proofing time depends on the type of dough and the surrounding temperature. A good indicator is when the dough has almost doubled in size and springs back slowly when gently poked.
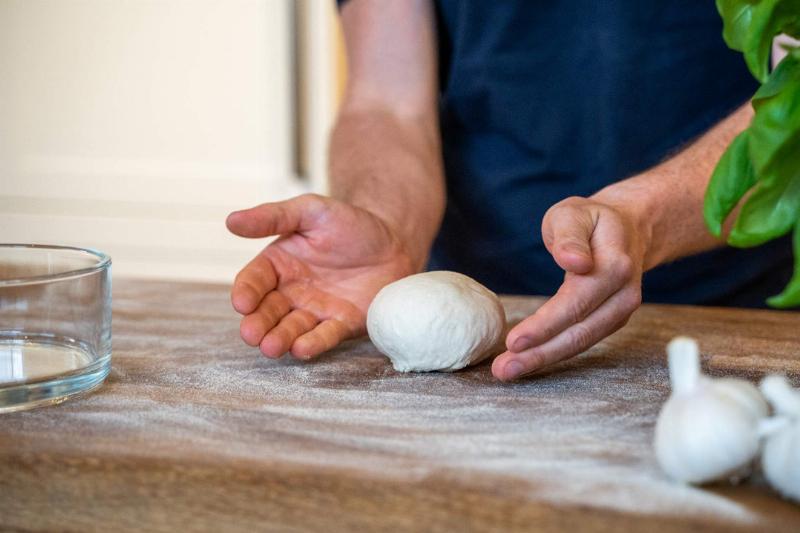 Proofed Dough at Ideal Size
This principle is also important when blind baking a pie crust. What is the best method for blind baking a pie crust?
Temperature Control: The Baking Sweet Spot
High oven temperatures can cause the dough’s surface to set too quickly, trapping steam and leading to shrinkage. Start with a slightly lower temperature than your recipe calls for and gradually increase it if needed. This allows the dough to expand fully before the crust sets. Using a baking stone or steel can also help distribute heat evenly and prevent hot spots.
Dough Hydration: Finding the Right Balance
The amount of water in your dough plays a critical role in gluten development and shrinkage. A dough that’s too dry will be difficult to work with and more likely to shrink. Conversely, a dough that’s too wet can be sticky and lack structure. Finding the right hydration level is key to preventing shrinkage.
 Dough Hydration Levels
A tender pie crust can be achieved by mastering the art of dough hydration. how to make a tender pie crust
Flour Power: Choosing the Right Flour
Different types of flour have varying protein contents, which affect gluten development. For example, bread flour has a higher protein content than all-purpose flour, resulting in a stronger gluten network. Choosing the right flour for your recipe can help prevent shrinkage.
Troubleshooting Shrinkage: A Baker’s Guide
Even with the best intentions, shrinkage can sometimes occur. Here’s a quick troubleshooting guide:
- Dough shrinking during proofing: This could indicate over-proofing or a warm environment. Try reducing the proofing time or moving the dough to a cooler spot.
- Dough shrinking during baking: This could be due to high oven temperature, overworked gluten, or not enough resting time. Adjust your baking temperature, be gentler with your dough next time, and ensure adequate resting.
Just like achieving a flaky pie crust, preventing shrinkage requires attention to detail and understanding the science behind dough. how to make flaky pie crust Understanding the reasons behind why dough shrinks is also crucial for preventing it in the future. Why does my pie crust shrink after baking?
 Preventing Dough Shrinkage During Baking
Conclusion: Conquering the Shrinkage Challenge
Preventing dough from shrinking isn’t about magic; it’s about understanding the science behind baking and applying a few simple techniques. By giving your dough ample rest, handling it gently, proofing it properly, controlling the temperature, finding the right hydration, and choosing the right flour, you can conquer the shrinkage challenge and create beautiful, well-structured baked goods. So, the next time you’re ready to bake, remember these tips and watch your dough rise to perfection. Happy baking! Share your success stories and any tips you’ve discovered in the comments below!