
Baking bread at high altitude can feel like a science experiment gone wrong. Flat loaves, odd textures, and a general sense of baking despair? I’ve been there. But trust me, conquering the high-altitude baking challenge is entirely possible. With a few tweaks to your favorite recipes and a dash of understanding, you’ll be pulling perfectly risen, golden-brown loaves out of your oven in no time. This guide will walk you through the why and how of high-altitude bread baking, ensuring your kitchen becomes a haven of delicious, high-rising success.
Table Of Contents
At higher altitudes, atmospheric pressure decreases. This means water boils at a lower temperature and evaporates more quickly. Think about how much faster pasta water boils in the mountains! This rapid evaporation affects bread dough in several ways. It can dry out the dough, leading to a tougher crumb. The yeast, energized by the warmth and moisture, can go into overdrive, producing excess gas before the gluten structure has a chance to develop fully. This can lead to over-proofing and a collapse during baking, resulting in that dreaded flat loaf. So, how do we combat these high-altitude baking gremlins?
Understanding the Science Behind High-Altitude Baking
Why does altitude affect baking? Simply put, the lower air pressure at higher altitudes changes how ingredients interact. Less pressure means gases expand more readily. Imagine blowing up a balloon at sea level and then taking it up a mountain. It would expand as you climbed! The same principle applies to the gases produced by yeast in your bread dough.
Adapting Your Bread Recipes for High Altitude
The key to successful high-altitude baking is adjusting your recipes. Here’s how:
-
Reduce the Yeast: Too much yeast will lead to over-proofing. Decrease the amount by about 25-50%. Start with a smaller reduction and experiment to find what works best for your specific altitude and recipe.
-
Increase the Liquid: Since water evaporates more quickly, adding a little extra liquid helps keep the dough moist and pliable. Start by adding 1-2 tablespoons of liquid per cup of flour and adjust as needed.
-
Lower the Oven Temperature: Baking at a slightly lower temperature gives the gluten more time to develop and the inside of the loaf to cook thoroughly before the crust becomes too dark. Reduce your oven temperature by 25°F.
-
Increase the Baking Time: Because you’re baking at a lower temperature, you’ll need to increase the baking time. Start by adding 5-10 minutes and check for doneness using a thermometer. The internal temperature of a fully baked loaf should be around 200-210°F.
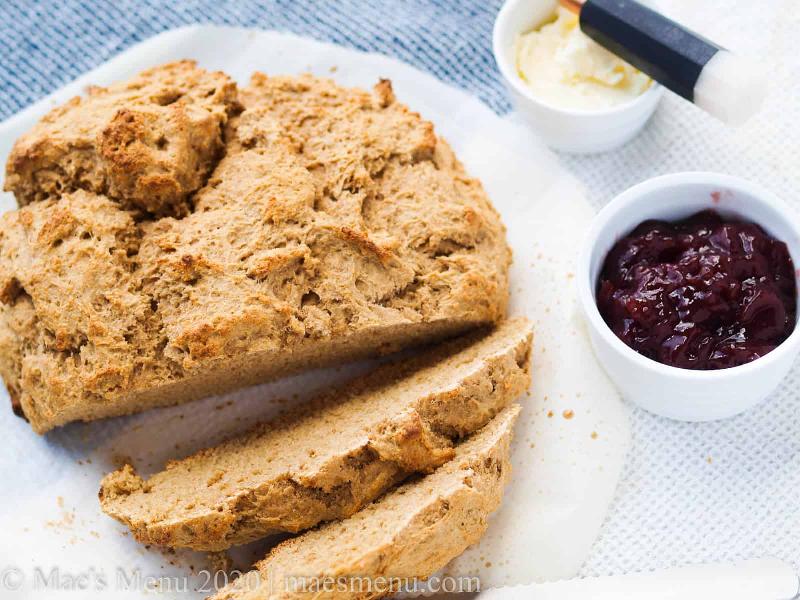
 High Altitude Bread Baking Ingredients
Tips and Tricks for High-Altitude Baking Success
Beyond recipe adjustments, here are a few extra tips to help you achieve high-altitude baking mastery:
-
Use a Bread Thermometer: This is the most accurate way to determine if your bread is fully baked.
-
Cover the Dough: Prevent the dough from drying out by covering it with a damp cloth or plastic wrap during rising.
-
Don’t Over-Knead: Over-kneading can lead to a tough crumb, especially at higher altitudes.
-
Experiment: Every oven and altitude is different. Keep track of your results and adjust your recipes accordingly.
 Kneading Dough at High Altitude
Common High-Altitude Baking Problems and Solutions
-
Flat Loaves: This is often caused by over-proofing or too much yeast. Reduce the yeast and make sure your dough isn’t rising too quickly.
-
Dry Crumb: Increase the liquid in your recipe. You can also try brushing the baked loaf with melted butter immediately after it comes out of the oven.
-
Burnt Crust: Lower the oven temperature and increase the baking time. You can also tent the loaf with foil during the last part of baking to prevent over-browning.
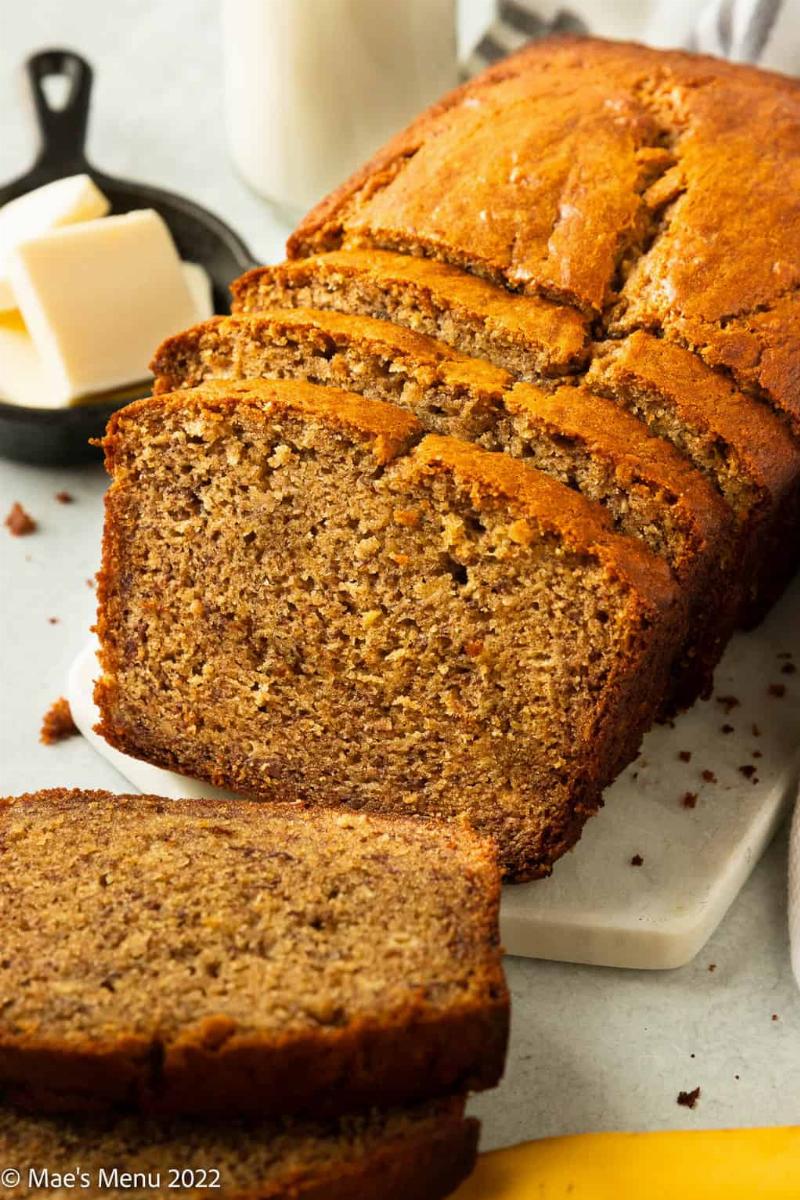
 Perfectly Baked Bread Loaf at High Altitude
Baking Bread at High Altitude: FAQs
Q: How do I know if my yeast is still active at high altitude?
A: You can test your yeast by dissolving it in warm water with a pinch of sugar. If it foams within 5-10 minutes, it’s active.
Q: Can I use any bread recipe at high altitude?
A: Yes, but you’ll need to adjust the recipe according to the guidelines provided above.
Q: What is the ideal water temperature for activating yeast at high altitude?
A: Aim for a water temperature between 105-115°F. Because water boils at a lower temperature at high altitudes, it’s crucial to use a thermometer to ensure the water isn’t too hot and doesn’t kill the yeast.
Q: Does the type of flour affect high-altitude baking?
A: Yes, different flours absorb water differently. Bread flour, with its higher protein content, is generally recommended for high-altitude baking.
Q: Why is my bread dense and heavy at high altitude?
A: This could be due to several factors, including too little liquid, over-kneading, or not enough proofing time.
 Checking Bread Doneness with a Thermometer
Baking at high altitude doesn’t have to be intimidating. With a little practice and these simple adjustments, you’ll be baking delicious, perfectly risen bread that rivals any sea-level bakery. So, embrace the challenge, experiment, and enjoy the satisfying aroma of freshly baked bread filling your high-altitude kitchen!