
Making bagels at home might seem daunting, like scaling a culinary Everest. But trust me, with a little patience and the right guidance, you can achieve that perfect chewy interior and glossy, golden crust. Forget those pale, doughy imitations – we’re talking about REAL bagels, the kind that rival your favorite New York deli. Are you ready to embark on this delicious journey?
Table Of Contents
- Understanding the Bagel Basics
- Ingredients for Bagel Success
- Mixing and Kneading: Building the Foundation
- The Windowpane Test: Your Dough’s Ready When…
- Shaping and Proofing: The Art of the Bagel
- The Overnight Proof: A Slow and Steady Rise
- The Boiling Point: The Bagel’s Defining Moment
- The Perfect Swirl: Signs of a Happy Bagel
- Baking and Enjoying: The Grand Finale
- Toppings Galore: Unleash Your Creativity
- Troubleshooting Your Bagels: Common Challenges and Solutions
- FAQ: Answering Your Bagel Questions
For years, I was intimidated by the thought of making bagels from scratch. I had visions of dense, leaden hockey pucks instead of the light, airy wonders I craved. Then, a seasoned baker shared her secrets, and my bagel-making world transformed. Now, I’m here to share those secrets with you. This guide will equip you with all the knowledge you need to master the art of How To Make Bagels At Home. For those wanting a quicker approach, check out our simple bagel recipes.
Understanding the Bagel Basics
What sets bagels apart from ordinary bread? The secret lies in the boiling process. Before baking, bagels take a quick dip in simmering water, which gelatinizes the starches on the surface, creating that signature chewy texture. This crucial step is what gives bagels their unique character.
Ingredients for Bagel Success
- High-gluten flour: This is key for that desirable chewiness. Think of it as the scaffolding for your bagel’s structure.
- Yeast: The engine that drives the rise and gives bagels their airy texture.
- Water: The lifeblood of the dough. The temperature is critical, so a thermometer is your best friend here.
- Salt: Enhances the flavor and controls the yeast activity.
- Sweetener (optional): A touch of malt syrup or honey adds a subtle sweetness and helps with browning.
Mixing and Kneading: Building the Foundation
The mixing and kneading stage is where the magic begins. You’re developing the gluten, which is essential for the bagel’s structure. This process can be done by hand or with a stand mixer, but either way, it’s a labor of love.
The Windowpane Test: Your Dough’s Ready When…
You’ll know your dough is ready when it passes the “windowpane test.” Take a small piece of dough and gently stretch it. If you can stretch it thin enough to see light through it without tearing, you’ve achieved that perfect gluten development. Think of it like stretching a balloon – you want it thin, but not so thin that it pops.
 Bagel Dough Windowpane Test
Shaping and Proofing: The Art of the Bagel
Now comes the fun part – shaping those beautiful rings. There are several methods, from rolling the dough into a rope and connecting the ends to using a bagel mold. Don’t be discouraged if your first few attempts look less than perfect – practice makes perfect!
The Overnight Proof: A Slow and Steady Rise
After shaping, the bagels take a leisurely dip in the fridge for an overnight proof. This slow rise develops flavor and improves the texture. It’s like letting a fine wine age – it only gets better with time. Imagine waking up to the promise of freshly baked bagels – it’s a baker’s dream come true!
 Shaping Bagels – Various Methods
The Boiling Point: The Bagel’s Defining Moment
The boiling stage is what truly distinguishes a bagel from other breads. This brief but crucial step sets the stage for that characteristic chewy crust and glossy sheen.
The Perfect Swirl: Signs of a Happy Bagel
When you drop the bagels into the simmering water, they should float to the surface within a few seconds. This is a sign that your bagels are properly proofed and ready to bake. They’ll bob happily in the pot, eagerly awaiting their final transformation. For even more flavor, consider adding malt syrup or honey to the boiling water. This creates a subtle sweetness and enhances the browning.
Baking and Enjoying: The Grand Finale
After their hot bath, the bagels are ready for the oven. They’ll bake to a beautiful golden brown, their surfaces glistening invitingly. The aroma that fills your kitchen is pure heaven – it’s the scent of bagel perfection.
Toppings Galore: Unleash Your Creativity
Once baked, the possibilities are endless! From classic cream cheese and lox to savory everything bagels, the choice is yours. For those who love experimenting with flavors, try our simple bagel recipes for inspiration.
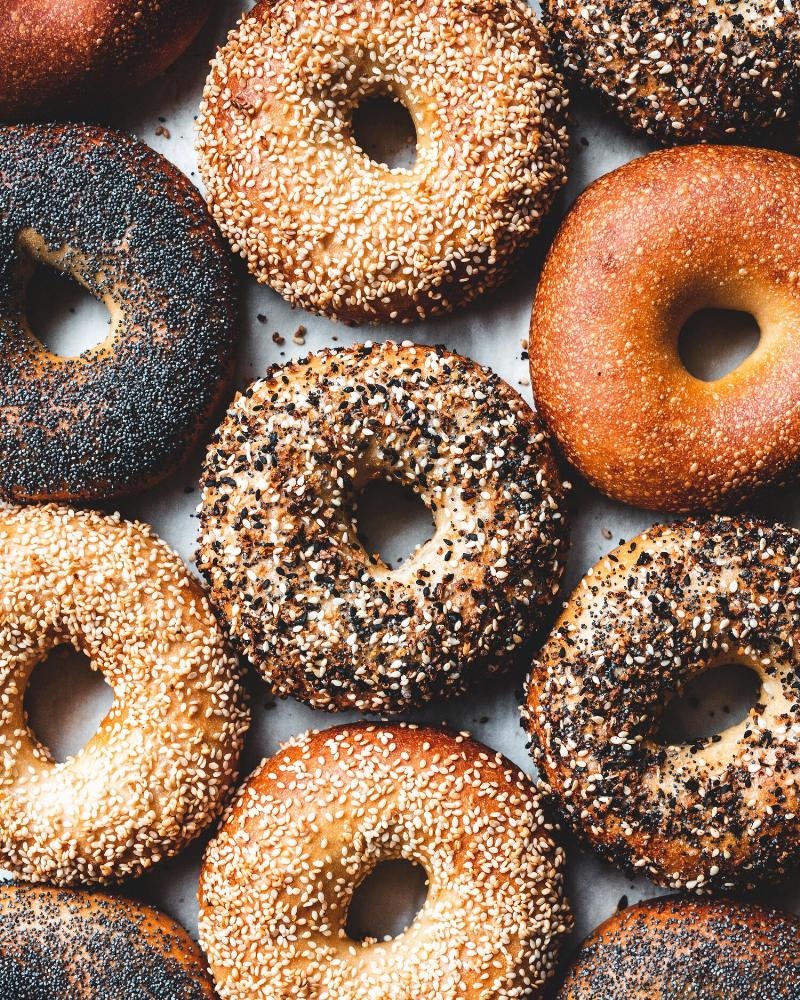
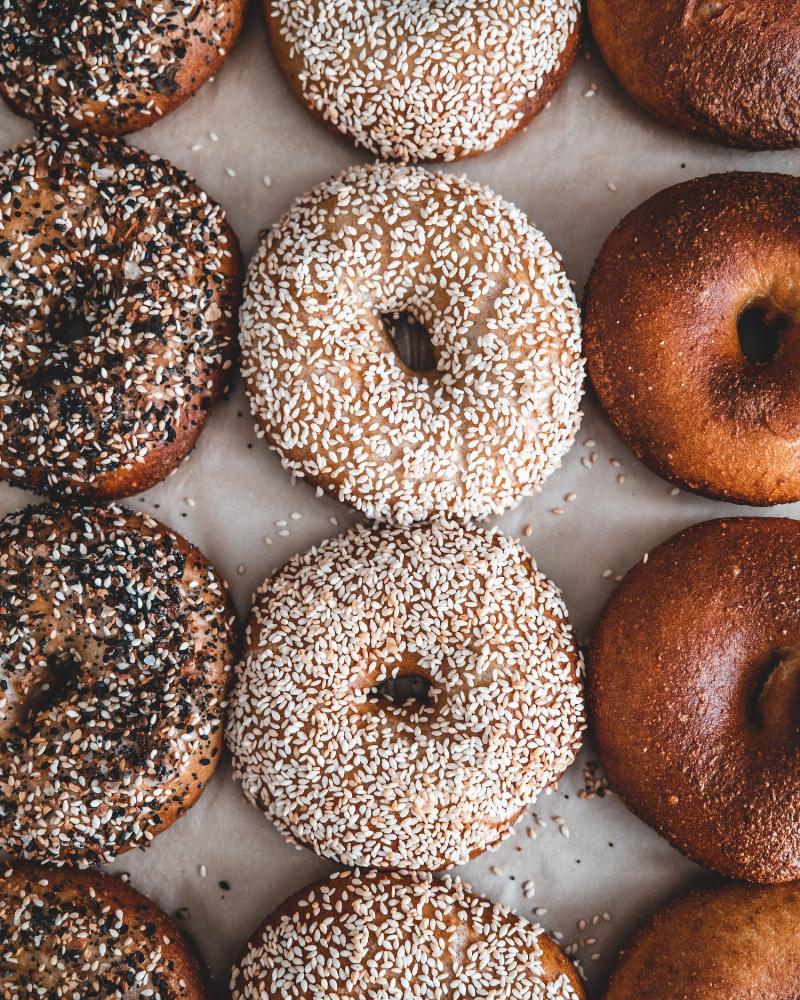
 Freshly Baked Bagels with Toppings
Troubleshooting Your Bagels: Common Challenges and Solutions
Even seasoned bakers encounter challenges. If your bagels aren’t quite perfect, don’t despair! Here are some common issues and how to fix them:
- Dense bagels: This often indicates under-proofing or over-kneading.
- Flat bagels: This could be due to over-proofing or too much boiling time.
- Pale bagels: Try adding a sweetener to the dough or boiling water to enhance browning.
Remember, baking is a journey, not a destination. Each batch of bagels you make is an opportunity to learn and improve. With patience and practice, you’ll be making bagels that rival the best in no time!
FAQ: Answering Your Bagel Questions
- Can I use all-purpose flour instead of high-gluten flour? While you can use all-purpose flour, high-gluten flour is recommended for the best results. It provides the necessary gluten development for a chewy bagel.
- How long should I boil the bagels? Boiling time is typically 1-2 minutes per side.
- Can I freeze my bagels? Absolutely! Freeze them after they’ve cooled completely.
So there you have it – everything you need to know about how to make bagels at home. Now, go forth and bake! Don’t forget to share your bagel triumphs (and even your tribulations!) in the comments below. Happy baking!
Pingback: How to Make the Perfect Bagels at Home - Bestbaking Recipes