
Baking your own multigrain bread at home can be incredibly rewarding. Not only do you get the satisfaction of creating something delicious from scratch, but you also control the ingredients, ensuring a healthier and tastier loaf than most store-bought options. This guide will equip you with the knowledge and techniques to make bakery-style multigrain bread in the comfort of your own kitchen. We’ll cover everything from choosing the right grains to kneading and shaping the dough, empowering you to become a true multigrain bread master. So, are you ready to fill your home with the irresistible aroma of freshly baked bread? Let’s dive in!
Table Of Contents
- Choosing Your Multigrain Mix
- The Importance of Soaking Grains
- Kneading and Shaping: The Art of Bread Making
- Proofing Your Dough: Patience is Key
- Baking Your Multigrain Masterpiece
- Enhancing Your Multigrain Bread: Adding Flavour and Texture
- Troubleshooting: Common Multigrain Bread Challenges
- How to Store Multigrain Bread: Keeping it Fresh
- Why make multigrain bread at home?
- What are the best grains to use for multigrain bread?
- How long does it take to make multigrain bread?
Choosing Your Multigrain Mix
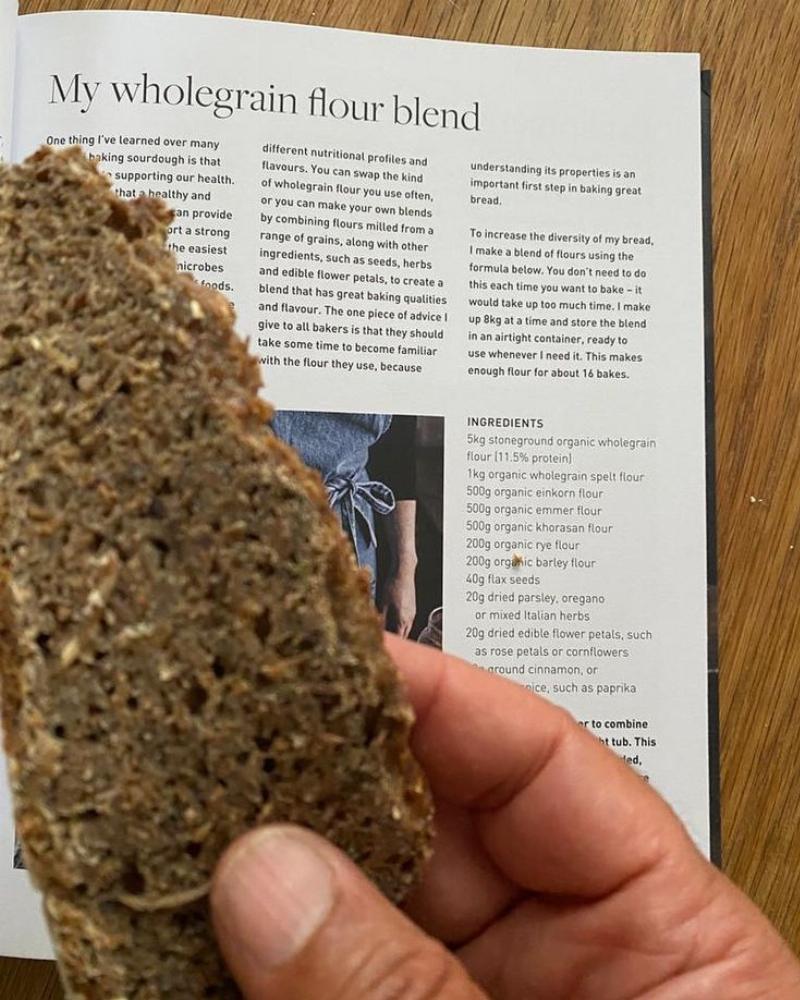
The beauty of multigrain bread lies in its versatility. You can customize your blend of grains to create a loaf that perfectly suits your taste and dietary needs. A good starting point is a combination of whole wheat flour, rye flour, and oats. From there, you can add other grains like barley, spelt, flaxseed, or even quinoa. Experiment with different ratios to discover your perfect multigrain mix. My personal favourite includes sunflower seeds and cracked wheat for added texture and nutty flavour. Remember that different grains absorb water differently, so be prepared to adjust the liquid content of your dough accordingly.
The Importance of Soaking Grains
Soaking your grains is a crucial step in making delicious multigrain bread. Soaking helps soften the grains, making them easier to digest and enhancing their flavour. It also improves the texture of the bread, preventing it from becoming dry and crumbly. Think of it like this: dry grains are like little sponges, ready to absorb all the moisture from your dough. Soaking them beforehand ensures that they are already hydrated, allowing the dough to develop properly. Soak your grains in warm water for at least an hour, or even overnight, for best results.
 Soaking multigrain mixture in a bowl
Kneading and Shaping: The Art of Bread Making
Kneading is the process that develops the gluten in your dough, giving your bread its structure and chewiness. Don’t be intimidated by this step! It might seem daunting at first, but with a little practice, you’ll become a kneading pro. Aim for a smooth, elastic dough that springs back when you poke it. If you have a stand mixer, you can let it do the hard work for you. If not, kneading by hand is a great workout and a very satisfying process. Once your dough is kneaded, it’s time to shape it. From classic loaves to rustic boules, the possibilities are endless.
Proofing Your Dough: Patience is Key
Proofing, or allowing your dough to rise, is essential for developing flavour and creating a light, airy texture. This is where the magic of yeast comes into play. As the yeast consumes the sugars in the dough, it produces carbon dioxide, which creates air bubbles and causes the dough to expand. The first proof, also known as bulk fermentation, is where the dough doubles in size. After shaping your loaf, you’ll proof it a second time, allowing it to rise again before baking. The proofing time can vary depending on the temperature and humidity of your environment, so keep an eye on your dough and be patient.
 Proofing dough in a bowl on a kitchen counter
Baking Your Multigrain Masterpiece
The moment of truth has arrived! Preheat your oven to the correct temperature, ensuring it’s nice and hot before you bake your bread. A hot oven creates steam, which helps the bread rise and develop a crispy crust. Baking time will depend on the size and shape of your loaf, but a good rule of thumb is to bake until the crust is golden brown and the internal temperature reaches 200°F (93°C). Once baked, let your bread cool completely on a wire rack before slicing and enjoying.
Enhancing Your Multigrain Bread: Adding Flavour and Texture
While a simple multigrain loaf is delicious on its own, don’t be afraid to get creative! Consider adding herbs, spices, or even cheese to your dough. Rosemary and thyme pair beautifully with multigrain bread, adding a touch of earthy flavour. For a cheesy twist, try incorporating shredded cheddar or Parmesan into the dough. You can also add nuts, seeds, or dried fruits for extra texture and flavour.
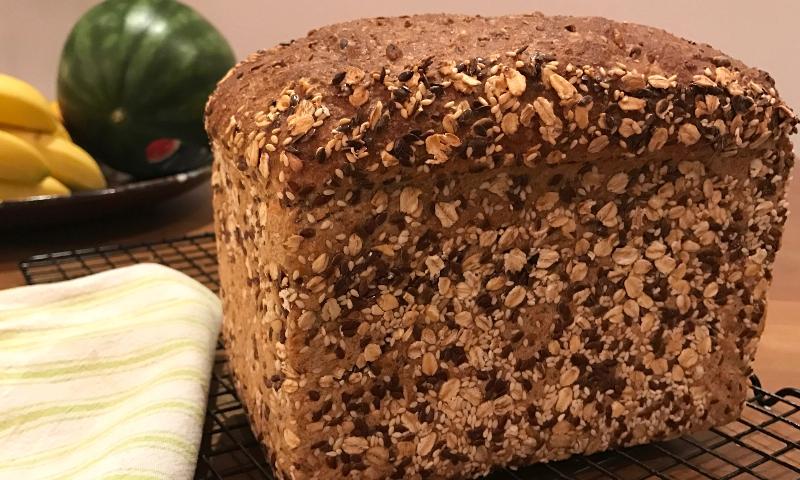
 Baked multigrain bread loaf on a cutting board
Troubleshooting: Common Multigrain Bread Challenges
Even experienced bakers encounter challenges from time to time. If your bread is too dense, it could be due to under-kneading or not enough proofing time. If the crust is too hard, try lowering the oven temperature or covering the loaf with foil during the last few minutes of baking. Don’t be discouraged if your first attempt isn’t perfect. Baking is a learning process, and each loaf you make will be a step closer to perfection.
How to Store Multigrain Bread: Keeping it Fresh
Proper storage is key to enjoying your homemade multigrain bread for as long as possible. Store your bread in an airtight container at room temperature for up to 3 days, or in the freezer for up to 3 months. Avoid storing bread in the refrigerator, as this can cause it to dry out more quickly.
Why make multigrain bread at home?
Making multigrain bread at home allows you to control the ingredients, ensuring a healthier and more flavorful loaf. You can also customize the grains to suit your preferences.
What are the best grains to use for multigrain bread?
A good mix includes whole wheat flour, rye flour, oats, barley, spelt, flaxseed, and quinoa. Experiment to find your favorite combination!
How long does it take to make multigrain bread?
The entire process, including soaking, kneading, proofing, and baking, can take several hours. Be patient, the results are worth it!
In conclusion, making bakery-style multigrain bread at home is a rewarding experience that allows you to create a delicious and healthy loaf. By following these tips and techniques, you’ll be well on your way to becoming a multigrain bread master. So, gather your ingredients, put on your apron, and start baking!