
Making bread dough might seem like a mystical art, but I’m here to tell you it’s absolutely achievable, even for beginners. From simple loaves to elaborate pastries, mastering the art of bread dough opens a world of baking possibilities. This guide will take you through the essential steps of How To Make Bread Dough, providing you with the knowledge and confidence to create delicious, homemade bread. Are you ready to fill your kitchen with the warm, inviting aroma of freshly baked bread? Let’s get started!
Table Of Contents
Similar to the nuances in how to make bread with slow fermentation, understanding the basic principles of bread dough is crucial.
Understanding the Fundamentals of Bread Dough
Bread dough, at its core, is a simple combination of flour, water, and yeast. These three ingredients interact to create the magic of bread. Flour provides the structure, water hydrates the flour and activates the yeast, and yeast is the leavening agent that makes the dough rise. Sounds simple, right? Well, it is! But understanding the nuances of each ingredient and how they work together is what separates a good loaf from a great one.
Think of it like building a house. Flour is your brick, water is the mortar, and yeast is the magic that makes it all expand and take shape. Without any one of these elements, the structure wouldn’t be complete.
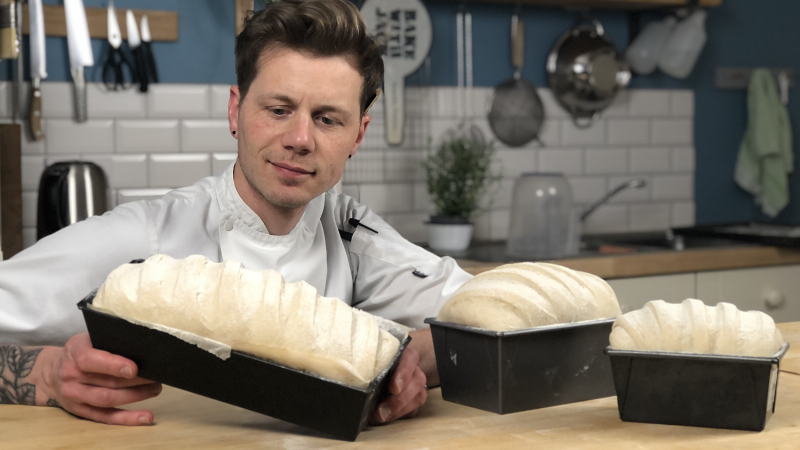 Basic Bread Dough Ingredients
Essential Ingredients for Perfect Bread Dough
Let’s break down each key ingredient and why it matters:
- Flour: The type of flour you use affects the texture and flavor of your bread. All-purpose flour is a good starting point for most breads, but bread flour, with its higher protein content, will yield a chewier crumb.
- Water: Water activates the yeast and hydrates the flour, allowing gluten development. The temperature of the water is crucial – too hot and it will kill the yeast, too cold and it won’t activate properly.
- Yeast: Yeast is the star of the show, responsible for the rising action. Active dry yeast, instant yeast, and fresh yeast are all options, each with its own method of activation. Which one should you use? Check our yeast guide for a detailed comparison.
- Salt: Salt is more than just a seasoning. It controls yeast activity, strengthens gluten, and enhances the overall flavor of the bread.
 Types of Yeast for Bread Making
Step-by-Step Guide: How to Make Bread Dough
Now, let’s dive into the process of how to make bread dough:
- Activating the Yeast: This step is crucial for a successful rise. If using active dry yeast, dissolve it in warm water with a pinch of sugar. Instant yeast can be added directly to the dry ingredients.
- Combining Ingredients: In a large bowl, combine the flour and salt. Add the activated yeast (or instant yeast) and begin to mix. Gradually add the water, mixing until a shaggy dough forms.
- Kneading the Dough: This is where the magic happens! Turn the dough out onto a lightly floured surface and knead for 8-10 minutes, or until smooth and elastic. Don’t be afraid to get your hands dirty! Kneading develops the gluten, which gives bread its structure. Want to perfect your kneading technique? simple naan bread recipes offers a great visual guide.
- First Rise (Bulk Fermentation): Place the dough in a lightly oiled bowl, cover, and let it rise in a warm place for 1-2 hours, or until doubled in size. This is where the yeast does its work, producing carbon dioxide and making the dough rise.
- Shaping the Dough: After the first rise, gently punch down the dough to release the air. Shape it into your desired form – a round loaf, a baguette, or even rolls.
- Second Rise (Proofing): Place the shaped dough on a baking sheet or in a loaf pan, cover, and let it rise for another 30-60 minutes, or until almost doubled. Proofing allows the dough to relax and develop flavor.
- Baking the Bread: Preheat your oven to the appropriate temperature (usually between 375°F and 450°F). Bake the bread for the specified time, or until golden brown and the internal temperature reaches 200°F. Wondering how to achieve that perfect crust? How to make rustic country bread with a thick crust has some excellent tips.
Troubleshooting Common Bread Dough Issues
Even experienced bakers encounter challenges. Here are a few common issues and how to fix them:
- Dense Bread: This usually indicates under-kneading or not enough yeast activity. how to fix dense bread offers detailed solutions.
- Over-Proofed Dough: If your dough rises too much, it can collapse in the oven. Be mindful of the rising times and temperature.
- Sticky Dough: Add a little more flour, a tablespoon at a time, until the dough is manageable.
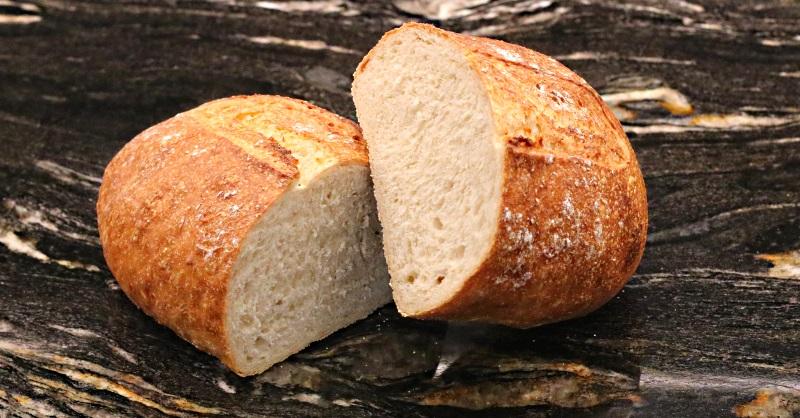 Baked Loaf of Bread on Cooling Rack
Storing Your Homemade Bread
Once your bread has cooled completely, store it in an airtight container at room temperature for up to 3 days. For longer storage, freeze the bread. Best way to store homemade bread provides further guidance on keeping your bread fresh.
By following these steps and understanding the fundamental principles of how to make bread dough, you can enjoy the satisfaction of creating delicious homemade bread. So, roll up your sleeves, gather your ingredients, and get ready to bake!
Pingback: Delicious Gluten Free Bread Recipes: A Baker's Guide - Bestbaking Recipes