
Bread making is a rewarding experience, but achieving that perfect, airy loaf often hinges on one crucial factor: elasticity. Elastic dough is key to a well-risen, light, and textured bread. So, how do you achieve that coveted elasticity? This guide will delve into the secrets of How To Make Bread Dough Elastic, transforming you from a novice baker into a bread-making maestro.
Table Of Contents
Understanding Dough Elasticity
Elasticity refers to the dough’s ability to stretch and recoil. Think of it like a rubber band – you want it to spring back after being pulled. This characteristic is essential for trapping the gases produced during fermentation, leading to a beautiful rise and that desirable open crumb structure. Without elasticity, your bread may be dense, flat, and disappointing.
The Key Players: Flour, Water, and Gluten
The magic of elastic dough lies primarily in the interplay between flour, water, and the resulting gluten development. Flour contains proteins that, when hydrated, form gluten. Gluten is a network of proteins that gives bread its structure and elasticity. The amount and type of protein in your flour directly affect gluten development. For instance, bread flour, with its higher protein content, is ideal for achieving that desirable stretch.
Kneading: The Catalyst for Elasticity
Kneading is the crucial step where the magic happens. It’s the process of repeatedly stretching, folding, and turning the dough. This action aligns and strengthens the gluten strands, creating the elastic network necessary for trapping gases. The dough will transform from a sticky, shapeless mass into a smooth, pliable ball that springs back when poked. Don’t rush this process; proper kneading is paramount to success.
“Proper kneading is akin to sculpting – you’re shaping not just the dough, but the very character of your bread.” – Chef Jean-Pierre Dubois
The Windowpane Test: Gauging Elasticity
How do you know when your dough has reached optimal elasticity? The windowpane test is your answer. Take a small piece of dough and gently stretch it between your fingers. If it tears easily, it needs more kneading. If it forms a thin, translucent membrane, much like a windowpane, without tearing, you’ve achieved that perfect elasticity. Congratulations, your dough is ready for its first rise!
 Performing the Windowpane Test
Factors Affecting Elasticity
Several factors can influence dough elasticity. Too much or too little water can disrupt gluten formation. Temperature also plays a vital role; a warm environment encourages yeast activity and gluten development. Over-kneading, while less common, can also lead to a tough, inelastic dough.
Tips and Tricks for Enhancing Elasticity
- Autolyse: This technique involves mixing the flour and water and letting it rest for 20-30 minutes before adding the yeast and salt. This allows the flour to fully hydrate, promoting better gluten development. Similar to How to make bread dough rise overnight, this technique encourages a slow and controlled fermentation process.
- Use the right flour: Bread flour or high-gluten flour is your best bet for achieving maximum elasticity.
- Control the temperature: Ensure your water is at the right temperature as specified in the recipe.
- Be patient: Kneading takes time and practice. Don’t be discouraged if your first attempts aren’t perfect.
- Practice makes perfect: The more you bake, the better you’ll become at judging dough elasticity.
Troubleshooting Inelastic Dough
If your dough still feels stubbornly inelastic, don’t despair. Adding a small amount of vital wheat gluten can boost gluten development. You can also try increasing the kneading time slightly.
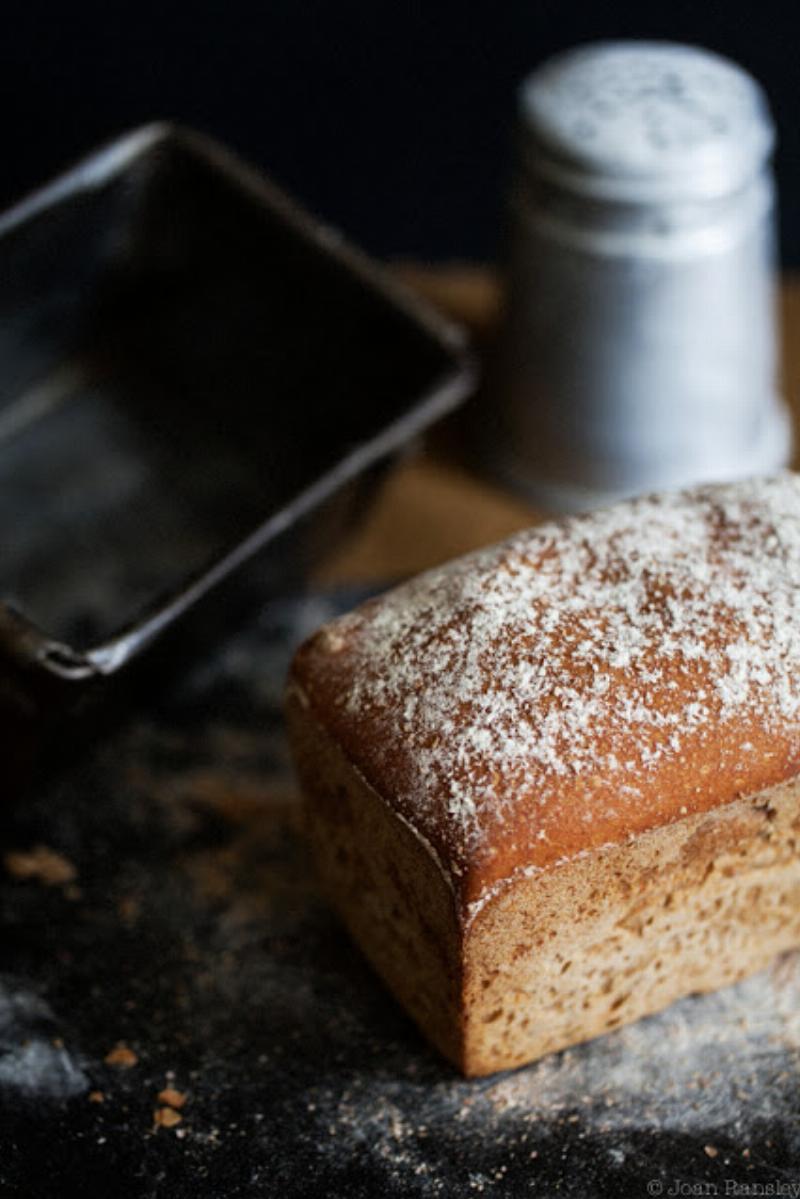 Elastic Bread Dough Ready for Rising
“The feel of elastic dough in your hands is a testament to the transformative power of simple ingredients.” – Baker Amelia Garcia
Conclusion
Achieving elastic bread dough is a fundamental skill for any baker. By understanding the science behind gluten development and mastering the art of kneading, you’ll be well on your way to creating loaves with a beautiful rise, open crumb, and irresistible texture. Remember, practice makes perfect. So keep kneading, keep experimenting, and soon, you’ll be baking bread that is both delicious and visually stunning. Mastering how to make bread dough elastic unlocks the door to a world of baking possibilities. Now, go forth and create some bread magic!
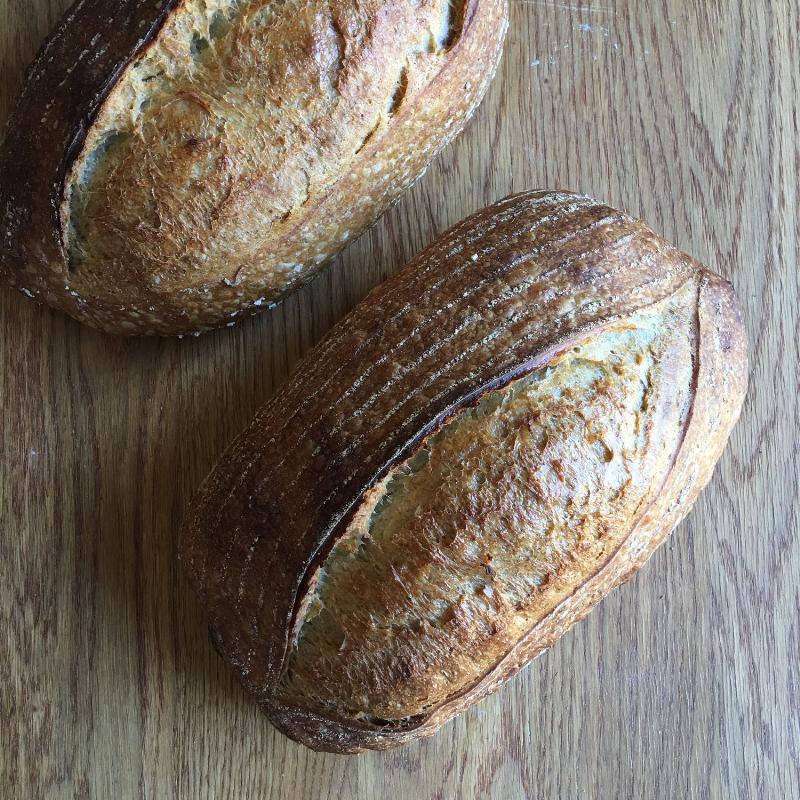 Baked Loaf from Elastic Dough
For those who enjoy experimenting with different bread recipes, consider trying our Bread recipe with oats, Bread recipe no sugar, or Bread recipe with fruit. If you’re a fan of richer breads, our Bread recipe with butter is a must-try.
FAQ
-
Why is my bread dough still sticky after kneading? This could be due to too much water or insufficient kneading. Try adding a little more flour or kneading for a longer time.
-
Can I use a stand mixer to knead the dough? Yes, a stand mixer with a dough hook is excellent for kneading bread dough.
-
How long should I knead bread dough by hand? Typically, 10-15 minutes of hand kneading is sufficient.
-
What is the windowpane test? It’s a method to check dough elasticity by stretching a small piece. If it forms a thin membrane without tearing, the dough is ready.
-
What should I do if my dough tears during the windowpane test? Knead for a few more minutes and try again.
-
Can I over-knead dough? Yes, over-kneading can result in tough bread.
-
What type of flour is best for elastic dough? Bread flour or high-gluten flour is recommended.
Pingback: How to Knead Bread Dough - Bestbaking Recipes