
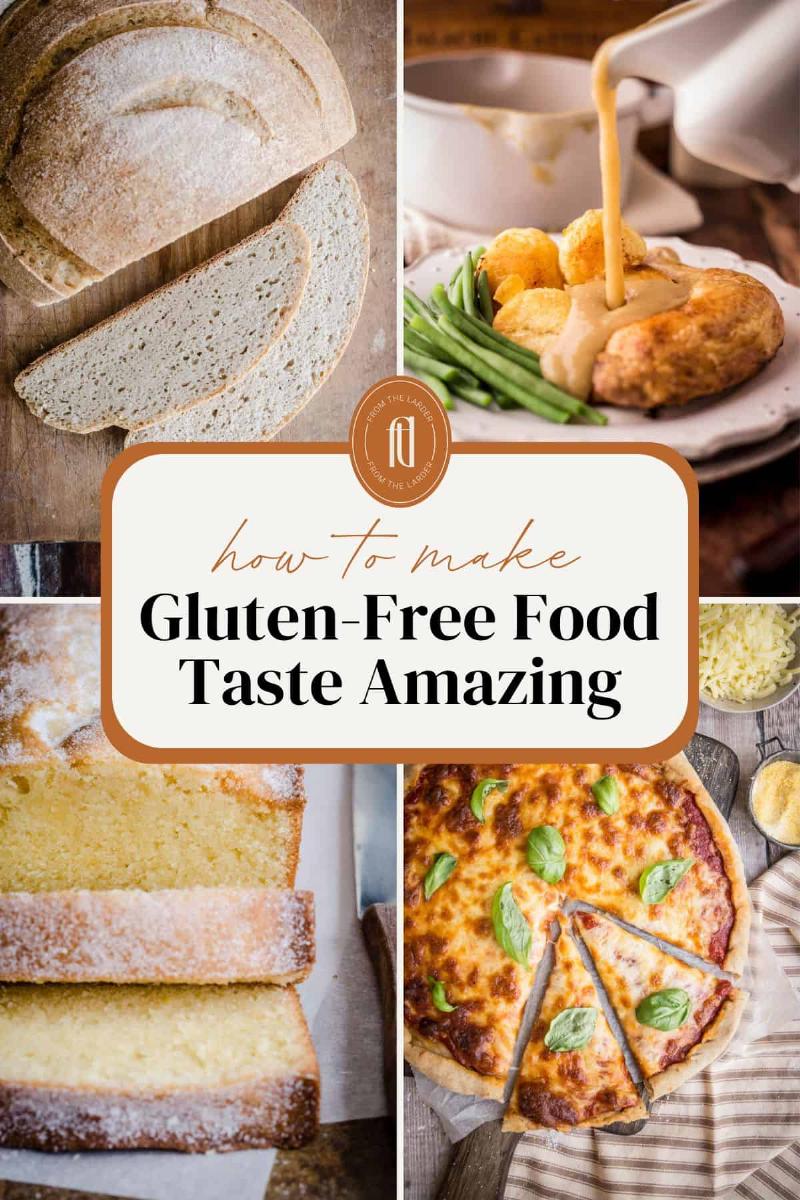
Making delicious gluten-free bread can feel like a culinary tightrope walk. So many recipes yield crumbly, dense, or downright disappointing loaves. But what if I told you that achieving a light, airy, and flavorful gluten-free loaf is possible? You can create bread that rivals, and even surpasses, its gluten-filled counterparts. This guide is your roadmap to mastering the art of How To Make Gluten-free Bread That Tastes Good.
Table Of Contents
One of the biggest hurdles in gluten-free baking is the lack of gluten, the protein that gives traditional bread its structure and elasticity. But fear not, fellow bakers! With the right ingredients and techniques, we can overcome this challenge. Let’s ditch the gritty textures and embrace the world of delicious, gluten-free bread baking.
Understanding Gluten-Free Flour Blends
The foundation of any good gluten-free bread lies in the flour blend. While single gluten-free flours like rice flour or almond flour have their place, using a blend offers a more balanced nutritional profile and better baking results. A good blend will typically include a combination of starches, such as tapioca starch or potato starch, which provide lightness and fluffiness, and whole-grain gluten-free flours like brown rice flour or sorghum flour, which add structure and flavor.
You can purchase pre-made gluten-free flour blends, which offer convenience and consistent results. Look for blends that include xanthan gum or guar gum, as these act as binders and help mimic the elasticity of gluten. Or, if you’re feeling adventurous, you can create your own custom blend tailored to your preferences. Experimenting with different flour combinations can lead to exciting discoveries!
Just after I started my gluten-free baking journey, I remember feeling completely overwhelmed by the sheer number of flour options. It felt like a science experiment gone wrong! But once I understood the role of each flour, creating delicious breads became much easier. Think of starches as the balloons that give your bread lift, and whole-grain flours as the anchors that provide structure.
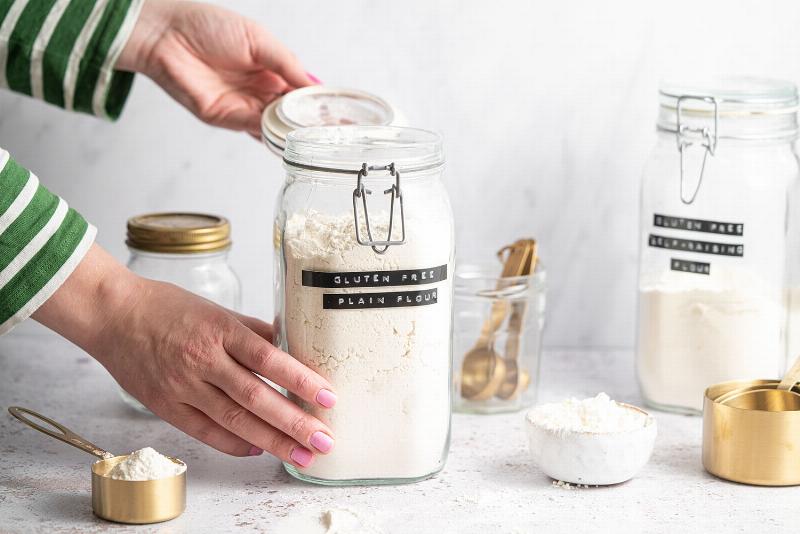 Different Gluten-Free Flour Blends for Baking
The Power of Hydration
Hydration is crucial for any bread, but it’s especially important in gluten-free baking. Gluten-free flours tend to absorb more liquid than wheat flour, so using the correct amount of water is essential for achieving the desired texture. Too little water, and your bread will be dry and crumbly; too much, and it will be gummy and dense. Finding that sweet spot is the key to a perfectly textured loaf.
How do you know if your dough has the right hydration? It should be slightly sticky but not overly wet. You should be able to handle it without it sticking to your hands excessively. Don’t be afraid to adjust the amount of liquid in the recipe, especially if you live in a particularly humid or dry climate.
Similar to the principles discussed in how to make bread with gut-friendly ingredients, using the correct hydration contributes significantly to the final product’s quality. A well-hydrated dough will result in a softer crumb and a more enjoyable eating experience.
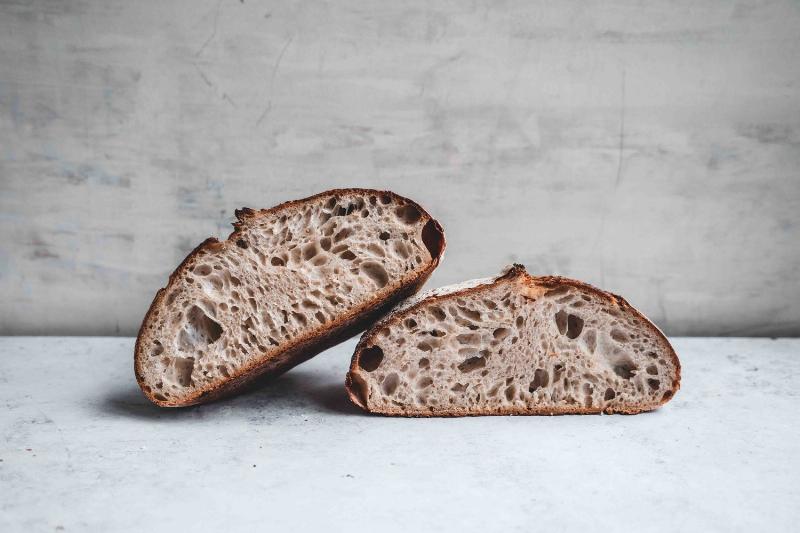 Hydration of Gluten-Free Bread Dough
Yeast vs. Sourdough: Choosing Your Leaven
Both yeast and sourdough can be used to leaven gluten-free bread, each offering its own unique benefits. Yeast offers convenience and a predictable rise, making it a great option for beginners. Sourdough, on the other hand, requires a bit more patience and nurturing but rewards you with a complex, tangy flavor and improved digestibility.
If you’re using yeast, make sure it’s active. A simple test is to combine the yeast with warm water and a pinch of sugar. If it foams up after a few minutes, it’s good to go. For sourdough, a thriving starter is essential for a good rise.
This also applies to the creation of bread with beneficial ingredients, as discussed in how to make bread with gut-friendly ingredients. Choosing the right leavening agent greatly influences the final product.
Baking Techniques for Success
Once your dough is ready, it’s time to bake. Choosing the right baking vessel and technique can make all the difference. Baking in a Dutch oven creates a steamy environment that helps the bread rise higher and develop a crisp crust. Alternatively, you can use a loaf pan lined with parchment paper.
Another helpful tip is to use a baking stone or steel. These help to distribute heat evenly and create a crispy bottom crust. Preheat your oven thoroughly before baking, and avoid opening the oven door too frequently during the baking process, as this can cause the temperature to fluctuate.
This echoes the importance of baking methods highlighted in how to bake bread in a Dutch oven. The proper technique ensures optimal results in both gluten-free and traditional bread baking.
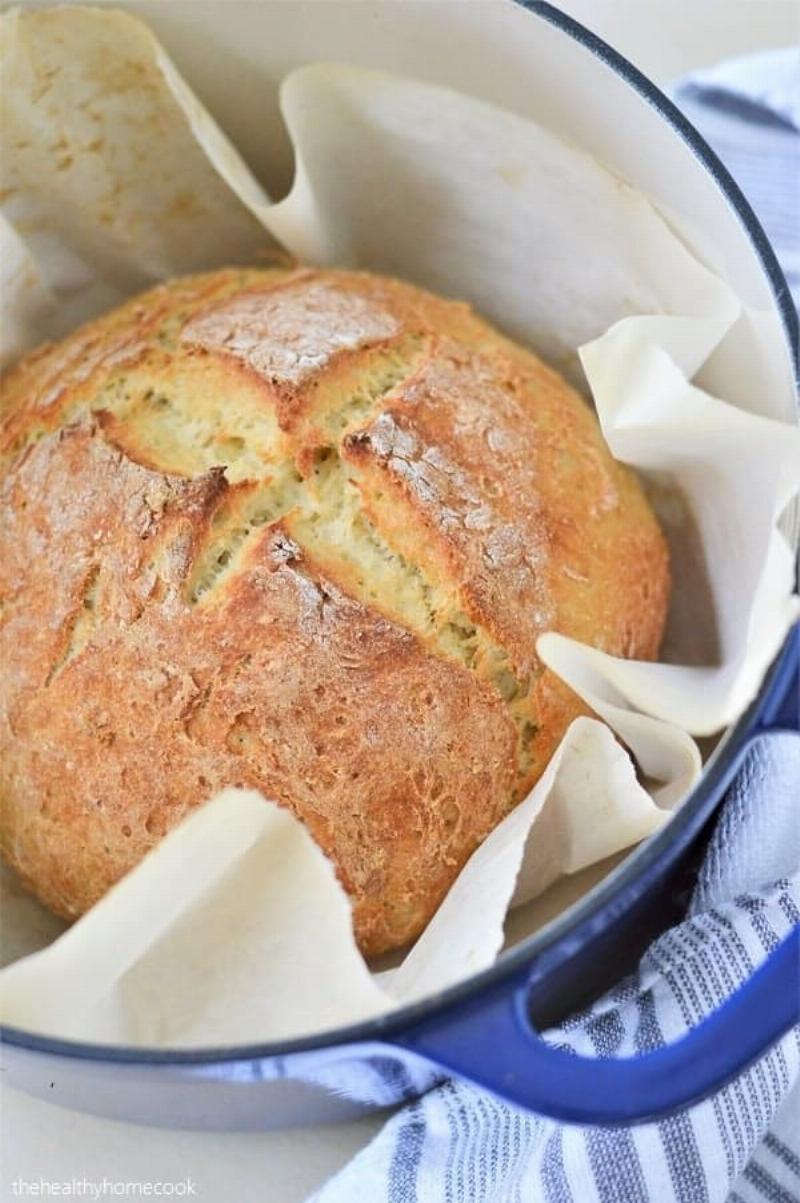 Gluten-Free Bread Baking in a Dutch Oven
Adding Flavor and Texture
Beyond the basics, there are countless ways to elevate your gluten-free bread. Adding herbs, spices, seeds, or nuts can enhance both the flavor and texture. Consider incorporating ingredients like rosemary, thyme, caraway seeds, or chopped walnuts. You can also experiment with different types of sweeteners, such as honey or maple syrup, to add a touch of sweetness.
Don’t be afraid to get creative! The possibilities are endless. One of my favorite additions is roasted garlic, which imparts a rich, savory flavor to the bread. Or, for a touch of sweetness, try adding dried cranberries and orange zest.
 Adding Flavor and Texture to Gluten-Free Bread
Troubleshooting Common Problems
Even with the best intentions, gluten-free bread can sometimes present challenges. If your bread is too dense, try increasing the amount of liquid or adding a bit more leavening agent. If it’s too crumbly, try reducing the amount of starch or adding an egg to bind the ingredients. If the crust is too hard, try covering the loaf with foil during the last half of baking.
With a little practice and experimentation, you’ll be well on your way to baking delicious, gluten-free bread that everyone will enjoy. So, roll up your sleeves, gather your ingredients, and embrace the wonderful world of gluten-free baking!
Don’t forget to share your baking triumphs (and even your baking mishaps!) in the comments below. I’d love to hear about your gluten-free bread baking adventures.