
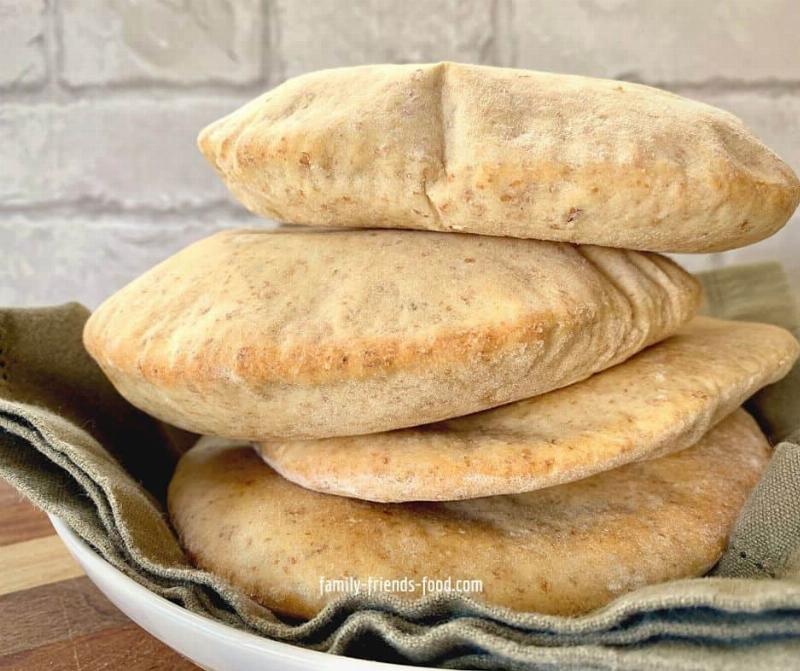
Making pita bread at home that puffs up into a beautiful pocket is easier than you think! Have you ever wondered how those magical air pockets form, creating the perfect vessel for all your favorite fillings? I remember the first time I successfully baked pita bread; it was a truly rewarding experience. The aroma filling the kitchen, the satisfying puff in the oven, and the taste of warm, freshly baked bread – pure bliss! This comprehensive guide will walk you through every step, ensuring your pita bread puffs perfectly every time. Get ready to impress yourself and your loved ones with bakery-worthy pita from the comfort of your own kitchen.
Table Of Contents
Making pita bread is more than just following a recipe; it’s about understanding the science behind the puff. The secret lies in creating steam within the dough during baking. This steam expands, creating the characteristic pocket that makes pita bread so unique. This guide will delve into the crucial details, from choosing the right flour to mastering the baking technique, ensuring pita perfection every time. Are you ready to unlock the secret to perfectly puffed pita? Let’s get started!
Understanding the Ingredients for Perfect Pita
The key to a great pita lies in the simplicity of its ingredients: flour, water, yeast, and salt. Sounds simple, right? It is! However, understanding the role of each ingredient is crucial for success. Let’s break it down:
-
Flour: While all-purpose flour works well, using bread flour with its higher protein content will result in a chewier, more robust pita. Think of it like building a stronger foundation for your pita pocket.
-
Water: Water activates the yeast and hydrates the flour, forming the dough. The temperature of the water is critical for yeast activity. Lukewarm water, around 105-115°F, is the sweet spot. Too hot, and you’ll kill the yeast; too cold, and the yeast won’t activate properly.
-
Yeast: This is the magic ingredient that makes the pita rise and puff. Active dry yeast or instant yeast are both excellent choices. Remember to check the expiration date on your yeast to ensure its potency.
-
Salt: Salt is essential for flavor and also controls the yeast activity, preventing the dough from rising too quickly.
Kneading and Proofing: The Foundation of a Good Pita
Kneading the dough develops gluten, which gives the pita its structure and elasticity. Don’t be afraid to get your hands dirty! Kneading for 8-10 minutes will result in a smooth, elastic dough. You’ll know it’s ready when it passes the “windowpane test.” Can you stretch a small piece of dough thin enough to see light through it without it tearing? If so, your gluten is well-developed.
After kneading, the dough needs time to rest and rise, a process called proofing. This allows the yeast to do its work, producing carbon dioxide and giving the pita its airy texture. A warm, draft-free environment is ideal for proofing. Cover the dough with a damp cloth or plastic wrap to prevent it from drying out.
 Pita Dough Kneading and Proofing Process
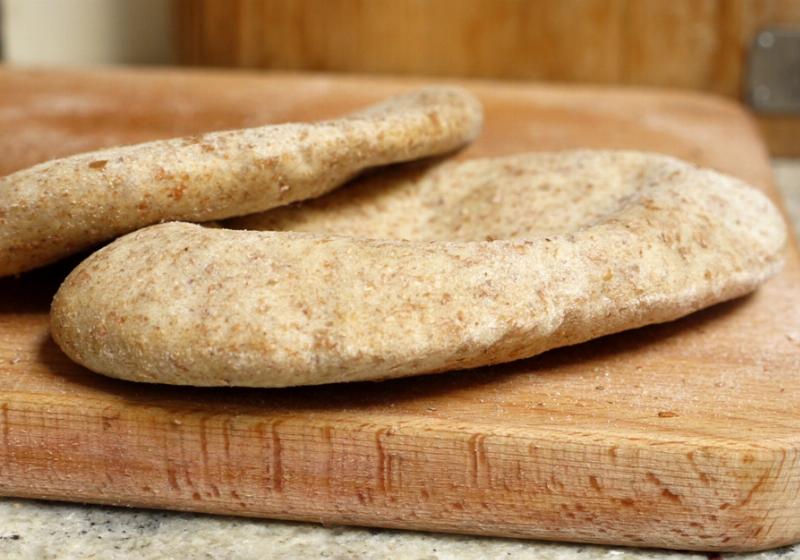
Shaping and Baking: The Final Steps to Pita Perfection
Once the dough has doubled in size, it’s time to shape the pitas. Divide the dough into equal-sized balls and roll them out into thin circles, about 1/8 inch thick. The thinner the dough, the better the puff. However, be careful not to roll them too thin, as they might tear during baking.
Baking the pita at high heat is crucial for achieving that desirable puff. A preheated oven at 450-500°F is ideal. Place the pita rounds directly on a hot baking sheet or pizza stone. They will puff up dramatically in just a few minutes. Keep a close eye on them to avoid burning.
 Shaping and Rolling Pita Bread Dough
Troubleshooting Common Pita Problems
Sometimes, despite our best efforts, pita bread doesn’t always puff perfectly. Here are a few common issues and how to fix them:
-
Pita doesn’t puff: This could be due to insufficient heat, over-proofed dough, or dough that’s too thick. Ensure your oven is hot enough, don’t over-proof the dough, and roll the pitas thinly.
-
Pita is too tough: Over-kneading or not enough proofing time can result in tough pita. Adjust your kneading and proofing times accordingly.
-
Pita burns easily: If your pita burns before it puffs, lower the oven temperature slightly and keep a close watch.
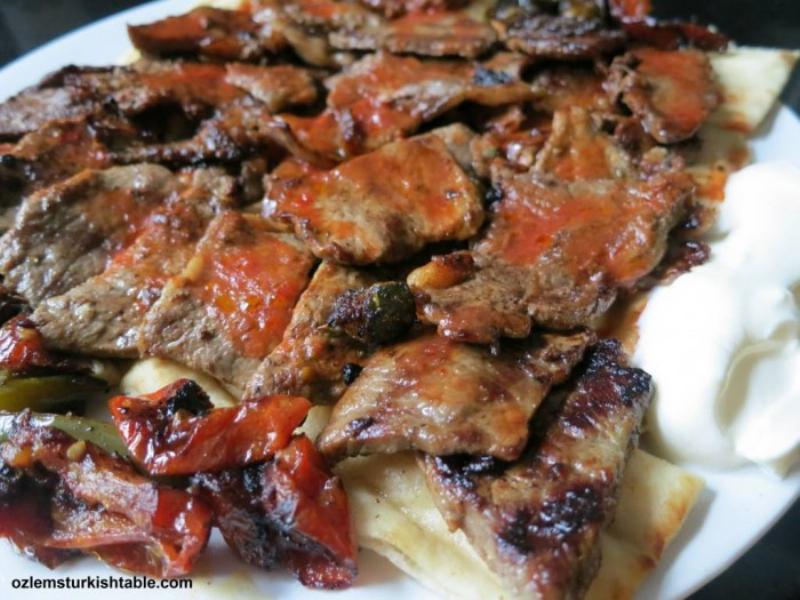
Variations and Serving Suggestions
Once you’ve mastered the basic pita recipe, feel free to experiment! Add herbs, spices, or even whole wheat flour to create your own unique variations. Pita bread is incredibly versatile. Serve it warm with hummus, falafel, or your favorite dips. Use it to make sandwiches, wraps, or even pizzas. The possibilities are endless!
 Baked Pita Bread Variations and Serving Suggestions
FAQs about Making Pita Bread
Q: Can I freeze homemade pita bread?
A: Absolutely! Freeze cooled pita bread in an airtight bag or container for up to 3 months. Reheat in a toaster oven or dry skillet for a few minutes.
Q: What is the ideal thickness for rolling out pita dough?
A: Aim for about 1/8 inch thickness. This allows for optimal puffing while preventing the pita from tearing.
Q: How long should I bake pita bread?
A: Bake for 2-3 minutes at 450-500°F, or until puffed and lightly golden.
Q: Can I use a different type of flour?
A: While all-purpose flour works, bread flour yields better results due to its higher protein content.
Q: What should I do if my pita doesn’t puff?
A: Ensure your oven is hot enough, don’t over-proof the dough, and roll the pitas thinly.
 Storing and Freezing Homemade Pita Bread
Making homemade pita bread that puffs perfectly is a rewarding experience. With practice and attention to detail, you’ll be enjoying warm, fluffy pita pockets in no time. So, gather your ingredients, preheat your oven, and get ready to bake! Share your pita-making adventures and tag us on social media – we’d love to see your creations!