
Scones. Just the word conjures up images of warm, fluffy delights, perfect with clotted cream and jam. But achieving that perfect soft texture can sometimes feel like an elusive baking dream. Fear not, fellow bakers! This guide dives deep into the art of making soft scones, revealing all the secrets and techniques you need to create scones so tender they practically melt in your mouth. From ingredient selection to baking tips, we’ll cover everything to ensure your scone journey is a resounding success.
Table Of Contents
- Choosing the Right Ingredients for Soft Scones
- Mastering the Technique: Mixing and Handling the Dough
- Baking for Perfection: Temperature and Time
- Troubleshooting Common Scone Problems: Why are my scones hard?
- Variations and Flavor Combinations
- How to Store and Reheat Scones
- FAQs: Your Scone Questions Answered
- Baking Soft Scones: A Rewarding Experience
Ever wondered why some scones resemble hockey pucks while others boast a cloud-like lightness? The answer lies in understanding the science behind scone making. Let’s unravel the mysteries and get you baking scones worthy of a British tea party. How To Make Soft Scones hinges on a few key principles, starting with the right ingredients.
Choosing the Right Ingredients for Soft Scones
The foundation of a perfect scone lies in the quality of your ingredients. Don’t underestimate the power of fresh baking powder and good quality butter! Here’s what you’ll need:
- Flour: All-purpose flour works beautifully, creating a tender crumb. Avoid using bread flour, as it contains a higher protein content which can lead to tougher scones.
- Baking Powder: This is your leavening agent, responsible for the rise and lightness of your scones. Make sure it’s fresh for optimal results.
- Butter: Cold, unsalted butter is key. The cold butter creates pockets of air in the dough, resulting in a flaky texture.
- Sugar: Granulated sugar adds sweetness and helps with browning.
- Milk or Cream: Use cold milk or heavy cream to bring the dough together. The fat in the cream contributes to richness and a softer texture.
- Egg: An egg adds richness and helps bind the ingredients.
- Salt: A pinch of salt enhances the flavors.
Mastering the Technique: Mixing and Handling the Dough
Now that we have our ingredients assembled, let’s move on to the crucial part: mixing and handling the dough. This is where many scone dreams crumble (pun intended!). Overmixing is the enemy of soft scones. Think of it like this: the more you mix, the more gluten develops, leading to tough scones.
- Rubbing in the Butter: Cut the cold butter into small cubes and rub it into the flour using your fingertips or a pastry blender. The goal is to create a mixture that resembles coarse breadcrumbs with some larger pieces of butter remaining. These butter pieces are essential for creating those flaky layers.
- Adding the Wet Ingredients: Combine the wet ingredients in a separate bowl and then gently fold them into the dry ingredients. Mix just until the dough comes together, being careful not to overmix. A few dry streaks are perfectly fine.
- Shaping and Cutting: Turn the dough out onto a lightly floured surface and gently pat it into a circle about 1 inch thick. Use a sharp biscuit cutter or a knife to cut out your scones. Avoid twisting the cutter, as this can impede the rise.
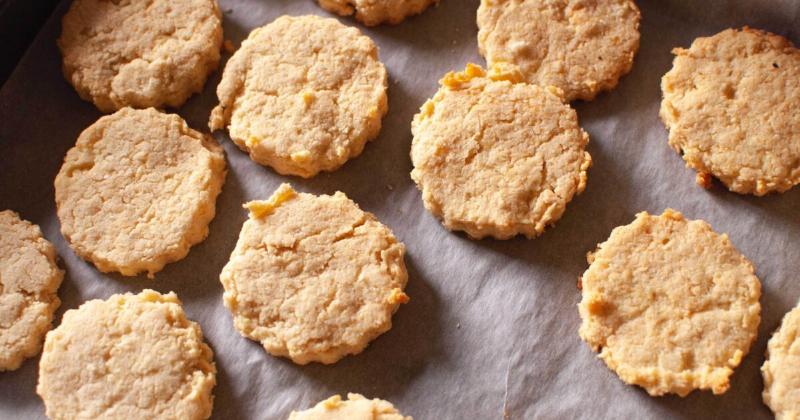
 Cold Butter Cubes for Scones
Baking for Perfection: Temperature and Time
The oven temperature and baking time are crucial factors in achieving perfectly soft scones. A hot oven is essential for a good rise.
- Preheat the Oven: Preheat your oven to 400°F (200°C). A hot oven creates steam, which helps the scones rise quickly and evenly.
- Baking Time: Bake the scones for 12-15 minutes, or until they are golden brown and sound hollow when tapped on the bottom. Don’t overcrowd the baking sheet, as this can affect the evenness of baking.
Troubleshooting Common Scone Problems: Why are my scones hard?
Sometimes, despite our best efforts, scones can turn out tough or dry. Let’s tackle some common scone problems and how to fix them:
- Tough Scones: Overmixing is the most likely culprit. Mix the dough just until it comes together. Also, make sure your baking powder is fresh.
- Dry Scones: Using too much flour or overbaking can lead to dry scones. Measure your flour accurately and keep a close eye on the baking time.
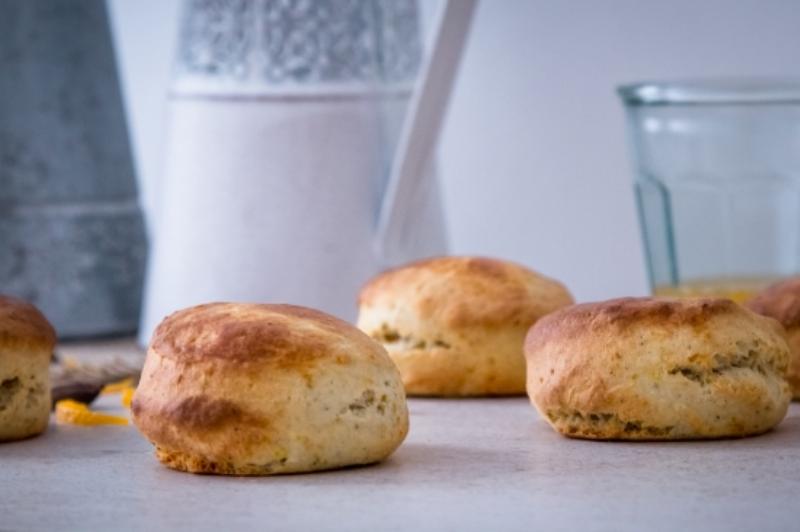
 Perfectly Baked Golden Scones
Variations and Flavor Combinations
Once you master the basic scone recipe, the possibilities are endless! Get creative with different flavor combinations to create your signature scone.
- Sweet Scones: Add dried fruits, chocolate chips, or nuts to your dough for a sweet treat.
- Savory Scones: Incorporate herbs, cheese, or bacon for a savory twist.
How to Store and Reheat Scones
To keep your scones fresh, store them in an airtight container at room temperature for up to 2 days. You can also freeze them for up to 3 months. To reheat, simply pop them in a warm oven for a few minutes.
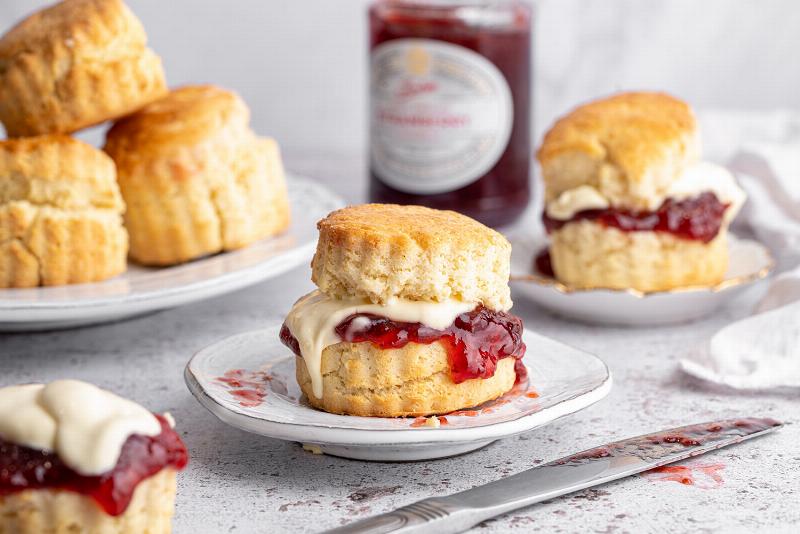
 Scones with Clotted Cream and Jam
FAQs: Your Scone Questions Answered
Here are some frequently asked questions about making soft scones:
- Q: Can I use frozen butter? A: While cold butter is preferred, you can use frozen butter in a pinch. Just grate it into the flour using a box grater.
- Q: What is the best way to cut out scones? A: Use a sharp biscuit cutter or a knife. Avoid twisting the cutter, which can affect the rise.
- Q: Can I make scones ahead of time? A: Yes, you can make the dough ahead of time and bake it later. Simply wrap the dough tightly in plastic wrap and refrigerate it for up to 24 hours.
- Q: Why are my scones flat? A: Overmixing, old baking powder, or a too-low oven temperature can all contribute to flat scones.
- Q: How do I know when my scones are done? A: The scones should be golden brown and sound hollow when tapped on the bottom.
Baking Soft Scones: A Rewarding Experience
Making soft scones isn’t just about following a recipe; it’s about understanding the techniques and ingredients that contribute to their delicate texture. With a little practice and these tips, you’ll be baking scones that are light, fluffy, and utterly irresistible. So gather your ingredients, embrace the process, and enjoy the satisfaction of creating a truly delightful treat. Share your scone triumphs (and any baking questions!) in the comments below – we’d love to hear from you! Happy baking!