
Sourdough starter. It’s the heart and soul of that tangy, chewy bread we all adore. But what is a sourdough starter, and more importantly, How To Make Sourdough Starter? It might seem intimidating at first, but trust me, cultivating your own starter is a rewarding experience. This comprehensive guide will walk you through every step of the process, from mixing flour and water to achieving that perfect bubbly rise. Soon, you’ll be baking delicious sourdough bread like a seasoned pro!
Table Of Contents
You’re about to embark on a journey into the fascinating world of sourdough baking. With just flour and water, you’ll create a living culture teeming with wild yeasts and bacteria. This “starter,” as we affectionately call it, is the key to that distinctive sourdough flavor. Think of it as your own little bread-making pet! Ready to learn how to make sourdough starter? Let’s dive in!
After you master the basics of starter maintenance, you can begin to experiment with a wider range of sourdough creations. Check out some of our best sourdough bread recipes for inspiration. best sourdough bread recipes
What is a Sourdough Starter?
Simply put, a sourdough starter is a fermented mixture of flour and water. Over time, wild yeasts and bacteria present in the flour and surrounding environment colonize this mixture. These microorganisms are what cause the starter to bubble and rise, leavening your bread and giving it that signature tangy flavor. It’s a beautiful example of natural fermentation at work, much like making yogurt or kimchi.
 Flour and Water Mixture on Day 1
Gathering Your Supplies for Your Sourdough Starter
Before we begin, let’s assemble everything you’ll need. Don’t worry, the list is short and sweet!
- Flour: Unbleached all-purpose or bread flour works best. Avoid bleached flour as it lacks the nutrients necessary for the yeast to thrive. Rye flour can also be used initially for a jump start, but transitioning to your chosen flour is necessary after a few feedings.
- Water: Non-chlorinated water is ideal. If your tap water is chlorinated, let it sit out uncovered for 24 hours to allow the chlorine to dissipate. Alternatively, you can use bottled spring water.
- Jar: A clean glass jar is perfect for housing your starter. A wide-mouth jar makes mixing and feeding easier.
- Scale: Accuracy is key in sourdough baking. A kitchen scale ensures consistent results.
Step-by-Step Guide on How to Make Sourdough Starter
Now, let’s get down to business! These instructions outline the process of creating a sourdough starter from scratch.
-
Initial Mix: In your clean jar, combine 50 grams of flour and 50 grams of water. Mix thoroughly until a smooth paste forms, similar to pancake batter.
-
Mark the Level: Use a rubber band or a piece of tape to mark the level of the starter on the outside of the jar. This will allow you to observe its rise and fall.
-
Cover and Wait: Cover the jar loosely with a lid or a piece of cloth secured with a rubber band. This allows air to circulate while preventing dust and other contaminants from entering.
-
Daily Feedings: For the next 7-10 days, you’ll need to “feed” your starter once a day. This involves discarding about half of the starter and then adding fresh flour and water.
- Discard: Remove approximately half of the starter from the jar. You can compost it or even use it in recipes like pancakes or crackers!
- Feed: Add 50 grams of flour and 50 grams of water to the remaining starter. Mix thoroughly until smooth.
-
Observe and Adjust: Each day, observe your starter for signs of activity. You should start to see bubbles forming within a few days, indicating that the yeast is active and growing. The starter may also develop a slightly sour aroma. If your starter is particularly slow to rise, check out this article detailing the benefits of a sourdough starter and how various factors might influence its development. What are the benefits of using sourdough starter?
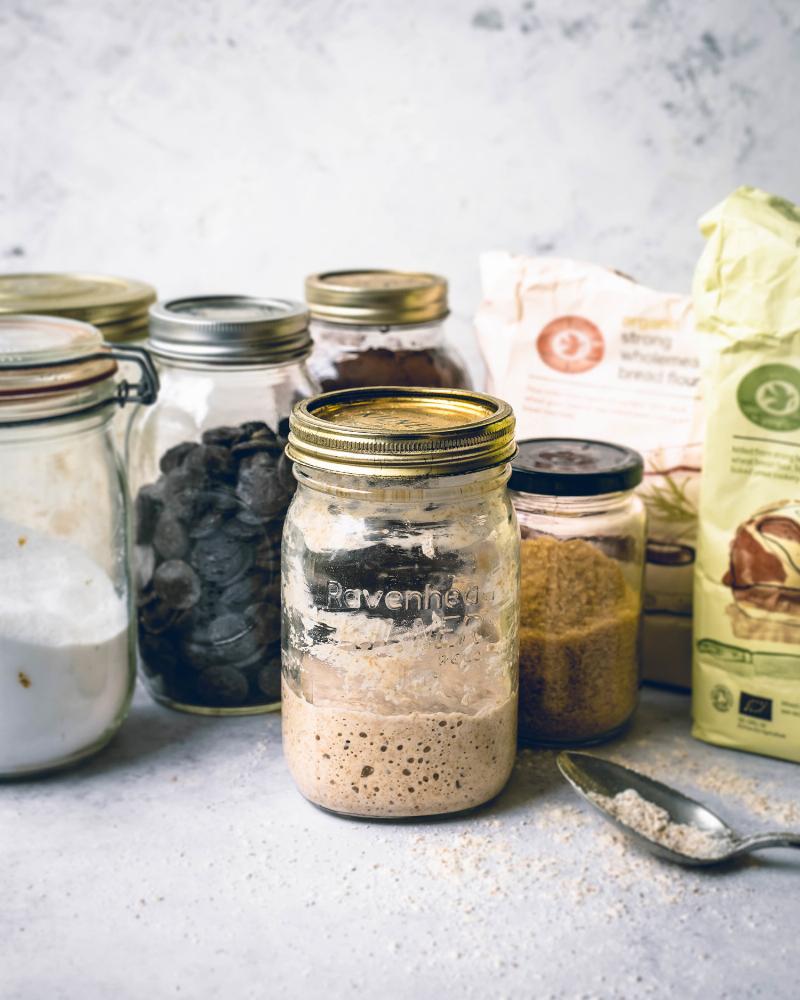
 Active Sourdough Starter
Troubleshooting Your Sourdough Starter
Sometimes, things don’t go exactly as planned. Here are a few common issues and how to address them:
-
No Bubbles: If you don’t see any bubbles after a week, don’t despair! It sometimes takes a little longer for the wild yeasts to colonize. Continue feeding your starter daily and be patient. It’s a waiting game, but the reward is worth it.
-
Mold: If you notice any fuzzy or colored growth (other than a thin layer of hooch, a brownish liquid on top which is normal and can be stirred back in or discarded), discard the entire starter and start again. Make sure your jar is thoroughly clean before starting over.
-
Sour Smell: A mildly sour smell is normal and a sign of healthy fermentation. However, if the smell is excessively pungent or putrid, it might indicate a problem. Start again with fresh ingredients and a clean jar.
Maintaining Your Sourdough Starter
Once your starter is active and bubbly, you’ll no longer need to feed it daily. You can store it in the refrigerator and feed it once a week or even less frequently. When you’re ready to bake, take it out of the refrigerator, feed it, and let it come to room temperature and peak activity before using it in your recipe.
Looking for the perfect beginner sourdough recipe? We’ve got you covered! best sourdough bread recipe for beginners
 Sourdough Starter Storage
Conclusion
Learning how to make sourdough starter is a journey, not a race. Be patient, observe your starter, and enjoy the process. The satisfaction of baking with your own homemade starter is unparalleled. So, grab your flour and water and start cultivating your own little piece of sourdough magic! Happy baking!