
Perfectly baked cakes, with their golden crusts and moist crumb, are a testament to baking mastery. But even the most delicious batter can fall flat (literally!) if your cake pans aren’t properly prepared. Ever experienced a cake that’s burnt on the edges, stuck to the pan, or unevenly cooked? The secret to avoiding these baking woes lies in the preparation of your cake pans. Let’s dive into the essential steps for How To Prepare Cake Pans For Even Baking, ensuring every cake you create is a masterpiece.
Table Of Contents
- Choosing the Right Pan for Your Cake
- Greasing and Flouring: The Classic Method
- Parchment Paper: The Foolproof Technique
- How to Prepare a Bundt Cake Pan Properly: A Special Case
- Baking Strips: Ensuring Even Heat Distribution
- Why Does My Cake Have Large Air Pockets? Troubleshooting Common Issues
- Preparing Cake Pans for Different Cake Types
- Tips for Success: Ensuring a Flawless Finish
- Frequently Asked Questions
Baking a cake is more than just mixing ingredients; it’s a science, and preparing your cake pans correctly plays a crucial role in the final outcome. Whether you’re a seasoned baker or just starting out, mastering this fundamental skill is essential. In this comprehensive guide, we’ll explore the best techniques for how to prepare cake pans for even baking, so you can achieve consistently perfect results every time. For those looking for inspiration, check out some of our easy cake baking recipes.
Choosing the Right Pan for Your Cake
Before we delve into preparation, let’s talk about choosing the right pan. Using the correct pan size ensures your batter cooks evenly and prevents overflow. Recipes typically specify the pan size, so stick to those recommendations. If you must substitute, understand that baking times may need adjustment. For instance, baking a cake meant for a 9-inch pan in an 8-inch pan will require a longer baking time and closer monitoring to prevent burning.
Greasing and Flouring: The Classic Method
This time-tested method is the foundation of cake pan preparation. Greasing the pan prevents the cake from sticking, while flouring creates a barrier that further reduces sticking and adds a delicate texture to the cake’s exterior.
- Grease: Use softened butter, shortening, or baking spray to coat the entire interior surface of the pan, ensuring you reach every nook and cranny. I prefer softened butter for its rich flavor, but nonstick baking spray offers convenience.
- Flour: Sprinkle flour evenly over the greased surface, tapping out any excess. This thin layer of flour is key to a clean release.
Parchment Paper: The Foolproof Technique
For cakes that are prone to sticking, parchment paper is your best friend. This method ensures a flawless release and eliminates the need for excessive greasing and flouring.
- Trace and Cut: Trace the bottom of your cake pan onto parchment paper and cut out the circle. This will create a perfect fit.
- Grease and Line: Grease the pan as usual, then place the parchment circle at the bottom. This double layer of protection guarantees a smooth release.
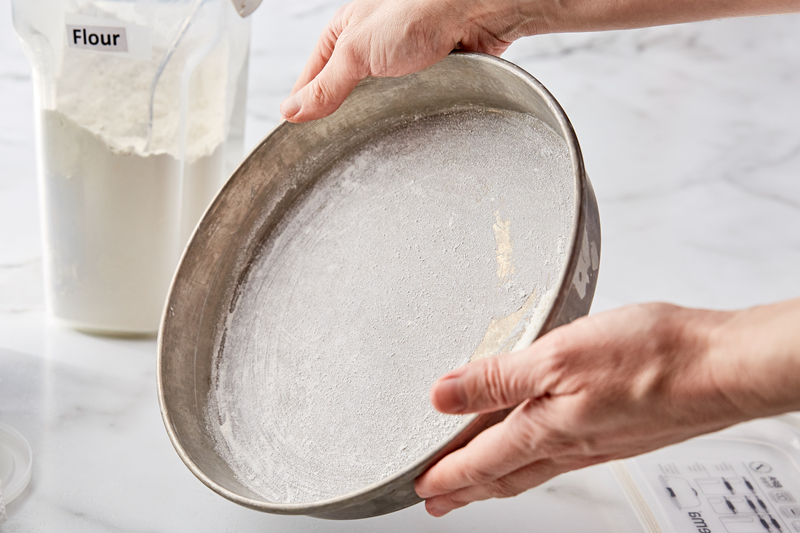 Greasing and Flouring a Cake Pan
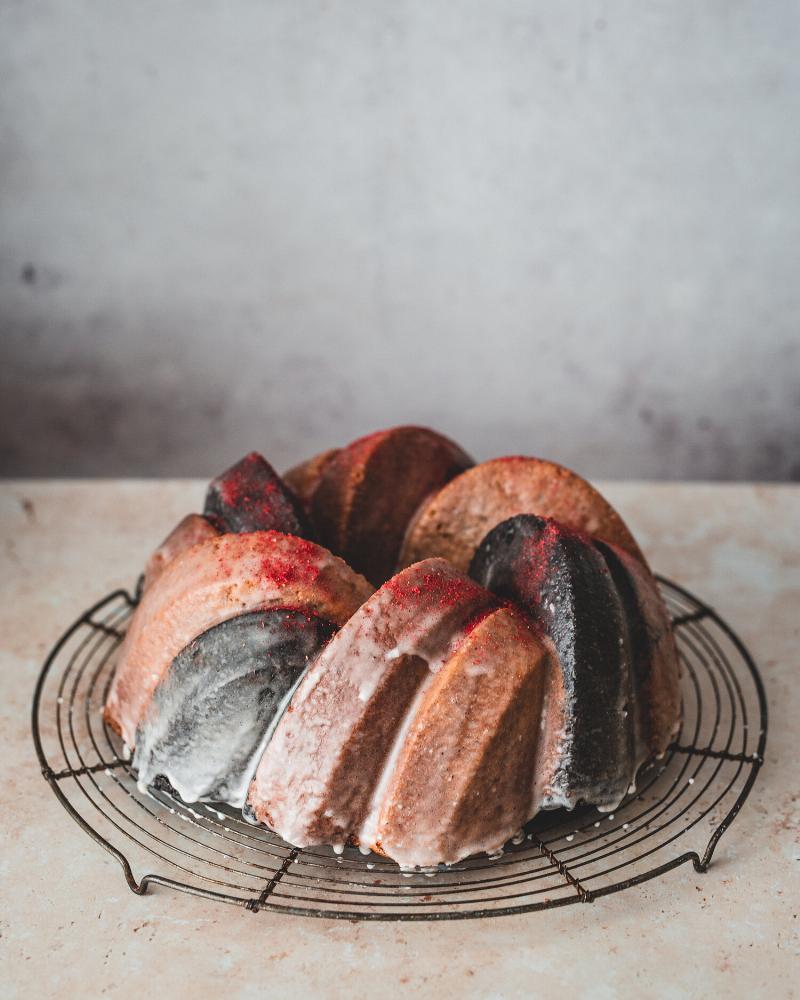
How to Prepare a Bundt Cake Pan Properly: A Special Case
Bundt pans, with their intricate designs, require extra attention. Their crevices can trap cake batter, leading to sticking and a less-than-perfect presentation. Don’t worry though! We have a separate guide available that explains How to prepare a bundt cake pan properly.
- Grease Thoroughly: Use a pastry brush to ensure every groove and detail is coated with shortening or baking spray.
- Flour or Sugar: Dust with flour or, for a sweeter touch, granulated sugar. The sugar adds a subtle crunch and sweetness to the cake’s crust.
Baking Strips: Ensuring Even Heat Distribution
Baking strips are a game-changer for achieving perfectly level cakes. These insulated bands wrap around the outside of your cake pan, moderating the temperature and preventing the edges from baking too quickly. This results in a flat top, eliminating the need for excessive trimming. Think of them as a cozy blanket for your cake pan!
 Cake Pan with Baking Strips
Why Does My Cake Have Large Air Pockets? Troubleshooting Common Issues
Large air pockets in your cake can be frustrating. They often indicate that the batter was overmixed, incorporating too much air. This can lead to a dry, uneven texture. Learn more in our article that tackles Why does my cake have large air pockets?.
Preparing Cake Pans for Different Cake Types
While the basic principles apply to most cakes, some recipes require specific pan preparations. For example, chiffon cakes rely on the batter clinging to the ungreased sides of the pan to rise properly. Always refer to your recipe for specific instructions. If you’re looking for a vibrant and delicious cake, give our red velvet cake recipe a try!
Tips for Success: Ensuring a Flawless Finish
- Room Temperature Ingredients: Using room temperature ingredients helps ensure even mixing and baking.
- Don’t Overfill: Fill your cake pans no more than two-thirds full to prevent overflow.
- Cool Down: Allow your cakes to cool in the pan for 10-15 minutes before inverting onto a wire rack. This prevents breakage and ensures a clean release.
 Cooling Cake on Wire Rack
Frequently Asked Questions
Q: Can I use oil instead of butter for greasing?
A: Yes, you can use a neutral-flavored oil like vegetable or canola oil for greasing your cake pans. However, it may not impart the same rich flavor as butter.
Q: What can I use if I don’t have parchment paper?
A: Wax paper can be used in a pinch, but it’s not as effective as parchment paper and may require extra greasing.
Q: How do I know if my cake pan is the right size?
A: Your recipe should specify the correct pan size. Using the wrong size can affect baking times and the final outcome.
By mastering the art of how to prepare cake pans for even baking, you’re setting the stage for baking success. Remember these tips, and you’ll be well on your way to creating beautiful, evenly baked cakes that are as delicious as they look. Happy baking! Share your baking triumphs (and even those occasional mishaps!) with us in the comments below. Perhaps you’d enjoy trying our collection of best mint cake recipes.