
Scones, those delightful teatime treats, are meant to be tall, proud, and flaky. But sometimes, they have a mind of their own and decide to spread sideways during baking, leaving you with flat, sad biscuits instead of the desired fluffy delights. Don’t worry, fellow bakers! This guide will delve into the secrets of How To Prevent Scones From Spreading, turning you into a scone superhero and ensuring perfectly risen treats every time.
Table Of Contents
Imagine biting into a warm, crumbly scone, its layers pulling apart with a gentle tug, the perfect balance of buttery richness and subtle sweetness. That, my friends, is the dream. And it’s a dream easily achieved once you understand the science and technique behind perfect scone making. So, let’s get started!
The Science of Scone Spread
Why do scones spread? It’s all down to gluten development and the temperature of your ingredients. Gluten, that protein network that gives bread its structure, is formed when flour mixes with liquid. Too much gluten development, and your scones will be tough and prone to spreading. Too little, and they’ll crumble into dust. Finding the sweet spot is key.
Temperature also plays a crucial role. Cold ingredients are your best friends in scone making. Cold butter creates steam in the oven, which lifts the scones and contributes to their flaky texture. Cold dough also slows down gluten development, preventing that dreaded spread.
 Cold Butter for Scones
Essential Tips to Prevent Scone Spread
Here’s where the magic happens. These simple yet powerful techniques will help you conquer the scone spread and bake masterpieces worthy of a British high tea:
-
Chill Out: Start with cold ingredients. Use cold butter, cold milk, even cold eggs if your recipe calls for them. Chilling your dough before baking also helps. Think of it as a pre-bake cool-down for your scones.
-
Handle with Care: Overmixing is the enemy of tender scones. Mix the dry ingredients thoroughly, then add the cold butter and rub it in until the mixture resembles coarse breadcrumbs. Add the liquid gradually, mixing just until the dough comes together. A few lumps are okay; in fact, they’re a sign you haven’t overmixed.
-
Sharp Cutter, Clean Cut: Use a sharp cutter and don’t twist! Press straight down and lift straight up. Twisting the cutter seals the edges of the scones, preventing them from rising evenly. This simple trick is often overlooked but can make a huge difference.
-
High Heat, Quick Bake: A hot oven is essential for a good rise. Preheat your oven to a high temperature (around 400°F/200°C) and bake the scones for a relatively short time (12-15 minutes). The high heat helps the scones rise quickly before they have a chance to spread.
-
Freezer Trick: For an extra boost of rise, freeze your cut scones for 15-20 minutes before baking. This firms up the butter and slows down the spread even further. It’s a little extra effort, but the results are spectacular.
 Proper Scone Cutting Technique
Troubleshooting Common Scone Problems
Sometimes, despite your best efforts, scones can still misbehave. Here are some common issues and how to fix them:
-
Flat Scones: If your scones are consistently flat, your oven temperature might be too low. Check your oven with an oven thermometer to ensure accuracy. You might also be overmixing the dough or using butter that’s too warm.
-
Tough Scones: Tough scones are a sign of overmixing or too much liquid. Remember to mix the dough just until it comes together and be careful not to add too much milk. You can find helpful tips in our article on how to bake with chocolate chips for incorporating other ingredients without overmixing.
-
Crumbly Scones: If your scones are overly crumbly, you might not have added enough liquid or you might have used too much raising agent. Double-check your recipe and try adjusting the liquid or raising agent accordingly. This sometimes occurs with other baked goods as well, much like when trying to achieve the perfect consistency for cookies as discussed in our article on how to bake with chocolate chips.
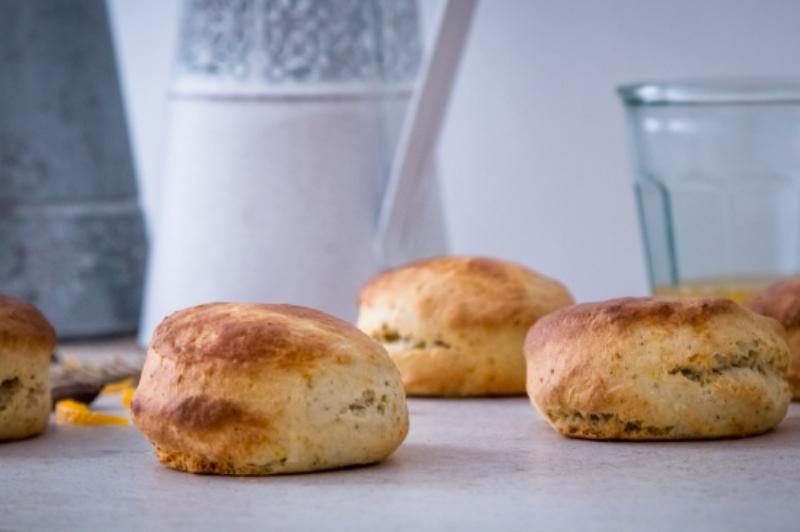
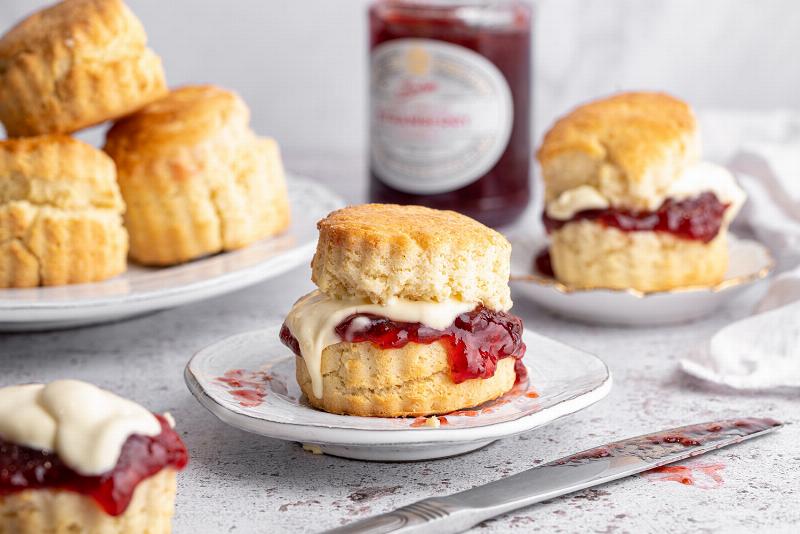 Perfectly Baked Scones
Baking Perfect Scones: A Step-by-Step Guide
- Gather your chilled ingredients.
- Whisk together the dry ingredients.
- Rub in the cold butter.
- Add the liquid gradually.
- Gently bring the dough together.
- Pat out the dough and cut into scones.
- Freeze for 15-20 minutes (optional).
- Bake in a preheated hot oven.
- Cool slightly and enjoy!
This simple checklist will help you stay organized and ensures you follow all the steps for scone success. Just like when baking a perfect batch of cookies, as explained in how to bake with chocolate chips, following a step-by-step guide is essential.
FAQs about Preventing Scone Spread
- Why is it important to use cold ingredients for scones? Cold ingredients prevent gluten development and create steam in the oven, leading to lighter, fluffier scones.
- Can I use a food processor to make scone dough? A food processor can be used, but be careful not to over-process the dough, which can lead to tough scones.
- What is the best type of flour to use for scones? All-purpose flour is typically used for scones, but you can also use cake flour or pastry flour for a lighter texture.
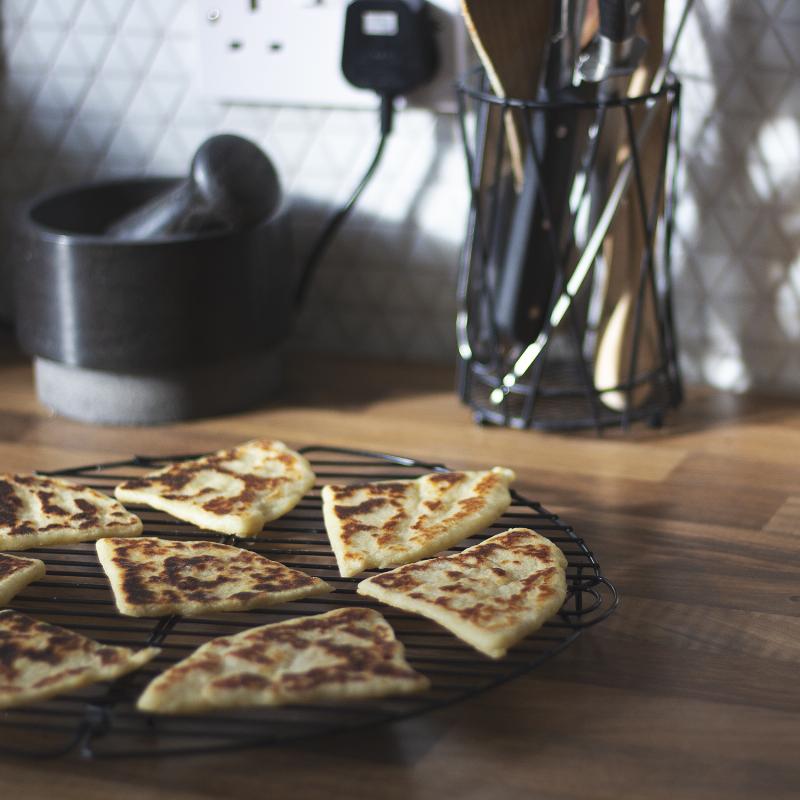 Scones Cooling on a Rack
By understanding the hows and whys of scone making, you’ll be well on your way to baking perfect scones every time. So, gather your ingredients, embrace the chill, and get ready to impress yourself and your loved ones with scones that are as delicious as they are beautiful. Remember to share your baking triumphs (and perhaps a scone or two) with us!