
Puff pastry. Those two words conjure up images of flaky, golden, buttery deliciousness, don’t they? From elegant Napoleons to savory sausage rolls, the possibilities seem endless. But achieving that perfect puff can feel daunting. Fear not, fellow bakers! This comprehensive guide will demystify puff pastry baking, equipping you with the knowledge and confidence to create impressive pastries at home. We’ll cover everything from understanding the science behind the puff to troubleshooting common issues. Get ready to unlock the secrets of puff pastry and impress yourself and your loved ones.
Table Of Contents
For those just starting out, the idea of making puff pastry from scratch can seem like a culinary Everest. But with the right guidance and a dash of patience, you’ll conquer this baking challenge. This guide will provide you with a solid foundation in Puff Pastry Baking Recipe techniques. You’ll learn the secrets to creating layers of airy, buttery goodness. Just imagine the aroma filling your kitchen as you pull a golden, crisp pastry from the oven!
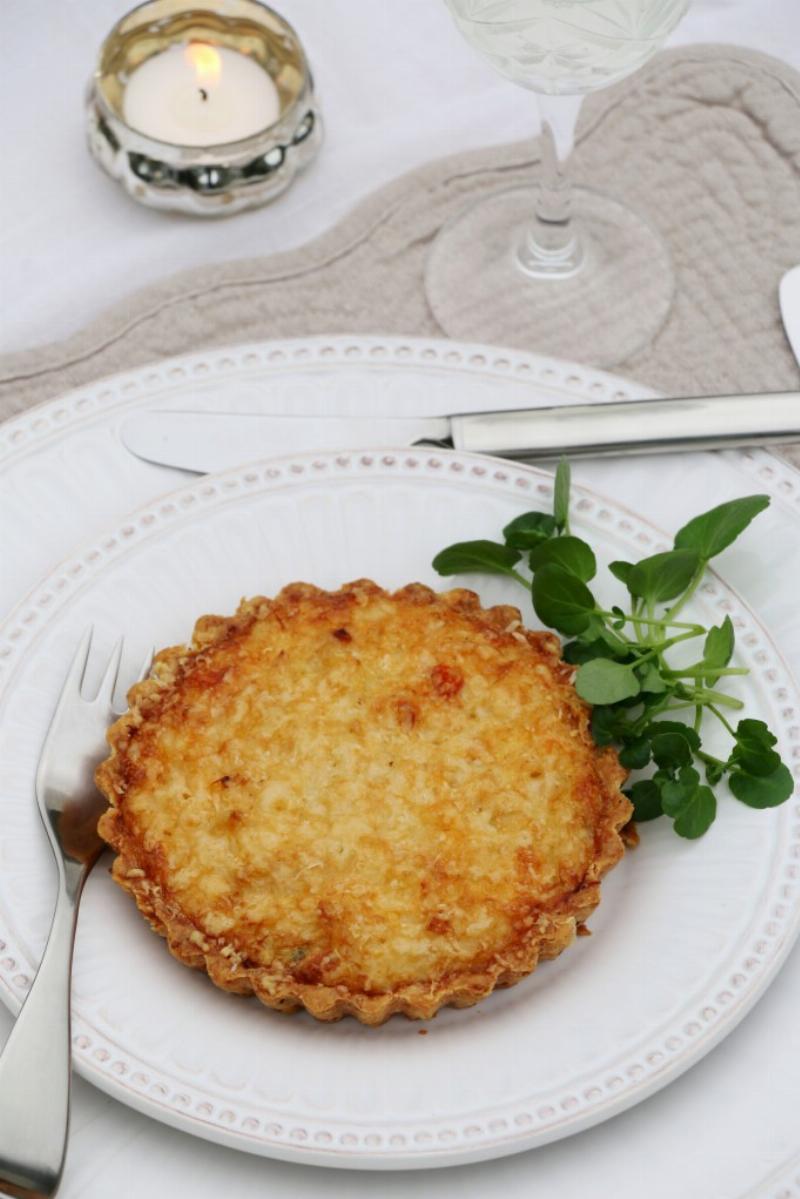 Classic Puff Pastry Layers Showing Distinct Separation
Understanding the Magic of Puff Pastry
What makes puff pastry so special? It’s all about the layers. Hundreds of thin layers of dough separated by layers of butter create that signature airy, flaky texture. When baked, the water in the butter turns to steam, pushing those layers apart and creating the dramatic rise. Think of it like a tiny, edible hot air balloon! It’s a beautiful dance of science and culinary art.
The key to successful puff pastry baking recipes lies in keeping the butter cold. Cold butter creates distinct layers, while warm butter melts and blends into the dough, resulting in a denser, less impressive pastry. This is why many recipes recommend chilling the dough and butter multiple times during the process. It might seem tedious, but trust me, it’s crucial for that beautiful puff. Similar to homemade croissant recipes, temperature control is essential for achieving the desired texture.
Essential Tools and Ingredients for Puff Pastry Baking
Before we dive into the process, let’s gather our arsenal. While the ingredient list is surprisingly simple, having the right tools will make the process much smoother.
- Rolling Pin: A good quality rolling pin is your best friend in puff pastry making. It allows you to create even, consistent layers.
- Pastry Scraper/Bench Knife: This tool is essential for cutting and shaping the dough, as well as transferring it to the baking sheet.
- Sharp Knife: A sharp knife is needed for scoring the pastry and creating decorative patterns.
- Baking Sheet: A flat baking sheet is crucial for even baking.
- Parchment Paper: Prevents sticking and makes cleanup a breeze.
Now, for the ingredients: All-purpose flour, cold unsalted butter, ice water, and a pinch of salt. That’s it! You might be surprised by the simplicity, but it’s the technique that elevates these humble ingredients to pastry stardom.
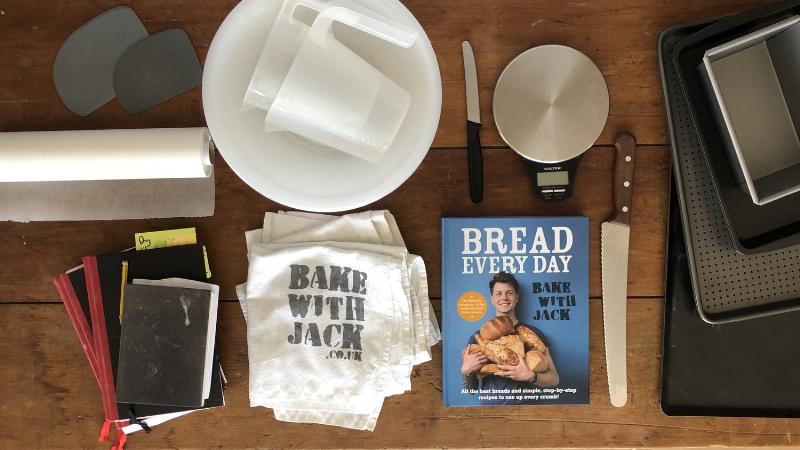 Essential Tools for Puff Pastry Baking
A Step-by-Step Puff Pastry Baking Recipe
Ready to roll up your sleeves? Let’s walk through a classic puff pastry baking recipe together. This recipe focuses on creating a versatile dough suitable for both sweet and savory applications.
- Combine the dry ingredients: Whisk together the flour and salt in a large bowl.
- Cut in the butter: Cut the cold butter into small cubes and add it to the flour mixture. Use a pastry blender or your fingertips to work the butter into the flour until the mixture resembles coarse crumbs.
- Add the ice water: Gradually add the ice water, mixing until the dough just comes together. Don’t overmix!
- Chill the dough: Form the dough into a disk, wrap it tightly in plastic wrap, and chill for at least 2 hours.
- Roll and fold: On a lightly floured surface, roll out the chilled dough into a rectangle. Fold it into thirds like a letter. This is called a single turn.
- Chill again: Wrap the dough and chill for another hour.
- Repeat: Repeat the rolling, folding, and chilling process several times (ideally 6 turns). This creates those beautiful, airy layers.
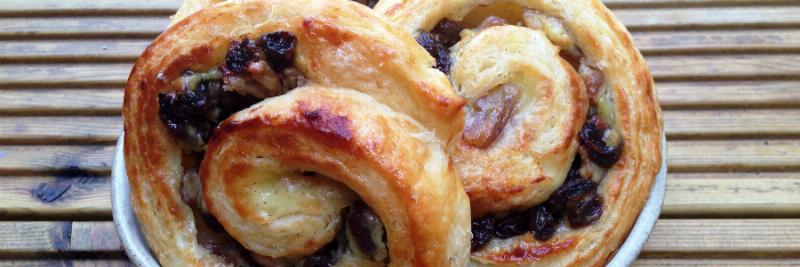 Rolling and Folding Puff Pastry Dough to Create Layers
Baking Your Puff Pastry Creations
Once your puff pastry is ready, the possibilities are endless! You can use it to make anything from puff pastry desserts recipes like elegant mille-feuille to savory dishes like chicken pot pie.
Preheat your oven according to your chosen recipe. Place your puff pastry creations on a parchment-lined baking sheet and bake until golden brown and puffed. Be careful not to overcrowd the baking sheet, as this can hinder proper puffing.
Just like with our easy blueberry pie recipe, a properly preheated oven is essential for achieving a perfectly baked pastry.
Troubleshooting Common Puff Pastry Problems
Even with the best intentions, sometimes things don’t go as planned. Here are some common issues and how to address them:
- Pastry not puffing enough: The most likely culprit is warm butter. Make sure your butter is cold throughout the process.
- Tough pastry: Overmixing the dough can develop the gluten, leading to a tough texture. Mix just until the dough comes together.
- Soggy bottom: Make sure your oven is hot enough and that you’re using a baking sheet that promotes even baking. For fruit fillings, you can sprinkle a layer of breadcrumbs on the bottom crust to absorb excess moisture. Similar to techniques used in the best peach cobbler recipes, adding a layer of breadcrumbs can prevent a soggy bottom.
Conclusion
Mastering puff pastry may require a little patience, but the rewards are well worth the effort. With this puff pastry baking recipe guide, you’re well on your way to creating impressive and delicious pastries. So, gather your ingredients, embrace the process, and enjoy the journey of becoming a puff pastry pro! What are your favorite puff pastry creations? Share your tips and tricks in the comments below! And don’t forget to explore more delicious recipes on Bestbaking Recipes for even more baking inspiration!
Pingback: How to Make Homemade Puff Pastry from Scratch - Bestbaking Recipes