
Rye bread, with its distinctive tangy flavor and hearty texture, has captivated bread lovers for centuries. But achieving that perfect loaf, with a crisp crust and chewy interior, can feel like a baking enigma. Fear not, fellow bakers! This guide delves into the essential Rye Bread Baking Techniques that will transform you from a novice to a rye bread aficionado. Whether you’re a seasoned baker or just starting your bread-making journey, this comprehensive guide will equip you with the knowledge and confidence to bake exceptional rye bread every time.
Table Of Contents
Learning effective rye bread baking techniques is crucial for achieving desired results. Unlike wheat flour, rye flour has low gluten content. This makes the dough less elastic and more prone to sticking. Therefore, understanding how to handle rye dough, control fermentation, and achieve the perfect bake is essential for a successful rye bread experience. Think of it like learning to ride a bike – it might seem wobbly at first, but with practice and the right guidance, you’ll be cruising in no time. Similar to how understanding how to make bread with fusion flavors expands your bread-making horizons, mastering rye bread techniques will unlock a new world of flavor and texture.
Understanding Rye Flour and its Characteristics
Rye flour comes in various forms, each contributing unique characteristics to your bread. Light rye flour produces a milder flavor and lighter texture, while medium rye flour offers a more pronounced rye flavor and denser crumb. Dark rye flour, often used in pumpernickel bread, contributes the strongest rye flavor and darkest color. Understanding these nuances is the first step toward mastering rye bread baking techniques. Choosing the right rye flour depends on your desired outcome – are you after a subtle rye note or a bold, earthy flavor? Experimenting with different types of rye flour is a great way to discover your personal preference.
 Different Types of Rye Flour
Mixing and Kneading Rye Bread Dough
Mixing and kneading rye bread dough requires a different approach compared to wheat-based doughs. Due to the lower gluten content, rye doughs are stickier and less elastic. Over-kneading can result in a dense, gummy loaf. Instead, focus on developing the dough just enough to form a cohesive mass. Remember, we’re not aiming for the windowpane test here! A good technique is to use a wet hand or a dough scraper to manage the sticky dough effectively. Don’t be afraid to get a little messy; it’s part of the rye bread baking experience! This process is similar to the challenges faced when How to make whole wheat bread less dense, where managing the dough’s consistency is key.
 Mixing Rye Dough with a Dough Scraper
Fermentation: The Heart of Rye Bread
Fermentation is where the magic happens. It develops the complex flavors and aromas characteristic of rye bread. Rye doughs often benefit from a longer fermentation period, allowing the natural yeasts and bacteria to work their magic. This slow fermentation contributes to the distinct tangy flavor of rye bread. A pre-ferment, like a sourdough starter or poolish, can further enhance the flavor and texture of your rye bread. For those interested in exploring different fermentation techniques, you might find The best method for overnight bread proofing and fermentation helpful.
Shaping and Proofing Rye Bread
Shaping rye dough can be challenging due to its stickiness. Dusting your work surface and hands with flour helps manage this. Rye bread is often baked in loaf pans or free-form. Proofing time will depend on the recipe and ambient temperature. Look for a noticeable increase in volume before baking. It doesn’t need to double in size like wheat-based doughs, but a good rise is still essential. Just as understanding how to shape and proof correctly prevents how to prevent bread from crumbling, it’s crucial for a well-structured rye loaf.
Baking Rye Bread: Achieving the Perfect Crust and Crumb
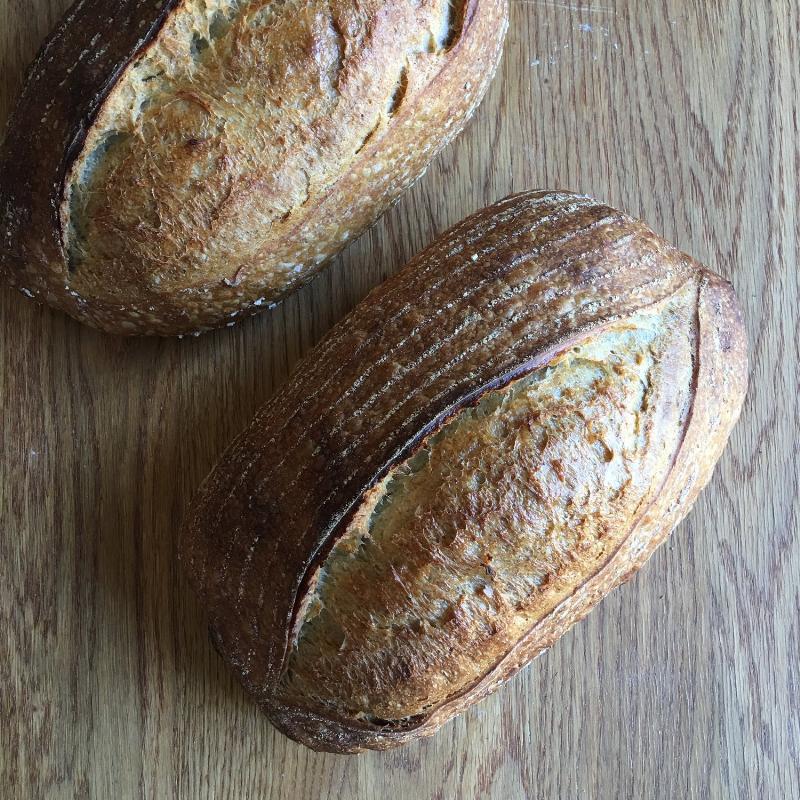
Baking rye bread requires careful attention to temperature and time. A hot oven helps create a crisp crust, while a longer baking time ensures the interior is fully cooked. Using steam during the initial baking phase adds a beautiful sheen and helps prevent the crust from hardening too quickly. A good rule of thumb is to tap the bottom of the loaf; a hollow sound indicates it’s done. Every oven is different, so adjust baking times as needed. Baking rye bread is a sensory experience – the aroma that fills your kitchen is a reward in itself! If you’re just beginning your rye bread journey, this resource on how to bake rye bread can provide a helpful foundation.
 Rye Bread Baking in a Dutch Oven
Troubleshooting Common Rye Bread Baking Issues
Even with the best intentions, sometimes things don’t go as planned. Here are some common rye bread baking issues and how to troubleshoot them:
-
Sticky Dough: Use a wet hand or dough scraper to manage the dough. Avoid adding too much extra flour, which can make the bread dense.
-
Dense Crumb: Don’t over-knead the dough. Ensure proper fermentation and proofing times.
-
Flat Loaf: Check the freshness of your yeast. Ensure the dough has proofed adequately.
-
Burnt Crust: Reduce oven temperature or cover the loaf with foil during the last part of baking.
 Sliced Rye Bread with Different Textures
Conclusion
Mastering rye bread baking techniques might seem daunting at first, but with practice and the knowledge shared here, you’ll be well on your way to baking delicious, aromatic rye bread that will impress your friends and family. Embrace the unique challenges of working with rye flour and enjoy the journey of discovery as you experiment with different flours, fermentation methods, and baking techniques. So, gather your ingredients, preheat your oven, and embark on the exciting adventure of rye bread baking!