
A flaky, golden pie crust is the hallmark of a truly great pie. But achieving that perfect texture and taste can feel like a baking enigma. Fear not, fellow pie enthusiasts! This guide will equip you with the essential Tips For Perfect Pie Crust, transforming you from a crust-challenged baker to a pie-making pro. Whether you’re a seasoned baker or just starting out, these insights will elevate your pie game to new heights.
Table Of Contents
- Choosing the Right Ingredients for Your Pie Crust
- Flour Power: All-Purpose vs. Pastry Flour
- Fat Facts: Butter, Shortening, or Lard?
- The Importance of Cold Ingredients
- Mastering the Mixing and Rolling Techniques
- Mixing: The Art of Gentle Incorporation
- Rolling: Achieving Even Thickness
- Chilling and Baking Your Pie Crust
- The Chilling Effect: Why It Matters
- Blind Baking: Achieving a Crisp Bottom
- Troubleshooting Common Pie Crust Problems
- Tough Crust: Gluten Development
- Shrinking Crust: Gluten Tension
- Soggy Bottom: Moisture from Filling
- Conclusion
Similar to how to make a flaky tart crust, achieving a perfect pie crust requires attention to detail. Let’s dive into the secrets of a truly outstanding pie crust.
Choosing the Right Ingredients for Your Pie Crust
The foundation of a perfect pie crust starts with the ingredients. While the recipe itself is important, understanding the role of each ingredient empowers you to make informed choices.
Flour Power: All-Purpose vs. Pastry Flour
Most pie crust recipes call for all-purpose flour, which provides a good balance of structure and tenderness. However, for an extra tender crust, consider using pastry flour. Its lower protein content results in a more delicate texture. Think of it like choosing the right fabric for a garment: a sturdy canvas for a tote bag versus a soft silk for a scarf.
Fat Facts: Butter, Shortening, or Lard?
The type of fat you choose significantly impacts the final crust. Butter delivers rich flavor, while shortening creates a wonderfully tender crumb. Lard, a traditional choice, yields the flakiest crust of all, though its flavor might not be everyone’s cup of tea. Experiment to find your favorite! What do you prefer – a buttery aroma or ultimate flakiness?
The Importance of Cold Ingredients
Keeping your ingredients cold – especially the fat and water – is crucial for a flaky crust. Cold fat creates pockets of steam during baking, resulting in those delightful layers we all crave. Imagine tiny air pockets lifting the dough, creating a light and airy texture.
 Cold Ingredients for Perfect Pie Crust
Mastering the Mixing and Rolling Techniques
Once you have your cold ingredients assembled, the next step is mastering the mixing and rolling techniques. These steps are where the magic truly happens.
Mixing: The Art of Gentle Incorporation
Overmixing develops gluten, resulting in a tough crust. Instead, aim for a gentle touch, incorporating the fat until it resembles coarse crumbs with pea-sized pieces remaining. This ensures pockets of fat remain, contributing to the flaky texture. Remember, less is more in this stage!
Rolling: Achieving Even Thickness
Roll out your dough on a lightly floured surface, using even pressure. Aim for a consistent thickness to prevent uneven baking. A good trick is to rotate the dough frequently as you roll, ensuring it doesn’t stick and maintains its shape. Ever wondered why some pie crusts are thick in some areas and thin in others? This is exactly why even rolling is crucial!
Similar to how to prevent pie filling from leaking, ensuring a proper seal is crucial, even more so for a beautifully crimped edge. Let’s look into the importance of chilling.
Chilling and Baking Your Pie Crust
Chilling your pie crust before baking is essential for preventing shrinkage and maintaining its shape. It allows the gluten to relax and the fat to solidify, leading to a more tender and flaky final product.
The Chilling Effect: Why It Matters
Chilling your dough for at least 30 minutes, or even overnight, allows the gluten to relax, resulting in a less tough crust. This also helps the fat solidify, preventing it from melting too quickly during baking, which could lead to a greasy crust. This step is akin to letting a steak rest after cooking – it allows everything to settle and meld together beautifully.
Blind Baking: Achieving a Crisp Bottom
Blind baking, a technique where the crust is pre-baked before adding the filling, is essential for pies with wet fillings. It helps to prevent a soggy bottom. Line the chilled crust with parchment paper and fill it with pie weights (or dried beans or rice) before baking.
Just like how to bake evenly in oven, ensuring your oven temperature is consistent is crucial for a perfectly baked pie crust.
 Blind Baking Pie Crust
Troubleshooting Common Pie Crust Problems
Even with the best intentions, pie crust woes can still arise. Here are some common problems and how to fix them:
Tough Crust: Gluten Development
If your crust turns out tough, it’s likely due to overmixing or not enough fat. Remember to mix gently and keep your ingredients cold. Just as how to fix a sunken cake addresses overmixing, so too does a tough pie crust benefit from a lighter hand.
Shrinking Crust: Gluten Tension
A shrinking crust can be caused by overworking the dough or not chilling it sufficiently. Ensure proper chilling time and avoid stretching the dough when transferring it to the pie plate.
Just as How to achieve a golden brown crust without burning explains the balance of heat and time, achieving a perfect pie crust also requires careful temperature control.
Soggy Bottom: Moisture from Filling
Prevent a soggy bottom by blind baking your crust, especially for pies with wet fillings. This creates a barrier that prevents the filling from seeping into the crust.
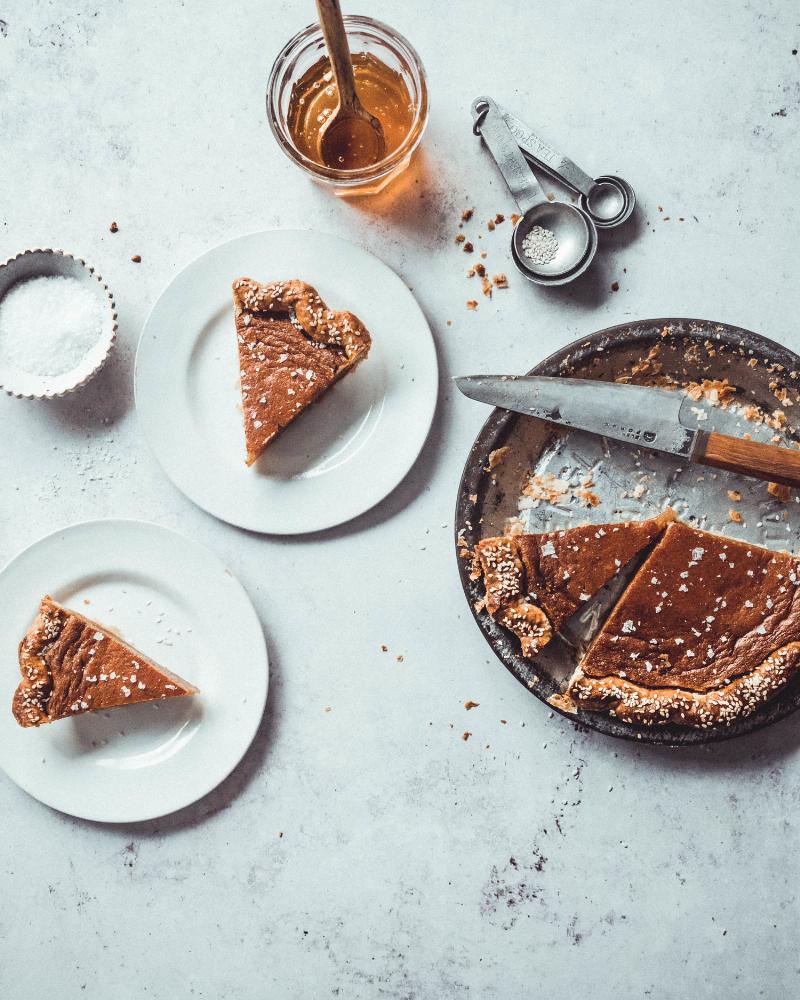
 Perfect Golden Pie Crust
Conclusion
Baking a perfect pie crust is an achievable feat with the right knowledge and techniques. By following these tips, you’ll be well on your way to creating pie crusts that are both beautiful and delicious. So, gather your ingredients, embrace the process, and enjoy the sweet reward of a perfectly baked pie! Share your pie-baking triumphs (and perhaps even a few mishaps) in the comments below – I’d love to hear about your experiences!